How To Clean New Balance XC-72
[ How To ]
Article
 Play video
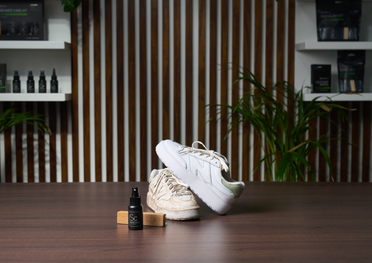
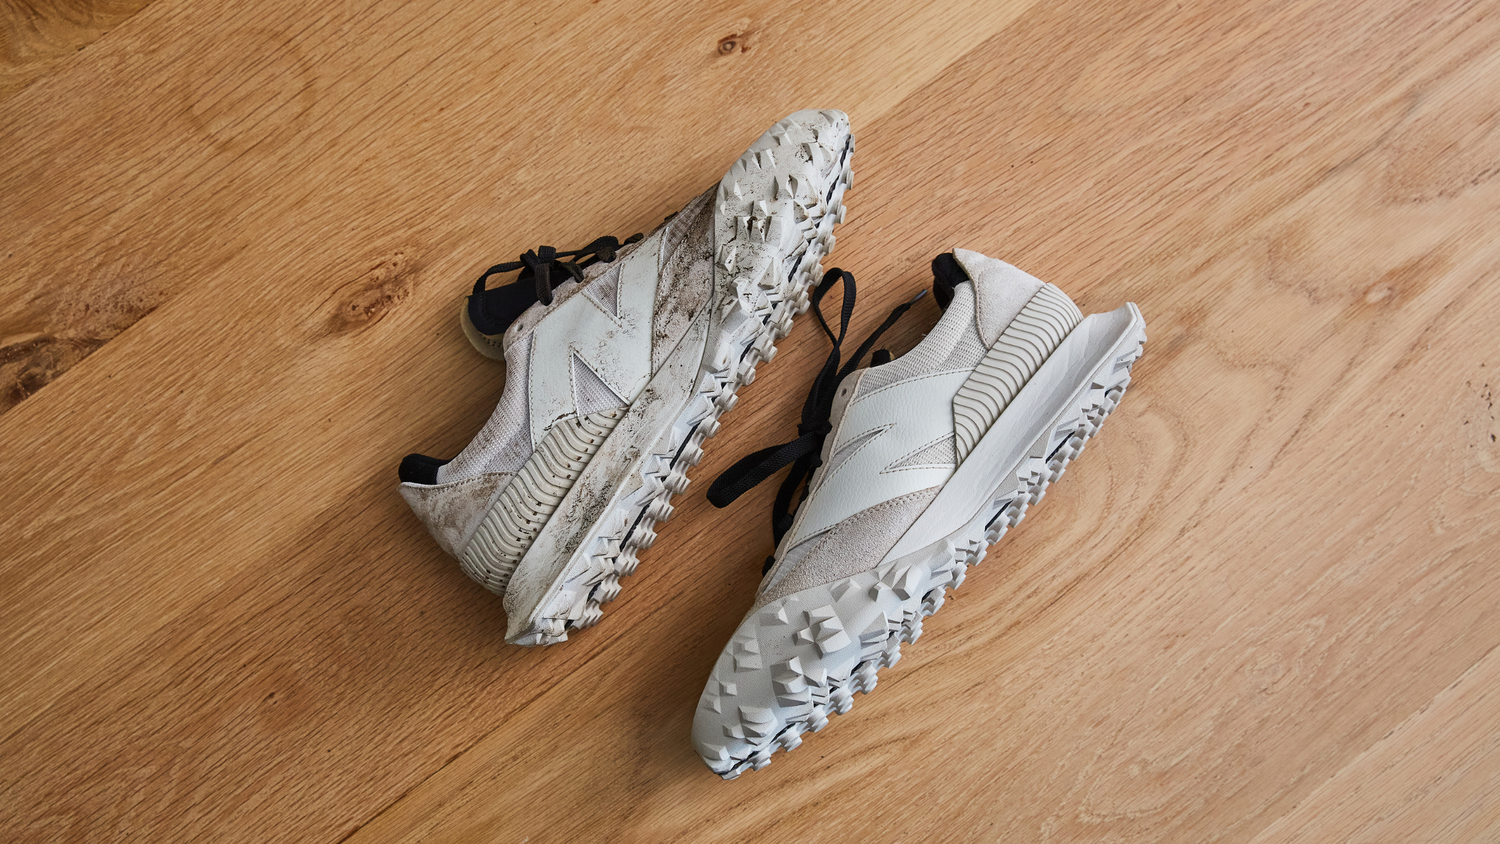
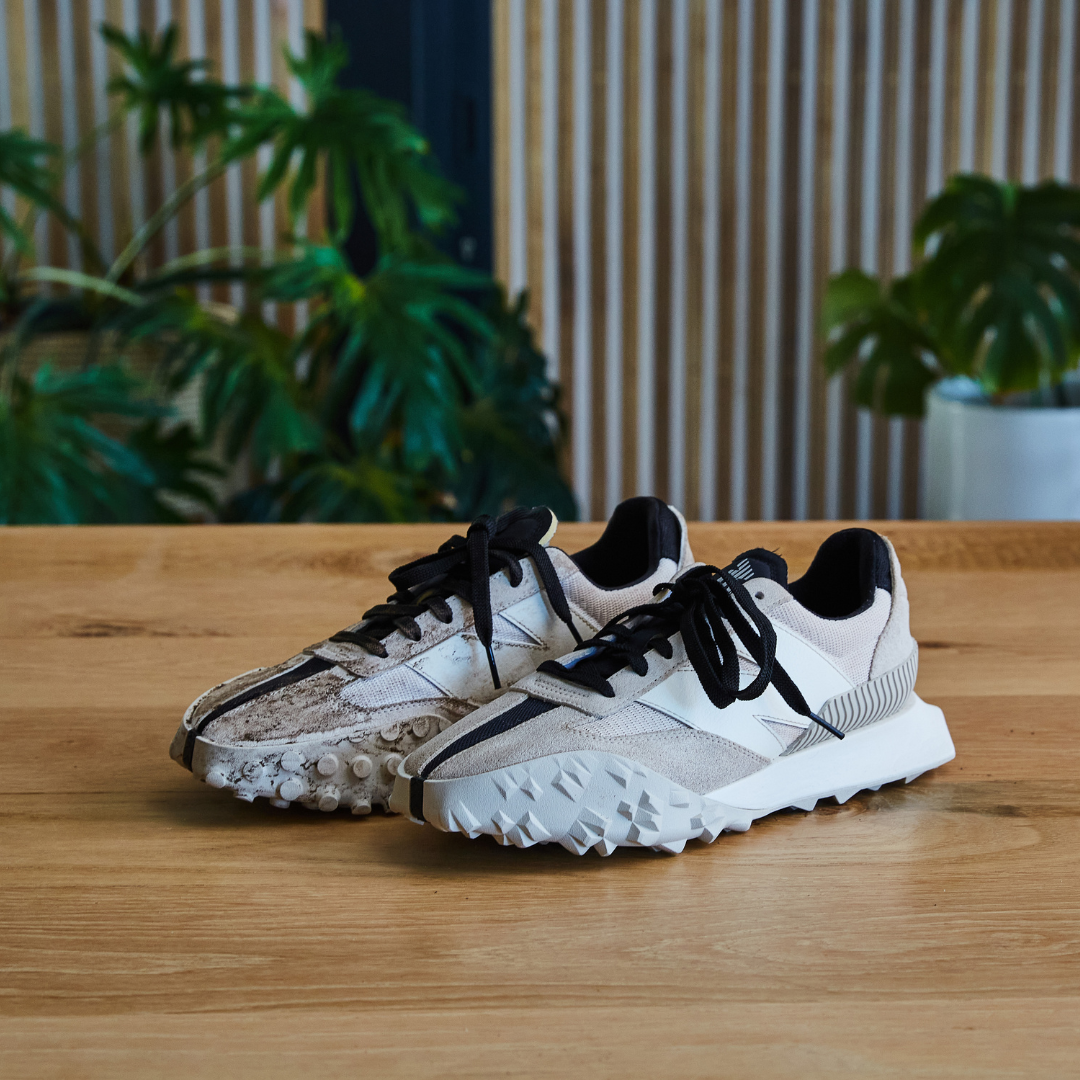
Today we’re working with a dirty pair of the New Balance XC-72. The XC-72 is the epitome of retro-futurism which takes design inspiration from the 70's and gives it a modern twist. The XC-72 first released in 2021 and has become a popular silhouette along with multiple new releases from New Balance.
Today we're cleaning the Moonbeam Black colorway of the New Balance XC-72.
Today we're cleaning the Moonbeam Black colorway of the New Balance XC-72.
Sneaker LAB is excited to announce our partnership with New Balance in the Asia-Pacific regions. Now you can purchase your favourite Sneaker LAB products while you’re shopping for the latest pair of New Balance sneakers.
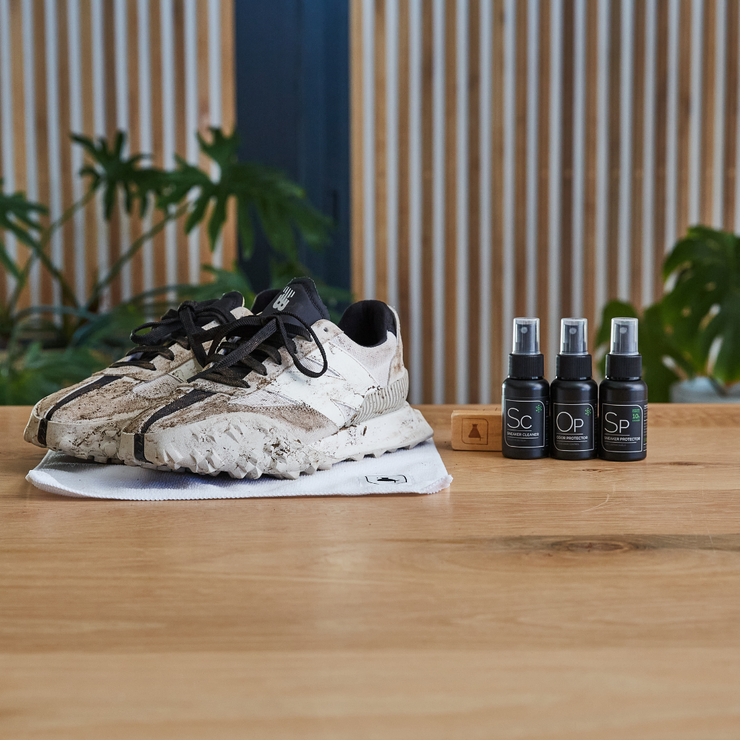
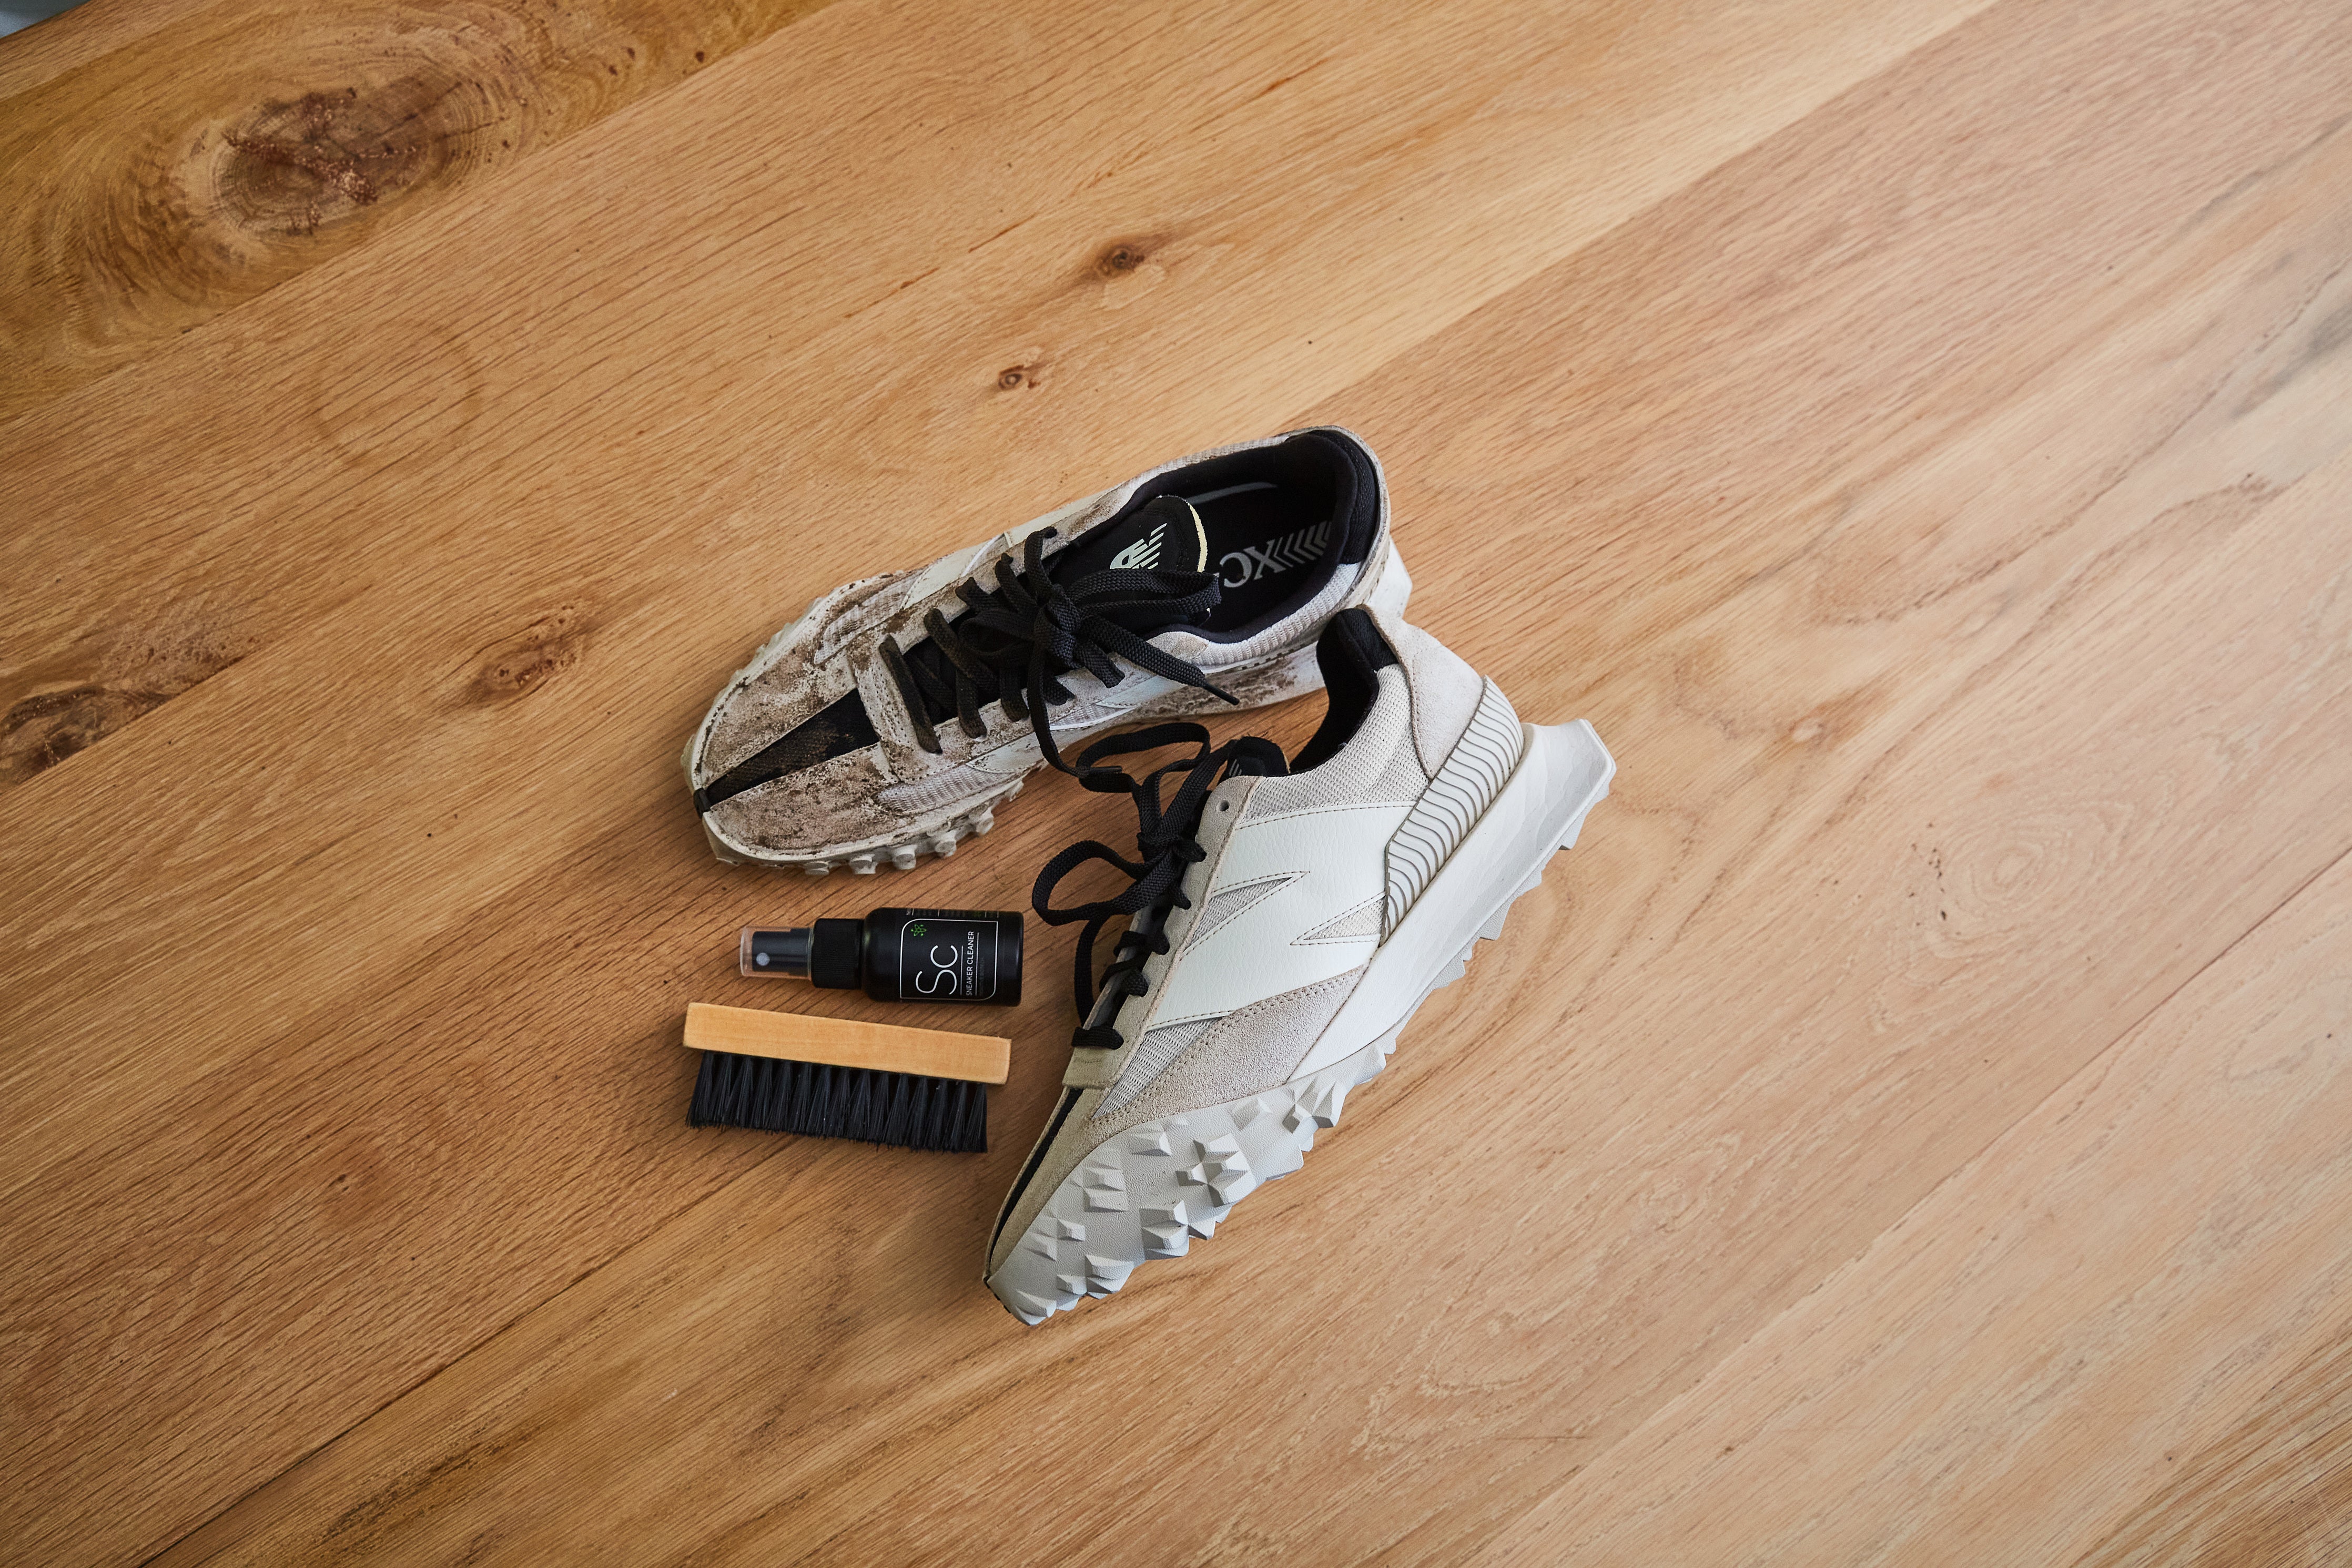
We used the products found in our Premium Kit to clean and look after this pair. The Premium Kit consists of our Sneaker Cleaner, Sneaker Protector, Odor Protector and Premium Brush.
We used the products found in our Premium Kit to clean and look after this pair. The Premium Kit consists of our Sneaker Cleaner, Sneaker Protector, Odor Protector and Premium Brush.
Step 1:
Start by removing the laces of your dirty New Balance XC-72 sneakers and grab our Premium Brush dry brush off any excess dirt. This will remove the excess dust and dirt laying on top of the material and will prevent it mixing when the water and cleaning solution is applied.
Start by removing the laces of your dirty New Balance XC-72 sneakers and grab our Premium Brush dry brush off any excess dirt. This will remove the excess dust and dirt laying on top of the material and will prevent it mixing when the water and cleaning solution is applied.
Step 2:
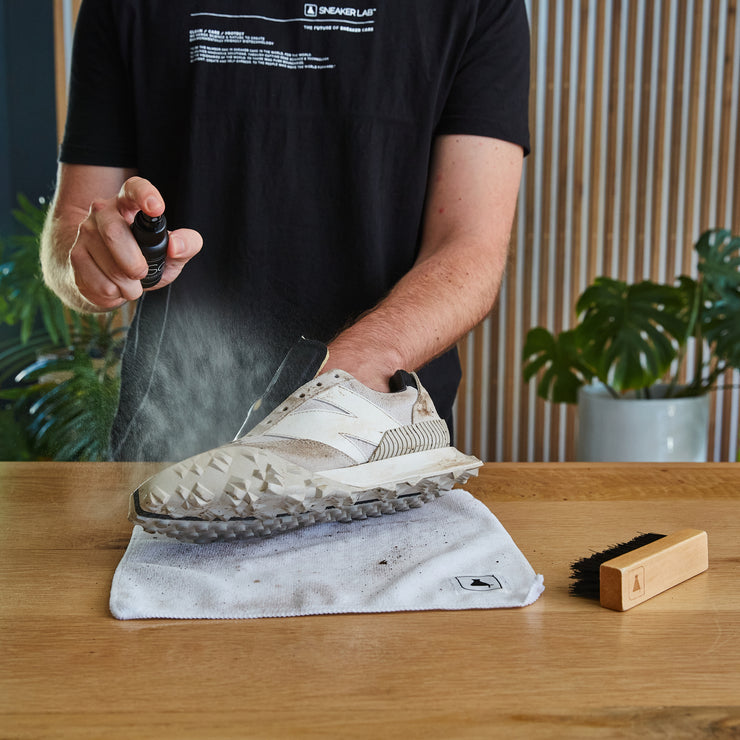
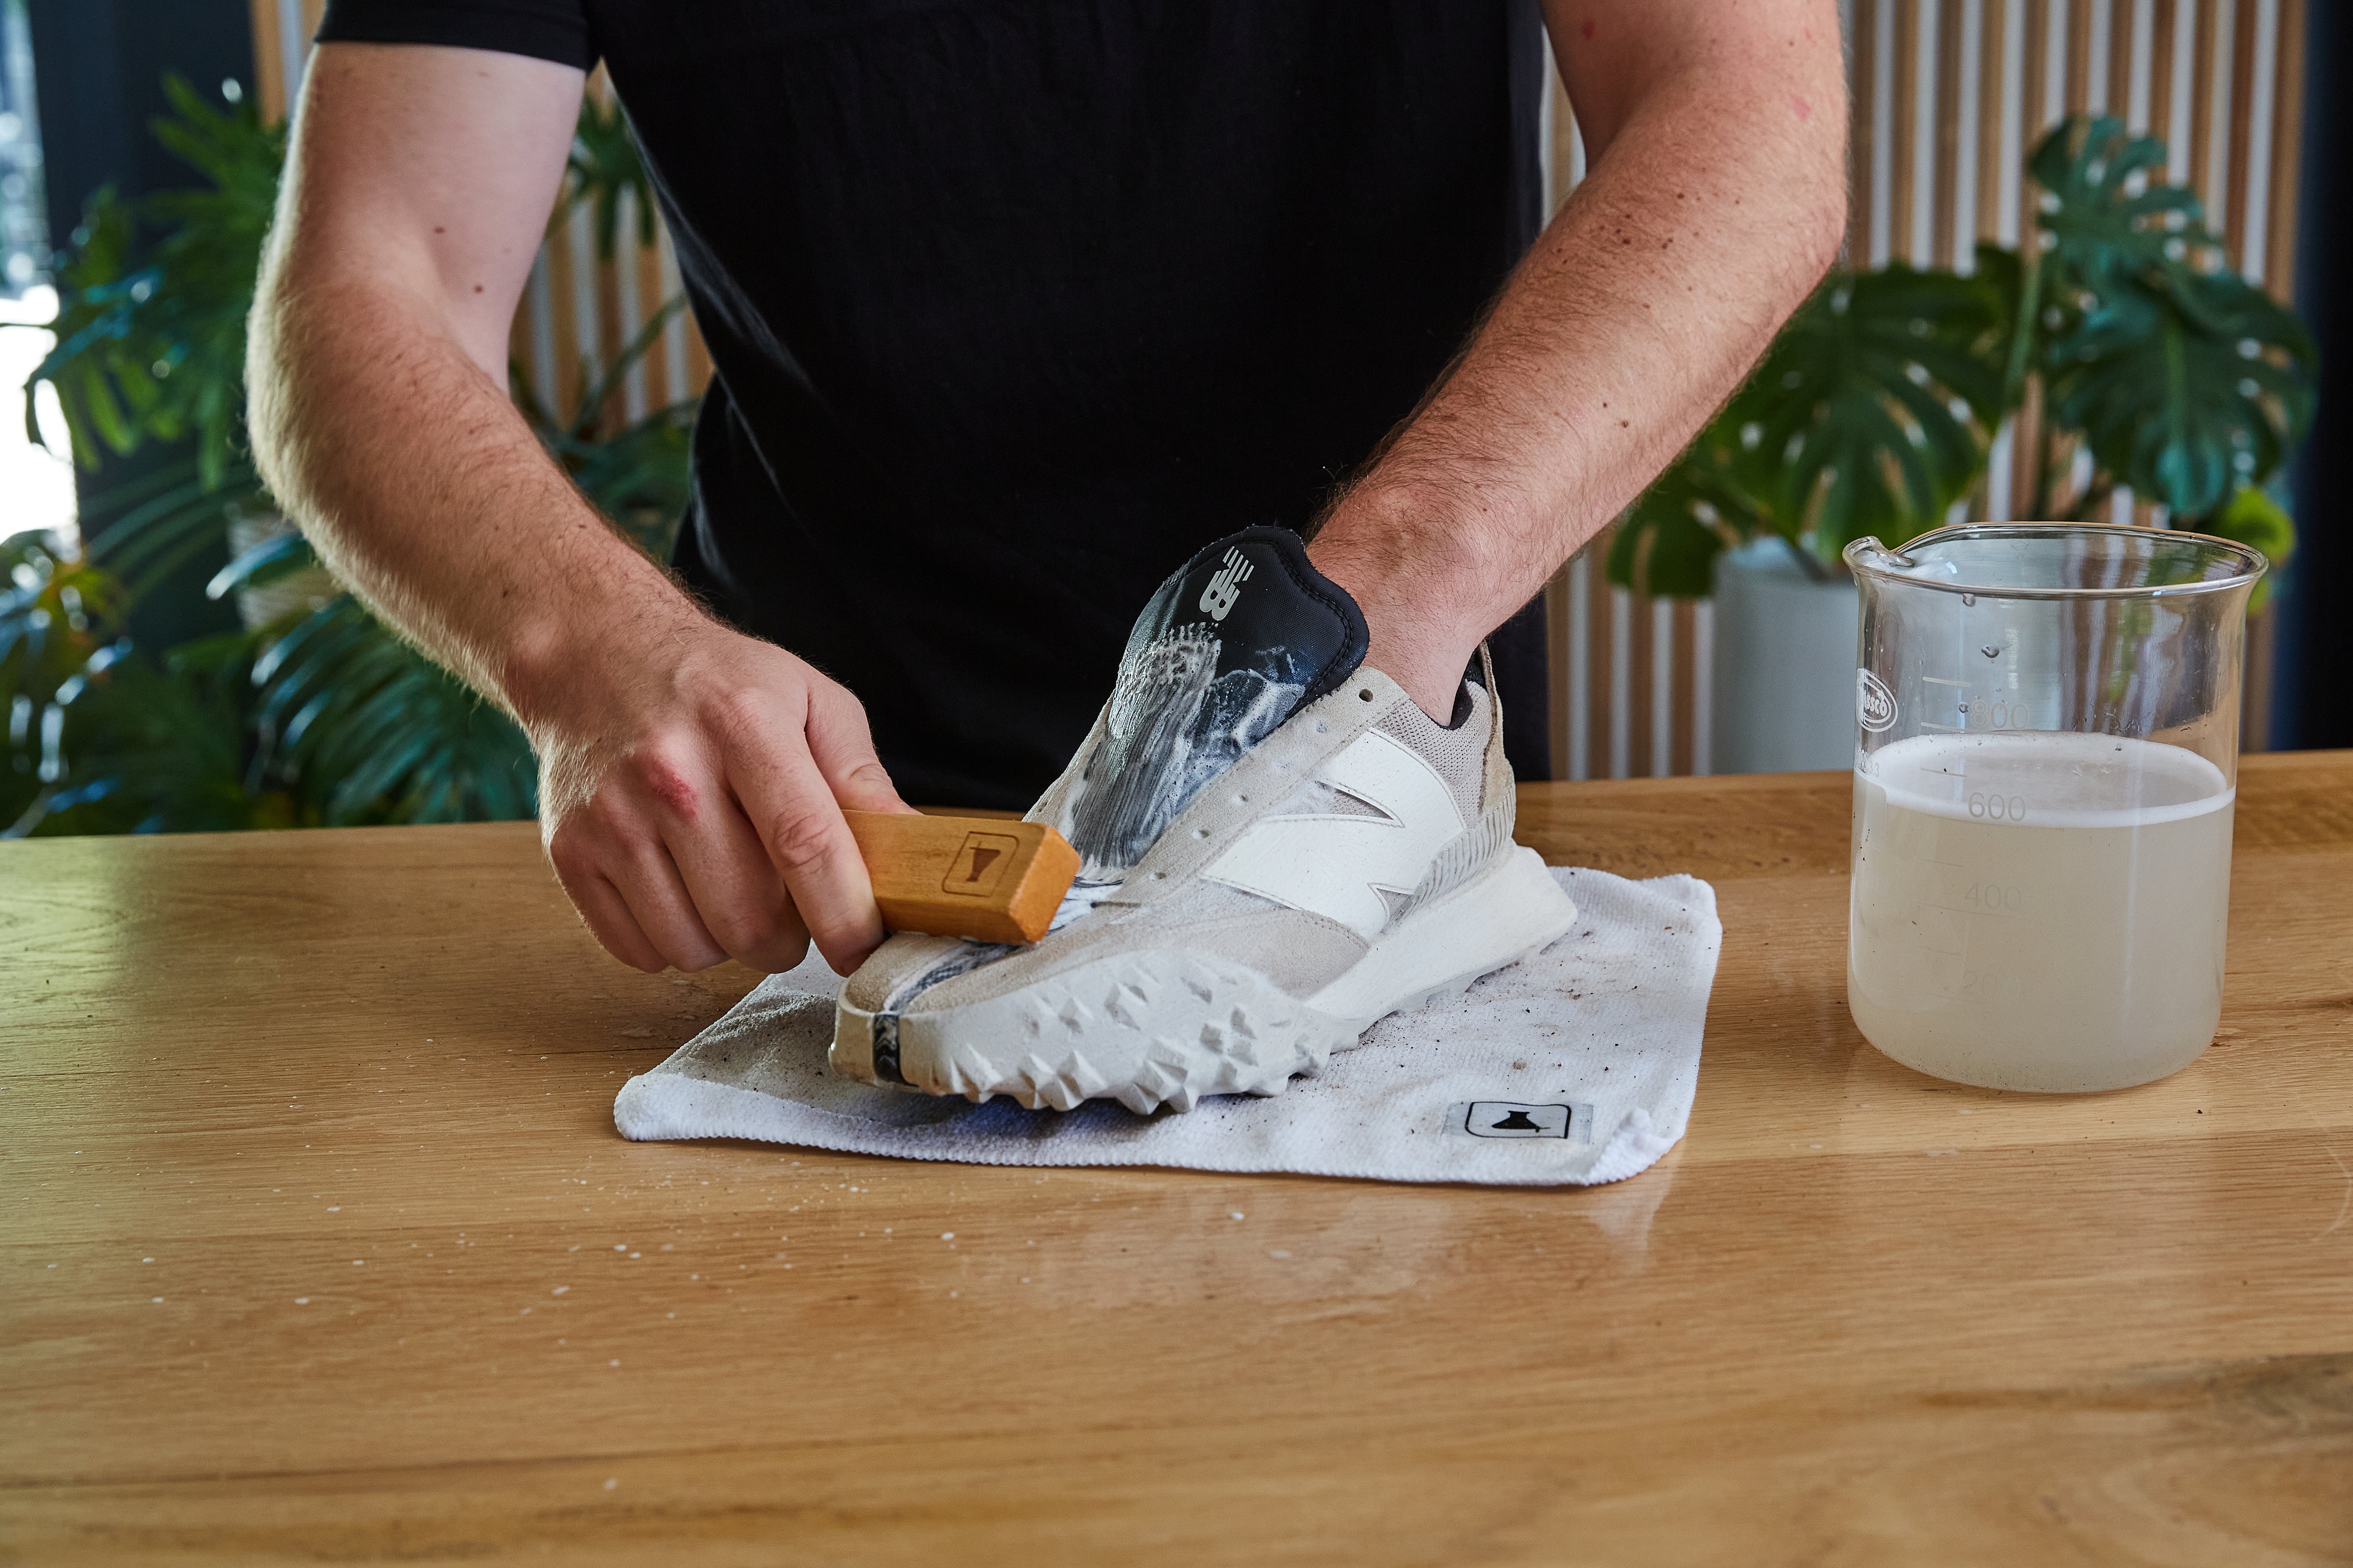
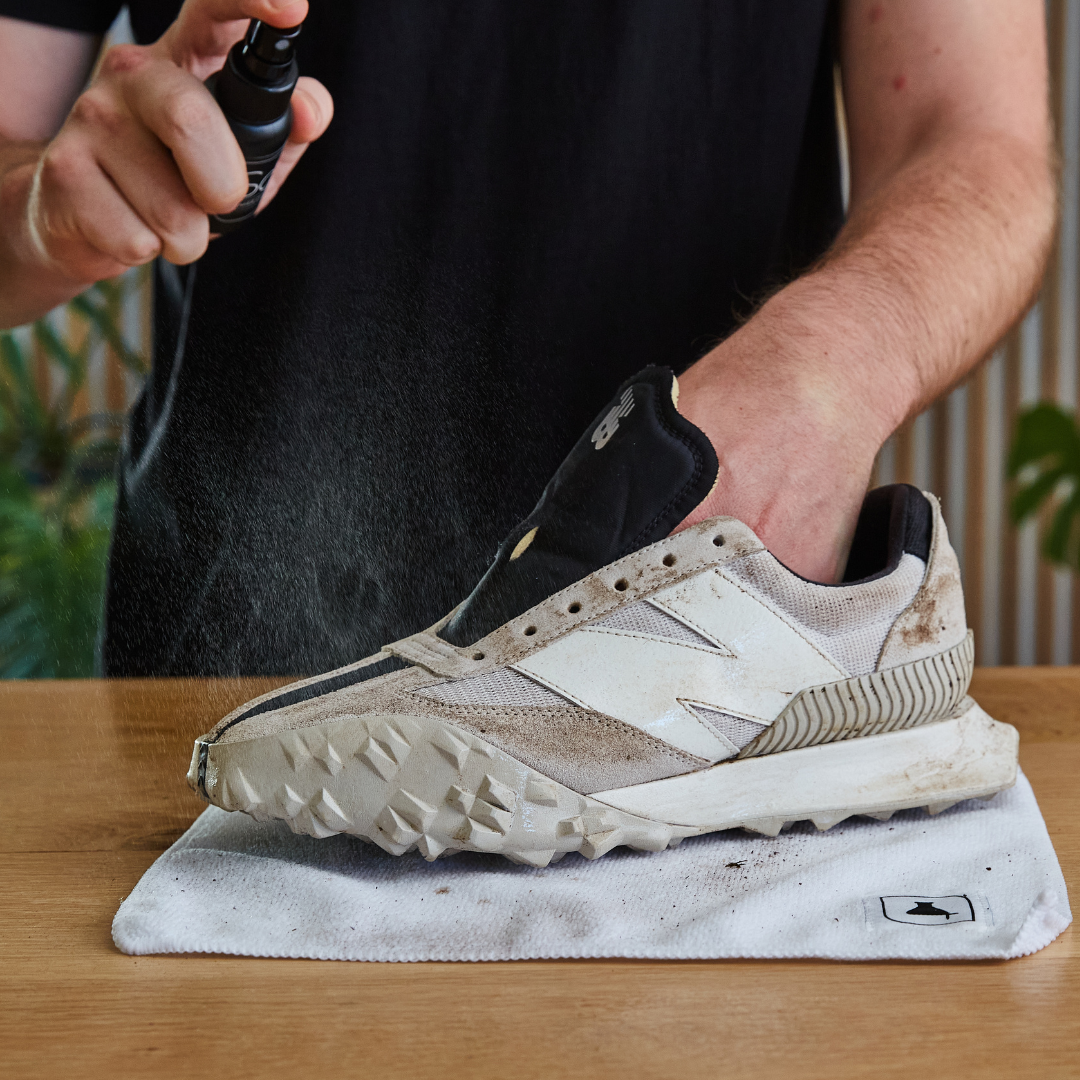
Apply Sneaker Cleaner around the uppers of the sneaker. Then you will need to dip your brush into a container of water and drop off the excess liquid. First you will clean the suede panels of the sneaker and concentrate on those sections as you will want to avoid any bleeding of the suede's color. Since it is suede, scrub in one direction and try drying the sections with our Microfiber Towel once cleaned to preserve the suede of the sneaker.
Then you will make your way to mesh sections of the shoe, you can use more water here if needed.
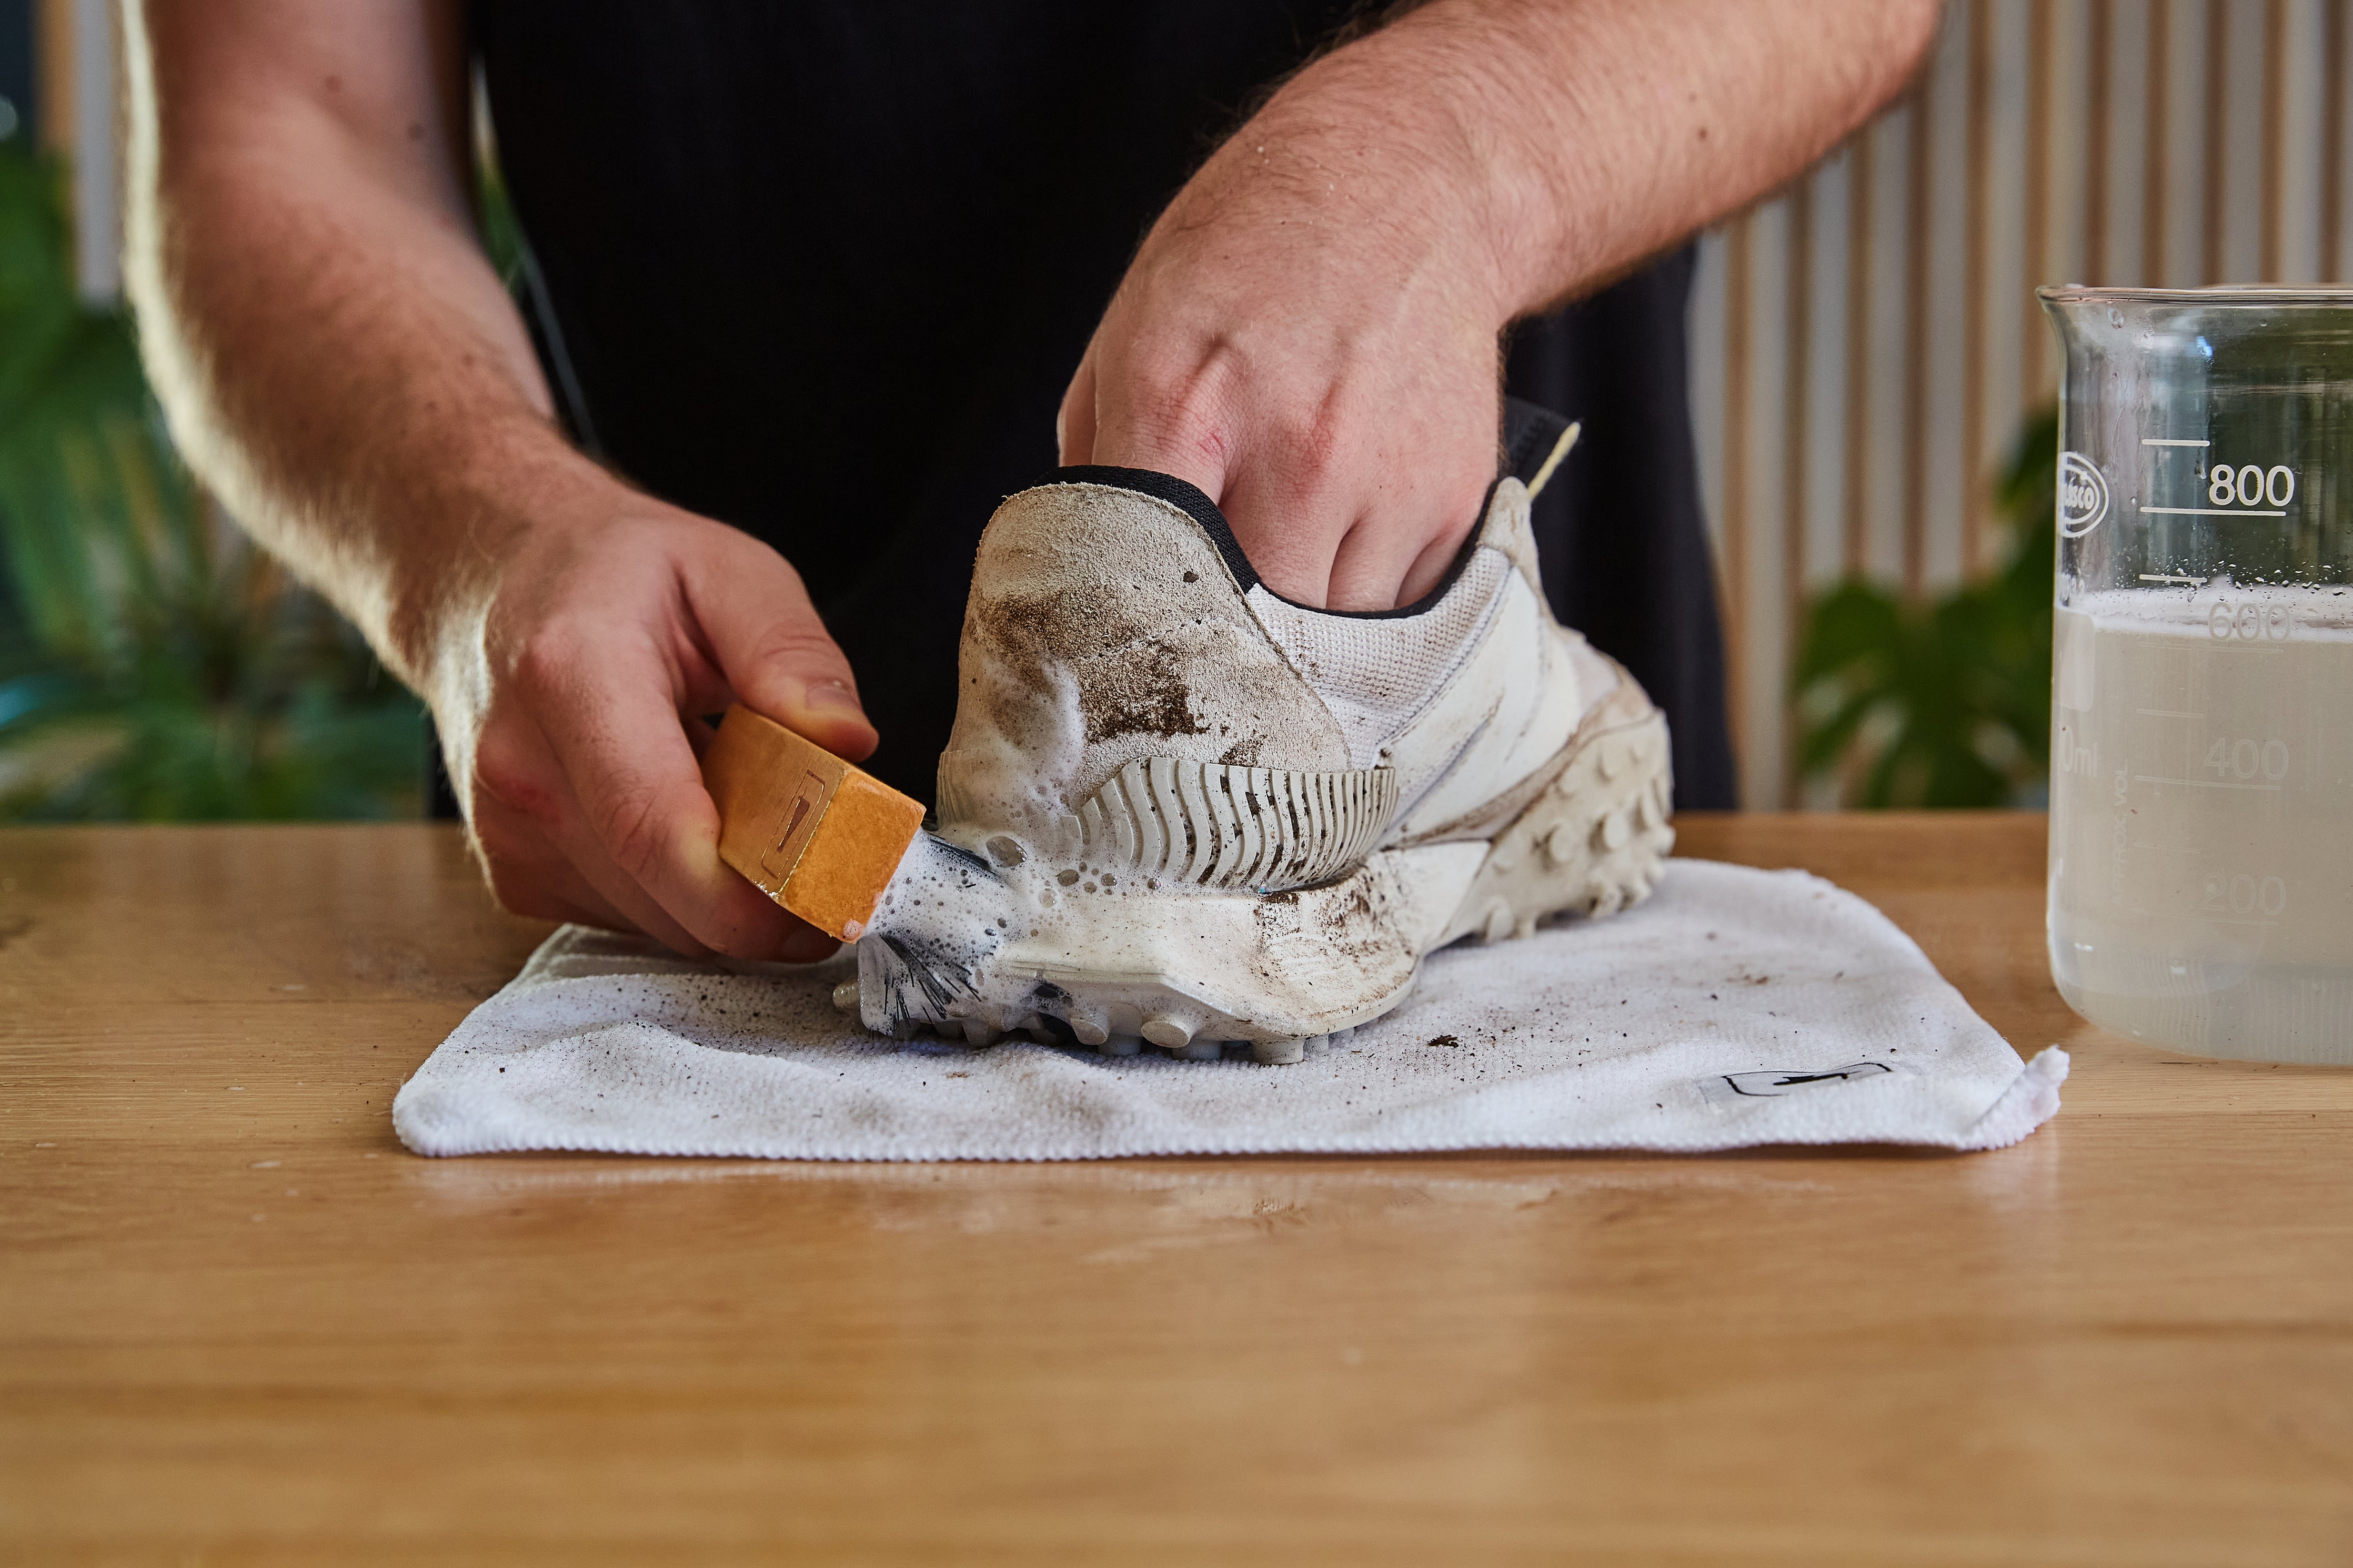
Step 3:
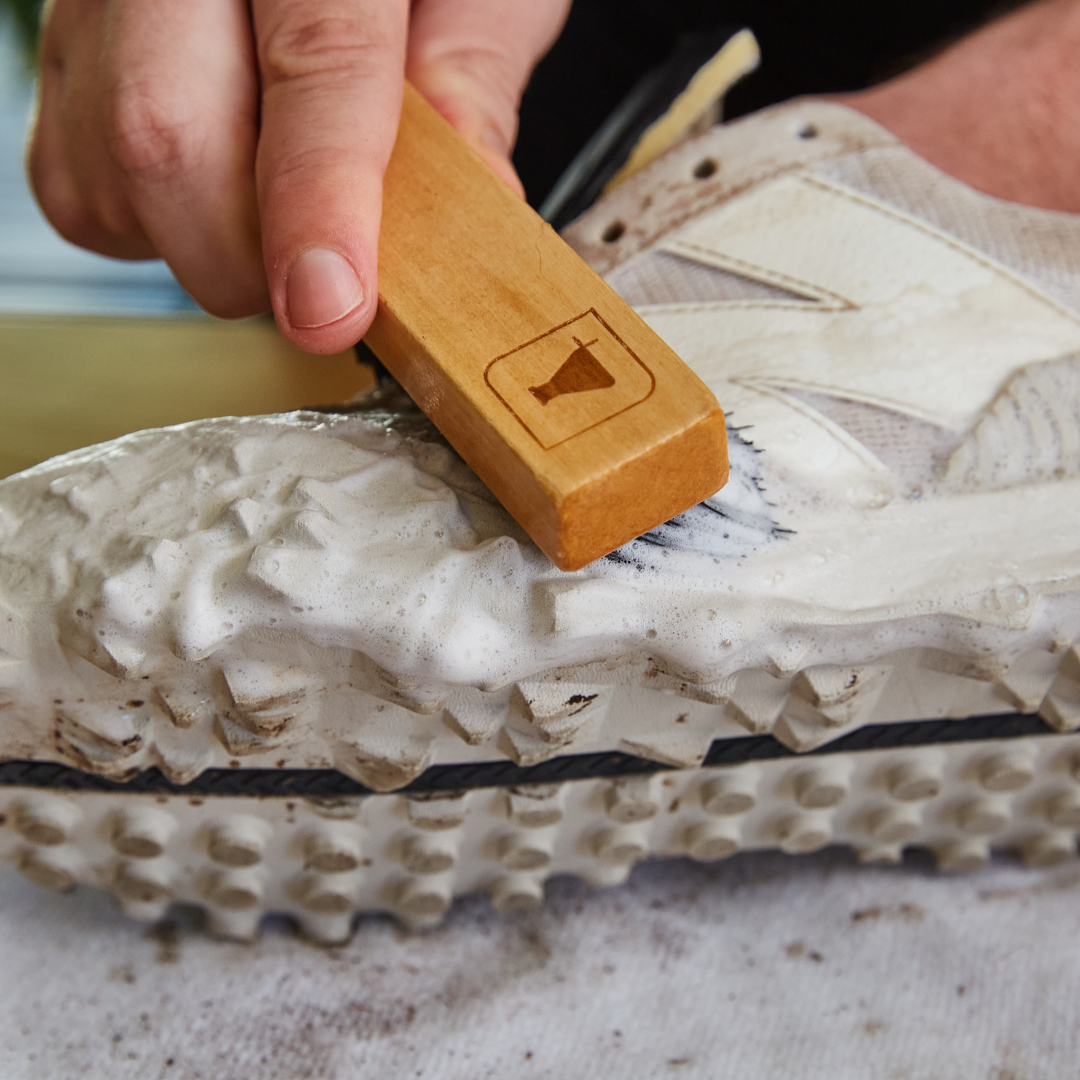
Move your way down to the soles and midsoles of the sneakers. Spray Sneaker Cleaner around the dirty areas of the sole and dip your brush in water. Start scrubbing to remove the dirt and use more force where necessary to remove that stubborn dirt that is found on the soles of the sneakers.
Step 4:
Set the sneakers aside to dry!
Step 5:
You will now turn your attention to the laces of the sneakers. Cup the laces in your hands and spray Sneaker Cleaner around them. Scrub together in the palms of your hands and dip into a clean container of water. Continue this process until your laces look clean. Set aside to dry.
Step 6:
When your sneakers and laces are dry, lace up your sneakers and prepare to use our protective products.
Step 7:
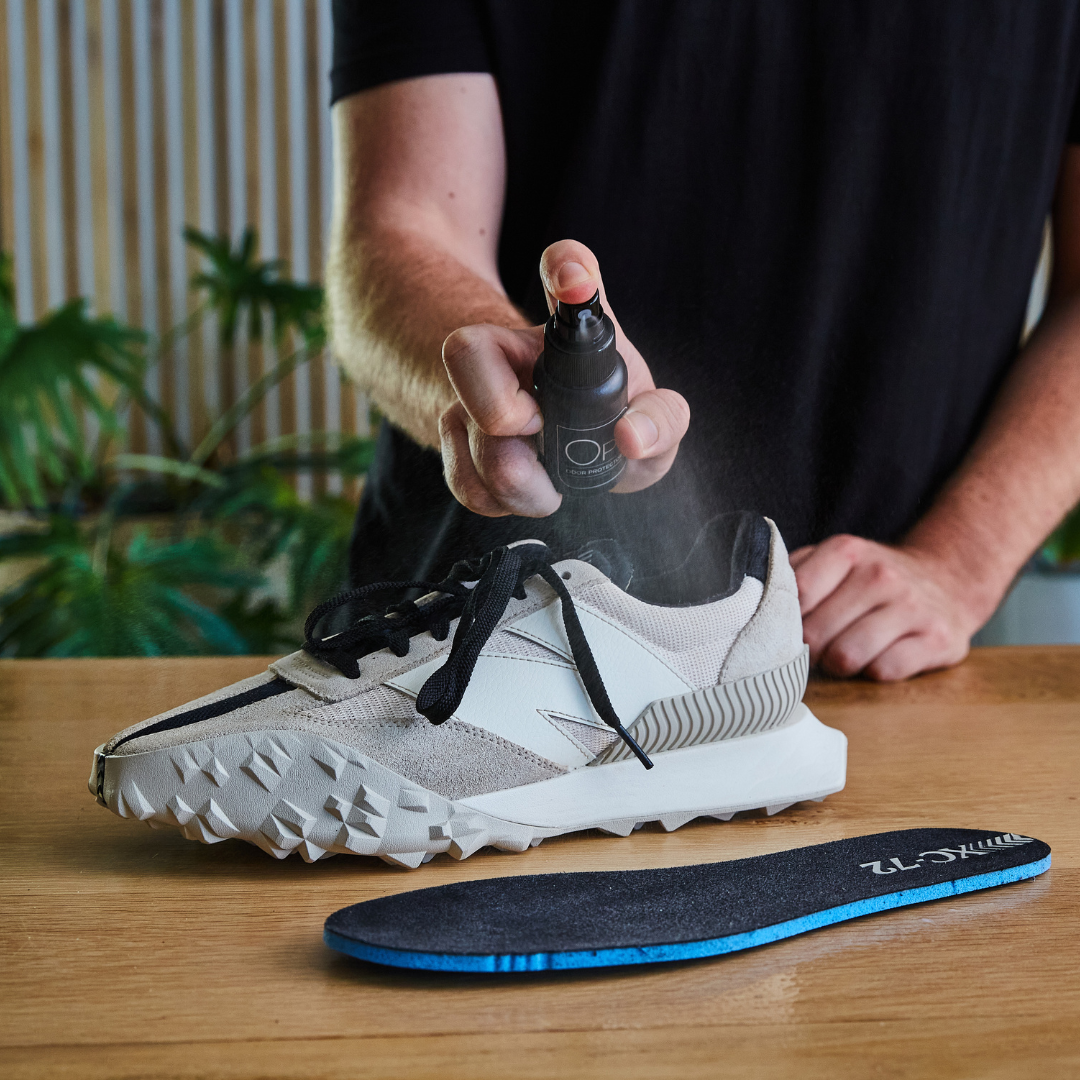
Grab our Odor Protector and spray inside the sneakers. If the inner sole is removable, take it out and spray that as well. The Odor Protector will not only remove the unwanted odor found in your footwear but it will be a preventative method for bad bacteria building up.
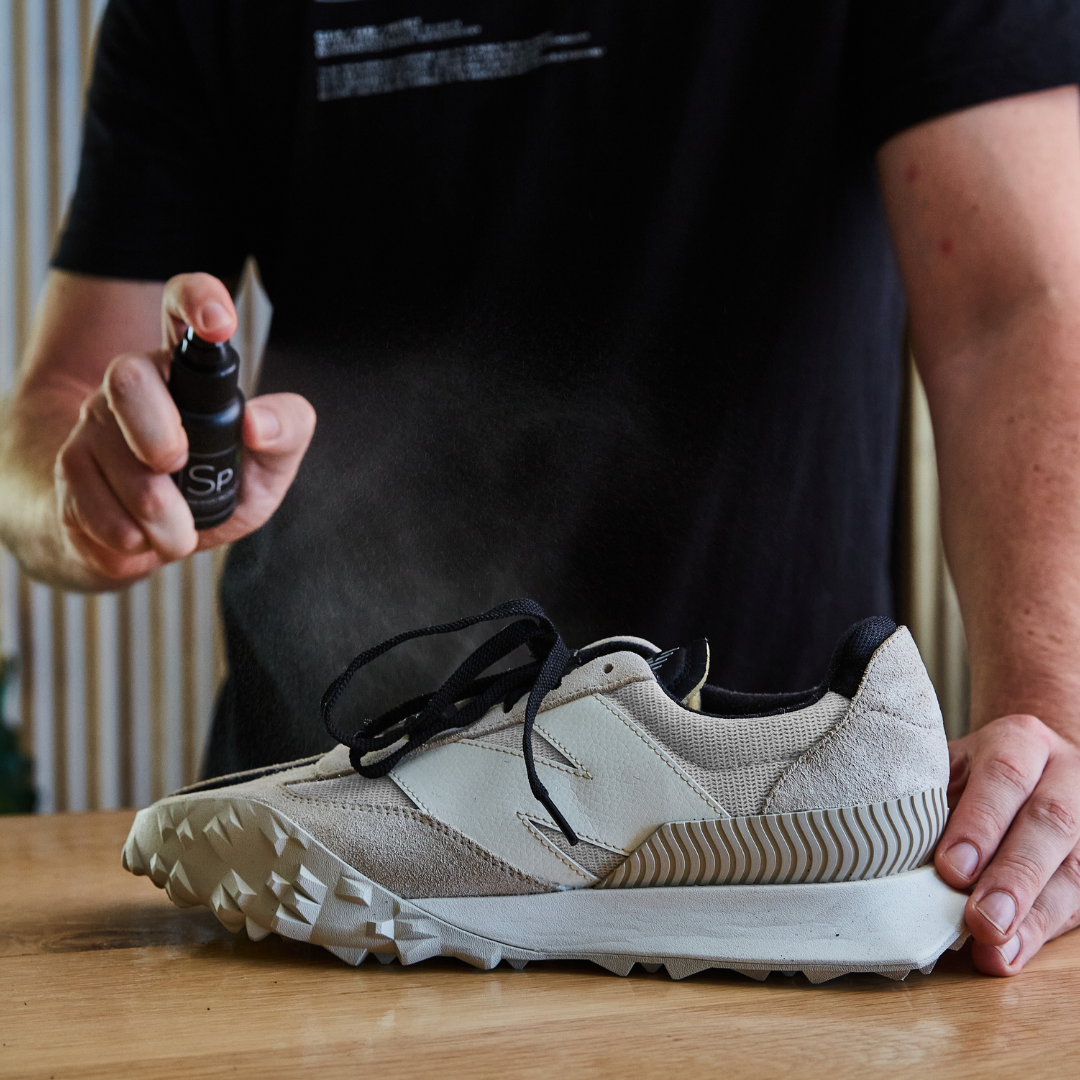
Step 8:
Use our Sneaker Protector to create an invisible protective layer to prevent dirt and stains from setting in. Our Sneaker Protector will also make any future cleaning easier! Let the Sneaker Protector and Odor protector dry overnight.
Step 9:
Once everything is dry and your sneakers are looking clean, its time to wear them!
Grab our Odor Protector and spray inside the sneakers. If the inner sole is removable, take it out and spray that as well. The Odor Protector will not only remove the unwanted odor found in your footwear but it will be a preventative method for bad bacteria building up.
Step 8:
Use our Sneaker Protector to create an invisible protective layer to prevent dirt and stains from setting in. Our Sneaker Protector will also make any future cleaning easier! Let the Sneaker Protector and Odor protector dry overnight.
Step 9:
Once everything is dry and your sneakers are looking clean, its time to wear them!
[ Follow ]