How To Clean VEJA Sneakers
[ How To ]
Article
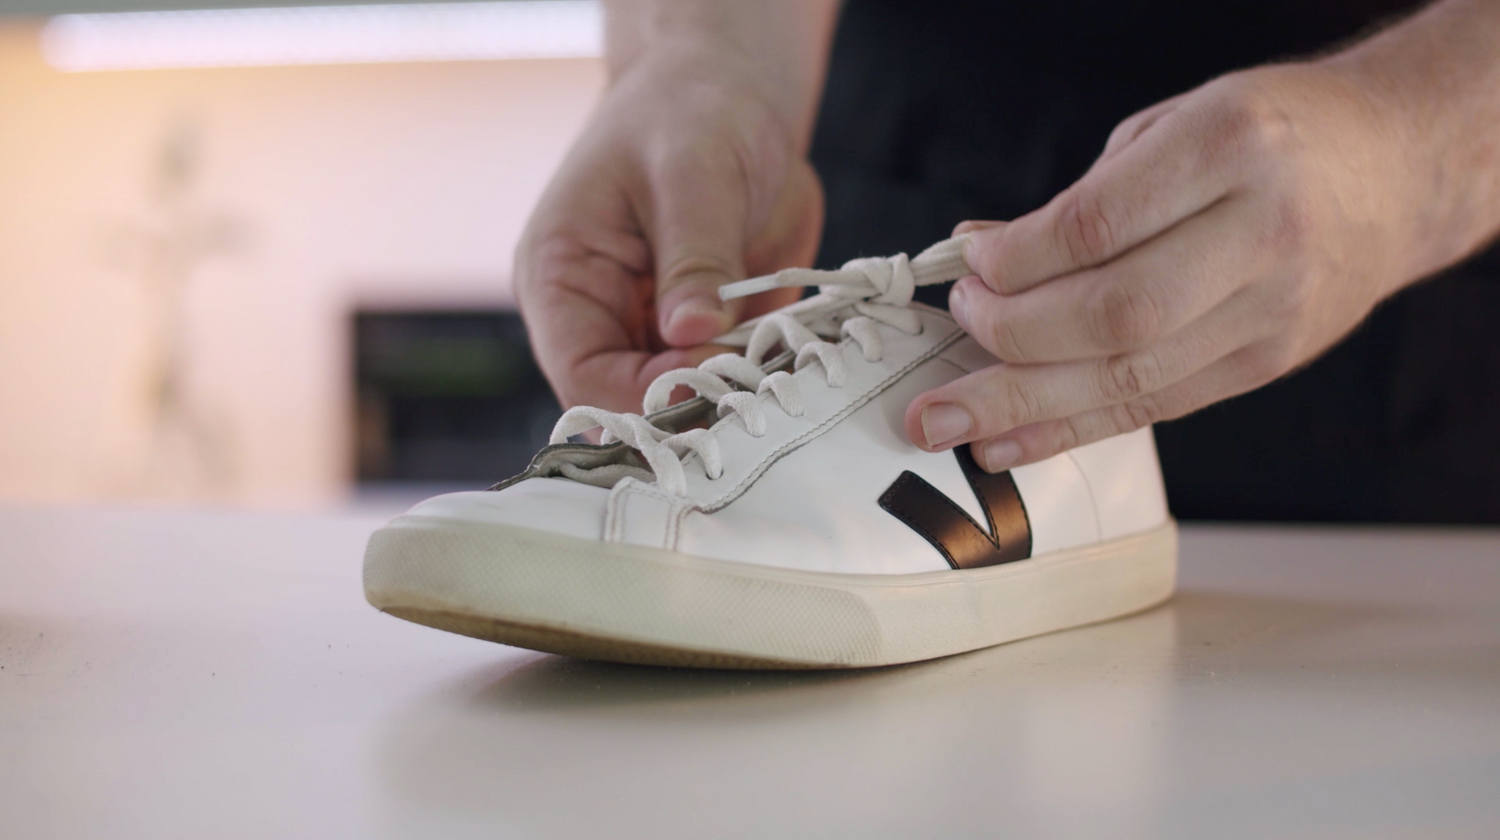 Play video
Sneaker LAB is an environmentally conscious sneaker care brand that has a product range designed to reduce its impact on the environment.
We wanted to highlight brands and sneakers that are practicing sustainability and reducing waste in their production and how our products can clean these environmentally conscious sneakers.


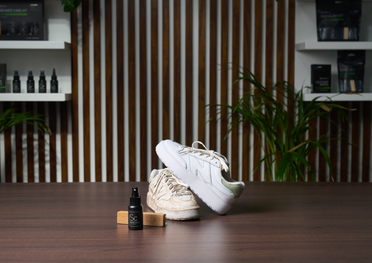
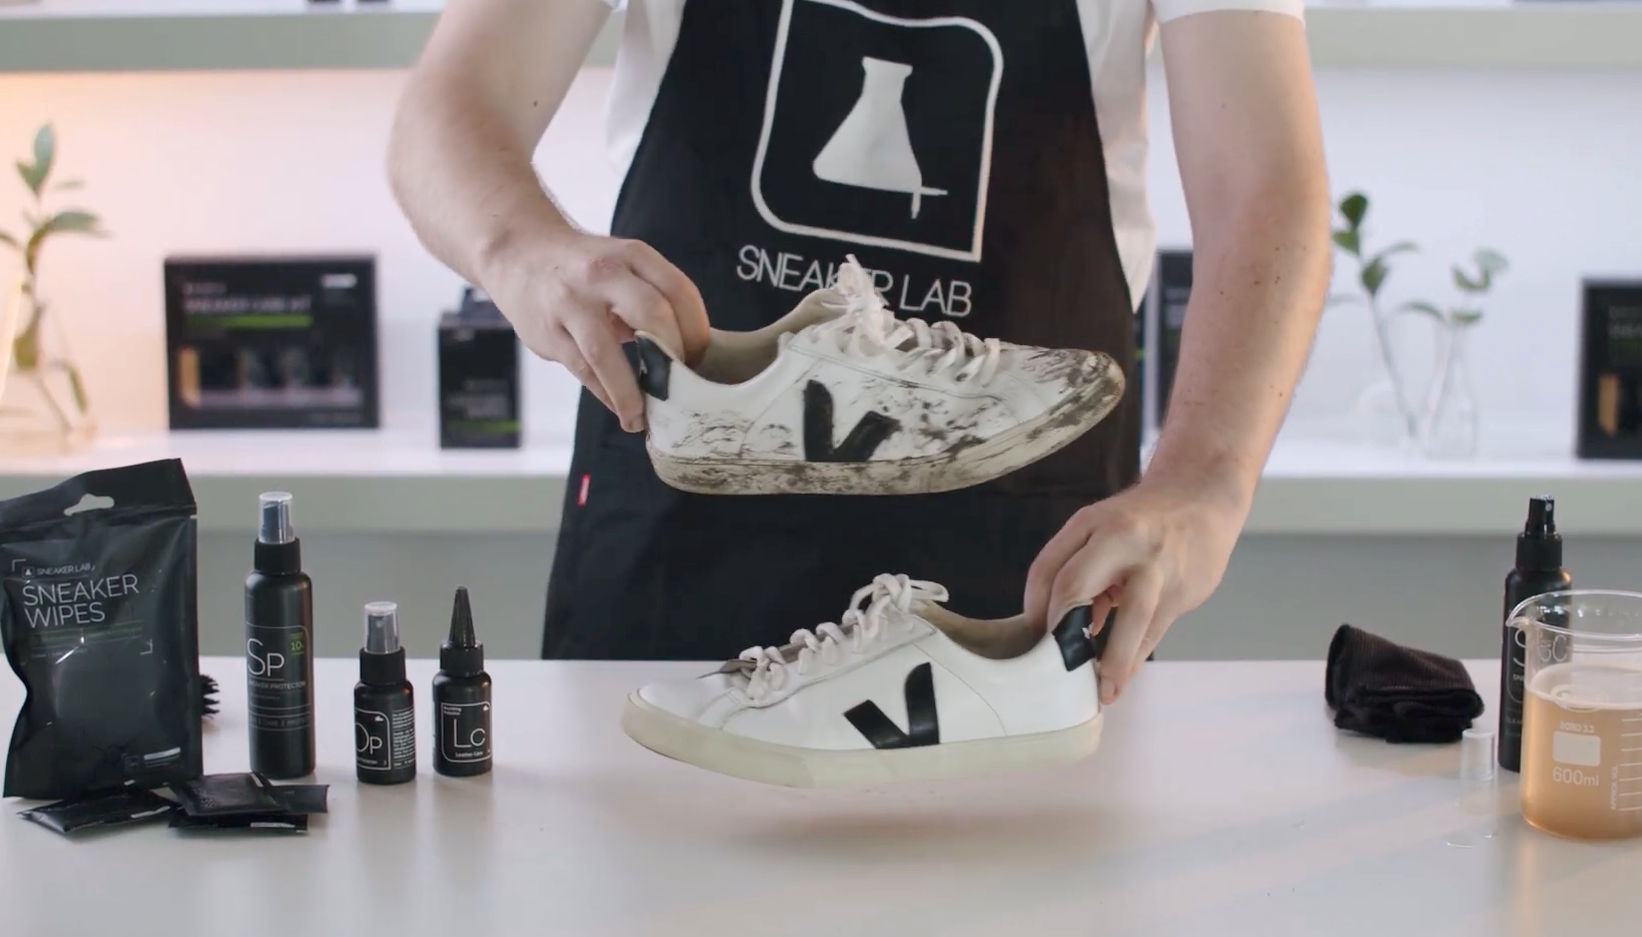
We have our hands on a pair of Veja’s that we will show you how to clean. Veja is a relatively newcomer into the street wear and fashion world but their brand has strong values coupled with timeless style. Their innovative range explores vegan leather, the use of wild rubber and supports various NGOs. Read the steps that follow or watch the video at the end!
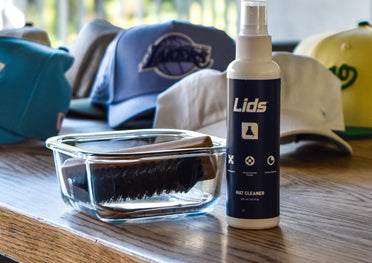
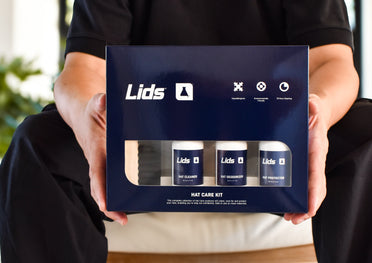
Before you begin cleaning, you will have to prep your work station. You will need our Sneaker Cleaner, Premium Brush, a container of water, Micro Fiber Towel, Sneaker Wipes, Odor Protector and our Leather Care.
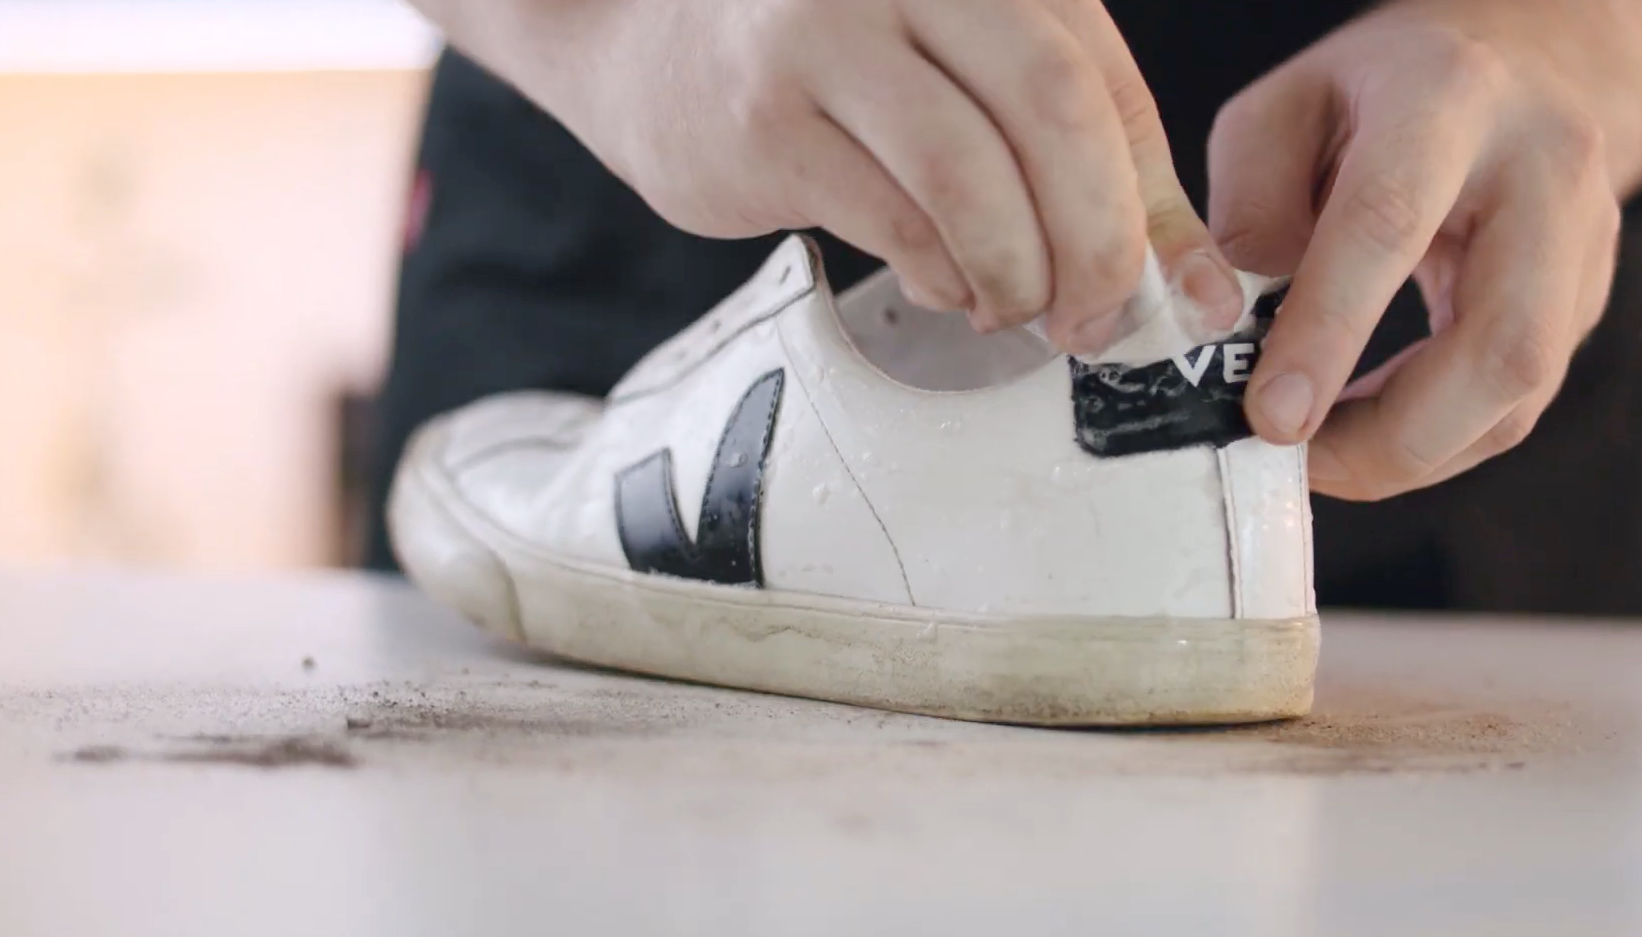
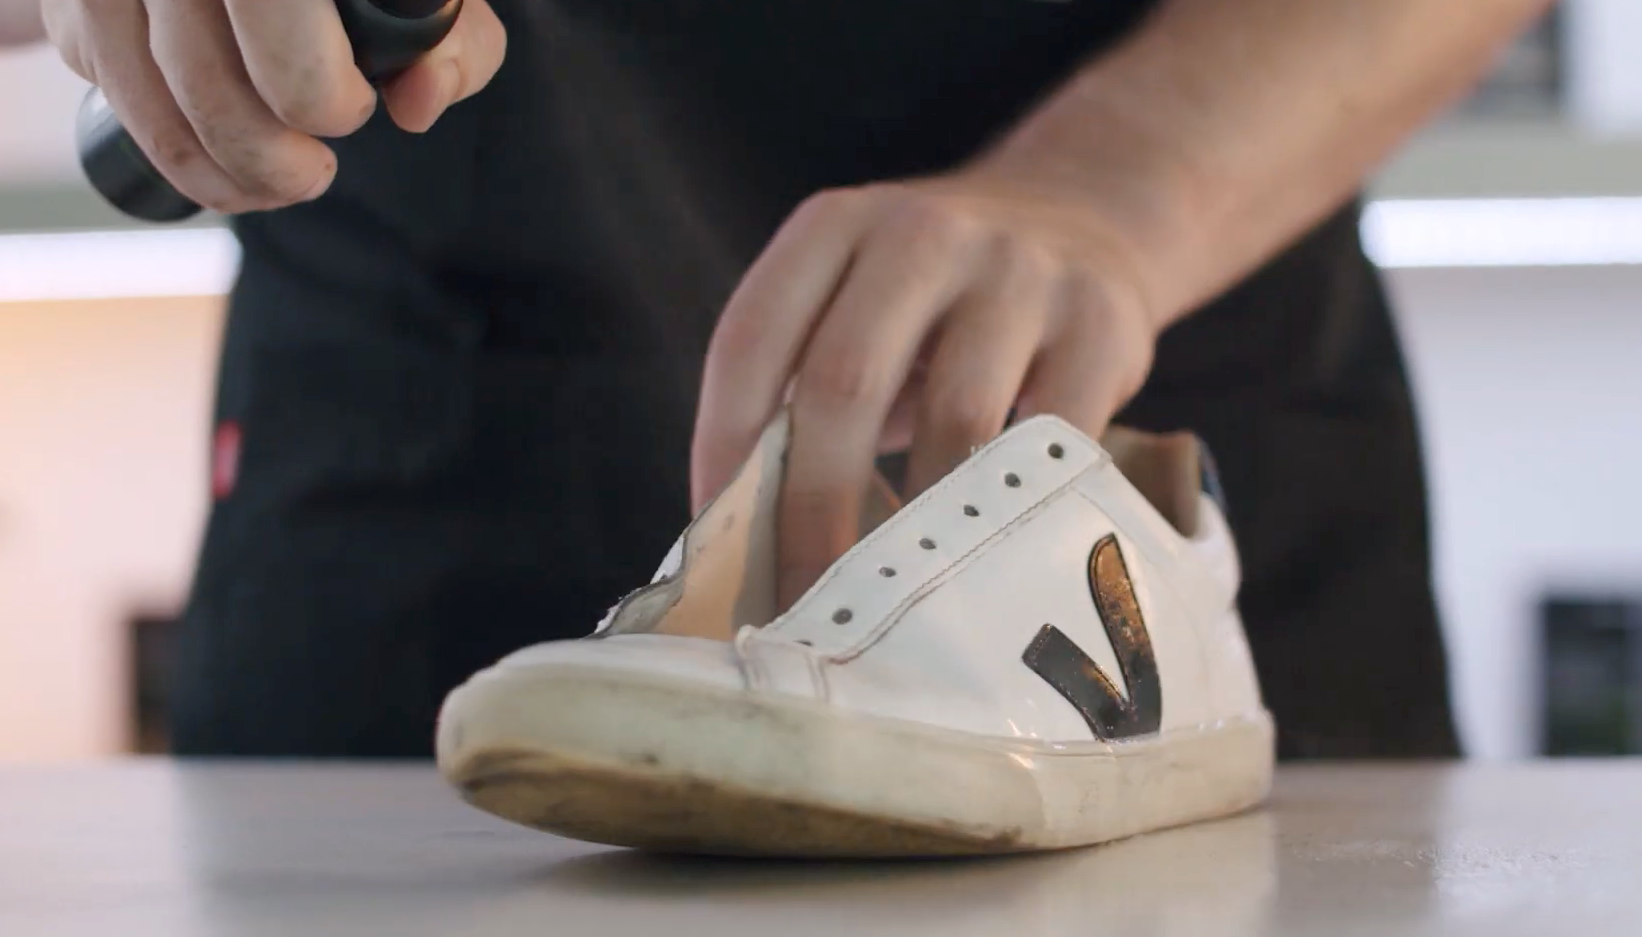
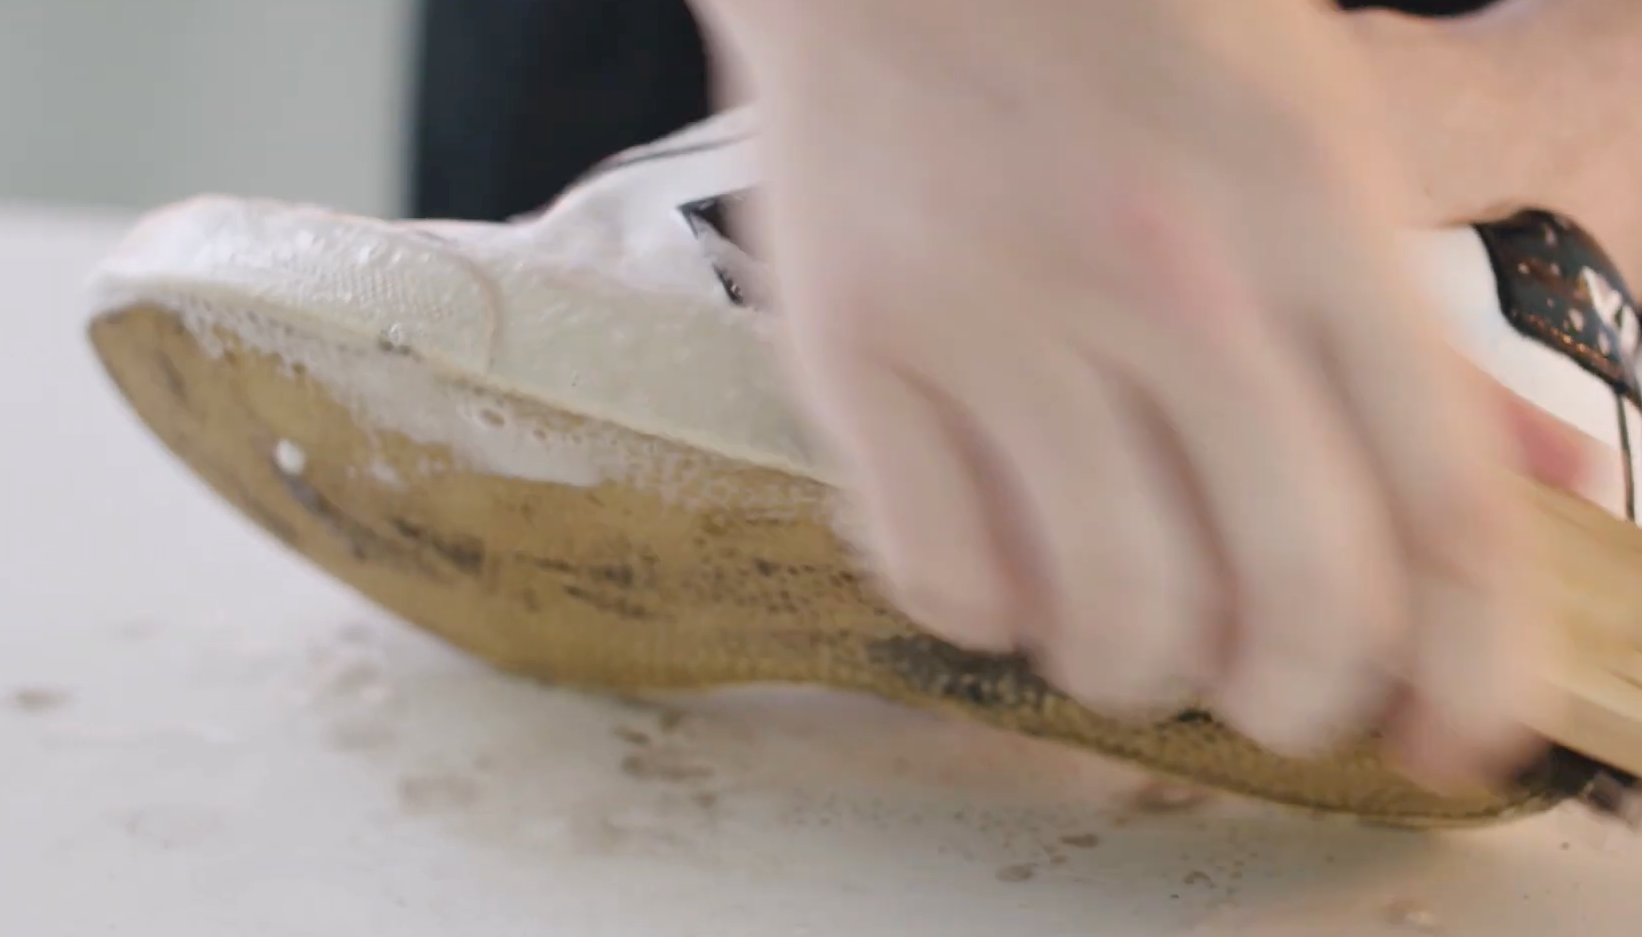
Here are the Steps:
Step 1:
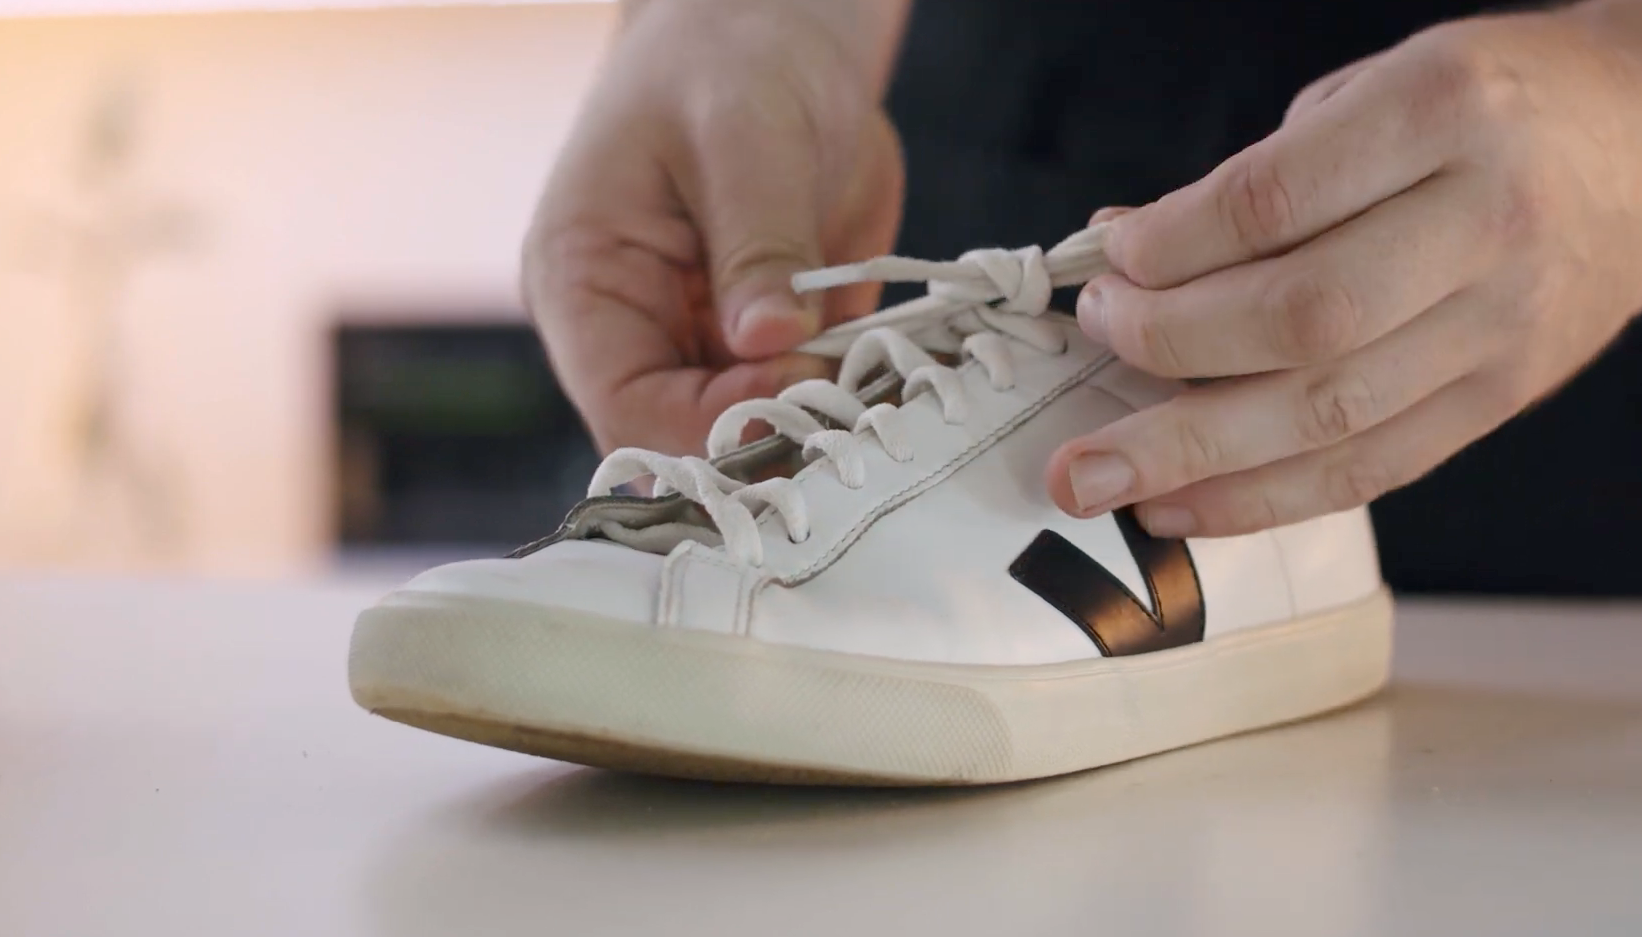
Start by removing the laces of the shoe as we will clean them at a later stage.
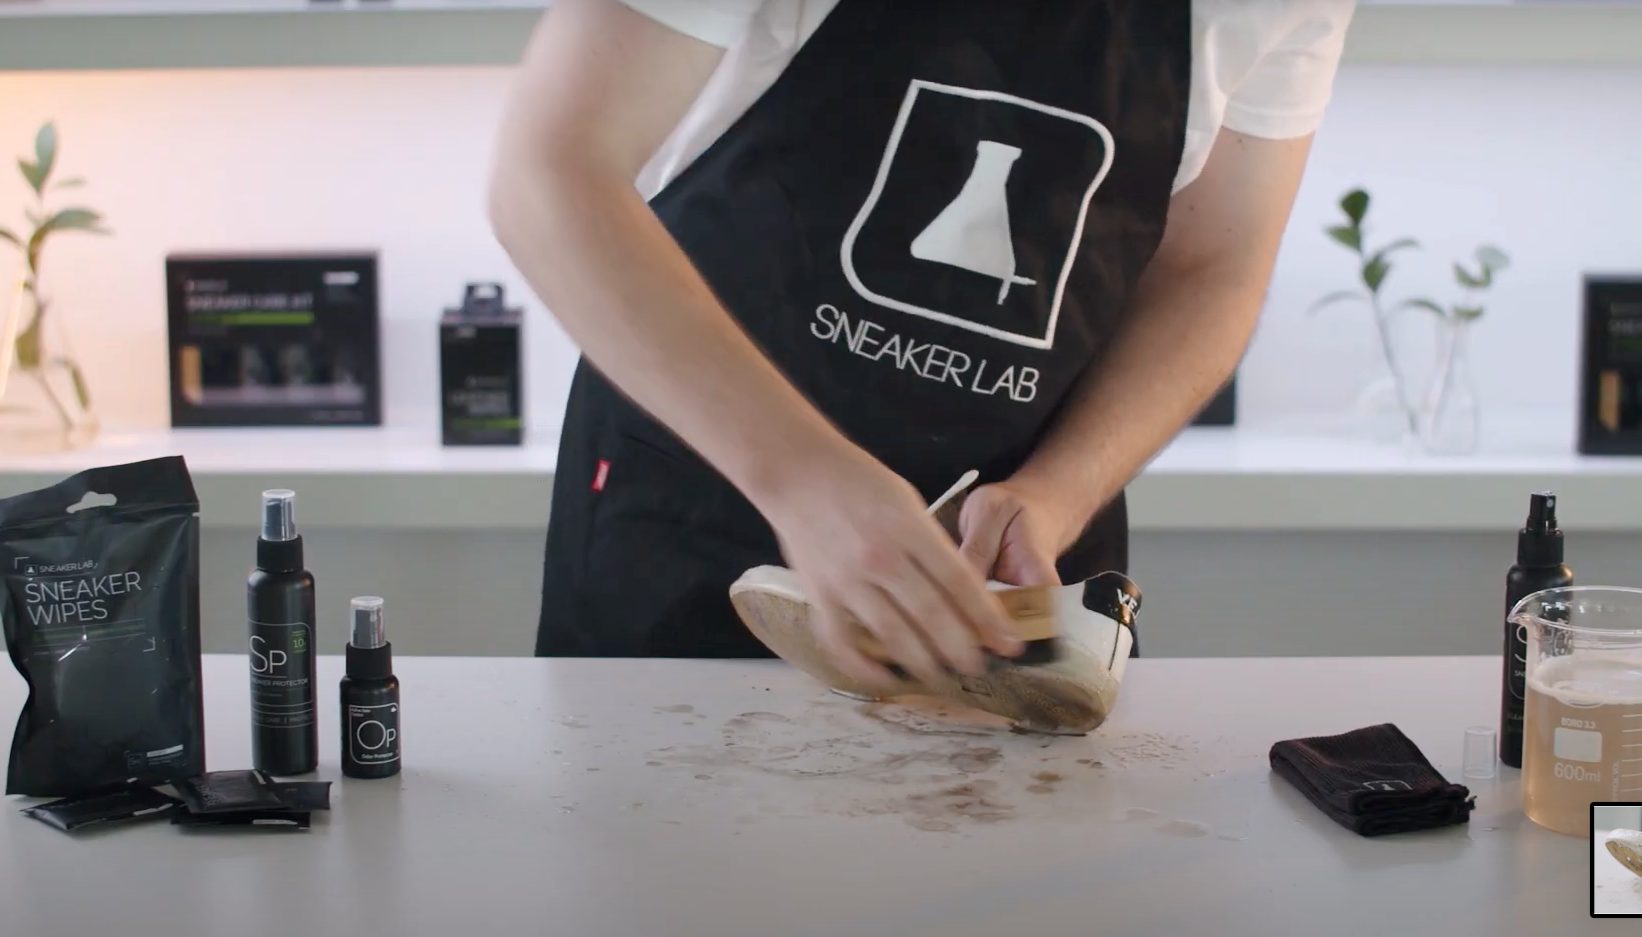
Use our Premium Brush to scrub away any excess dirt. This will get rid of any loose dirt and will make the cleaning process much easier.
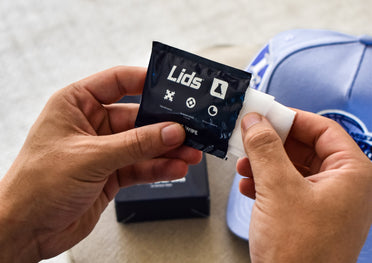
Grab a Sneaker Wipe to get rid of any surface level scuffs and stains. This is a quick and efficient way to remove most of the dirt before you begin the deep clean.
Step 2:
Generously spray the sneaker with Sneaker Cleaner covering all dirty sections. Dip our Premium Brush into water and start scrubbing in small circular motions along the uppers. Continue this process until the uppers and tongue of the shoe are clean.
Move down to the midsoles of the shoe applying more pressure to remove stubborn dirt and then finishing off with the soles.
When the dirt has been removed from the sneaker, use a microfiber towel to wipe off excess moisture. Once complete, set your sneakers aside to dry.
Step 3:
When dry, lace up your sneakers to prepare for applying our Odor Protector and Leather Care.
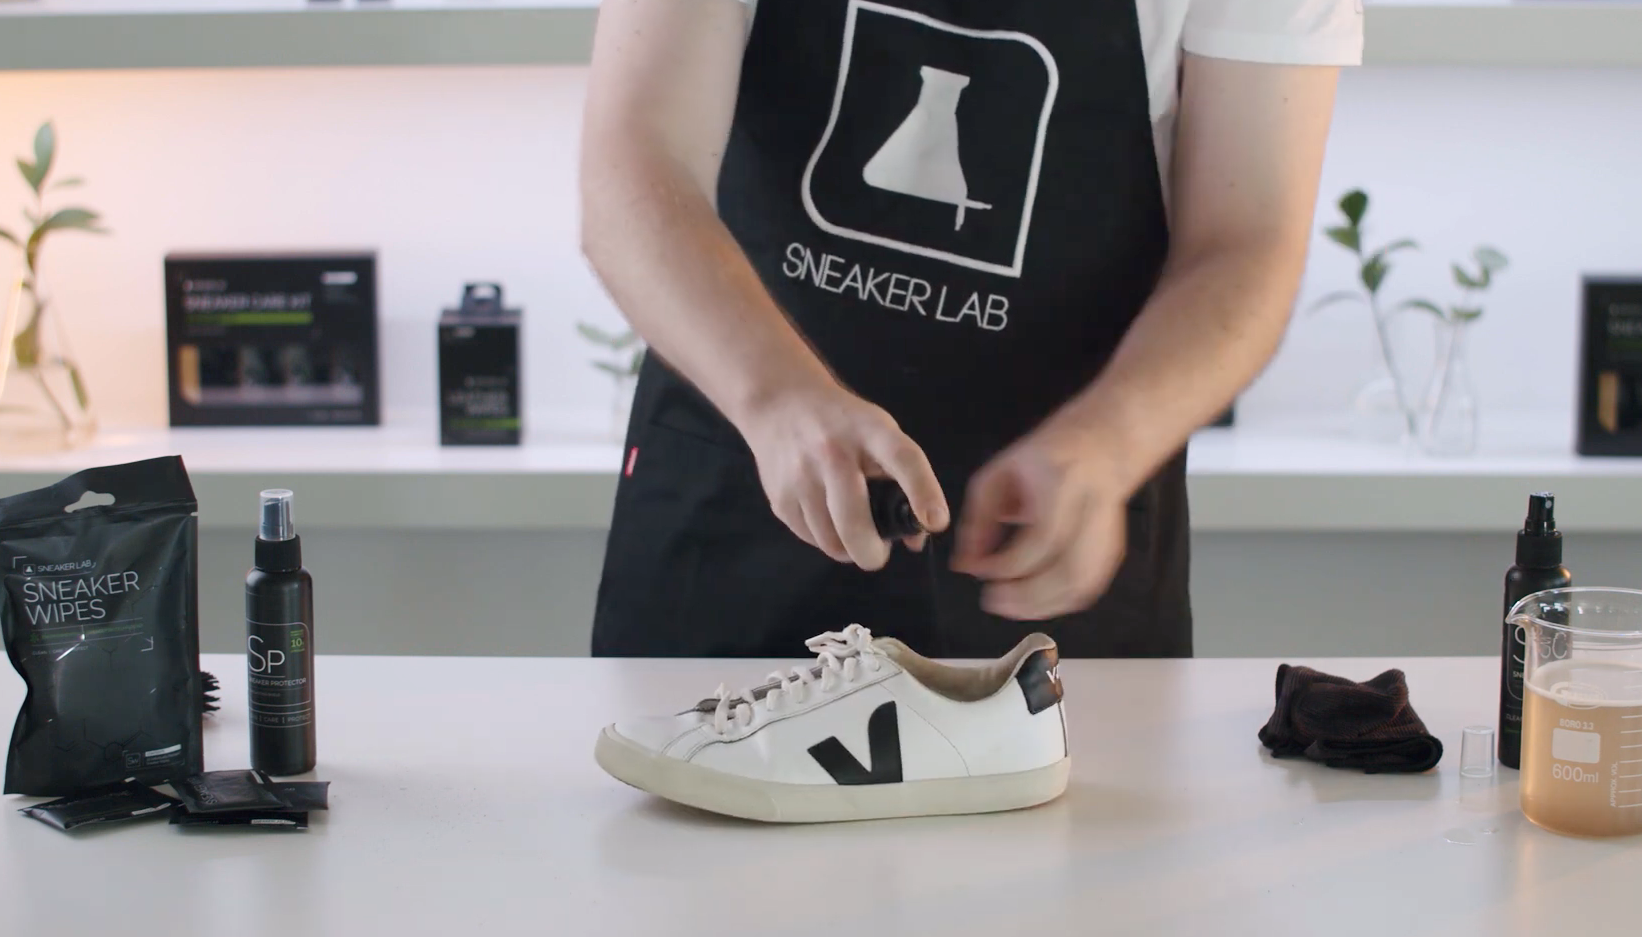
Use our Odor Protector to fight off any unwanted odors and have your sneakers smelling fresh again. If you have innersoles that are removable, spray them and the inside of your sneakers. Odor Protector will actively work overnight.
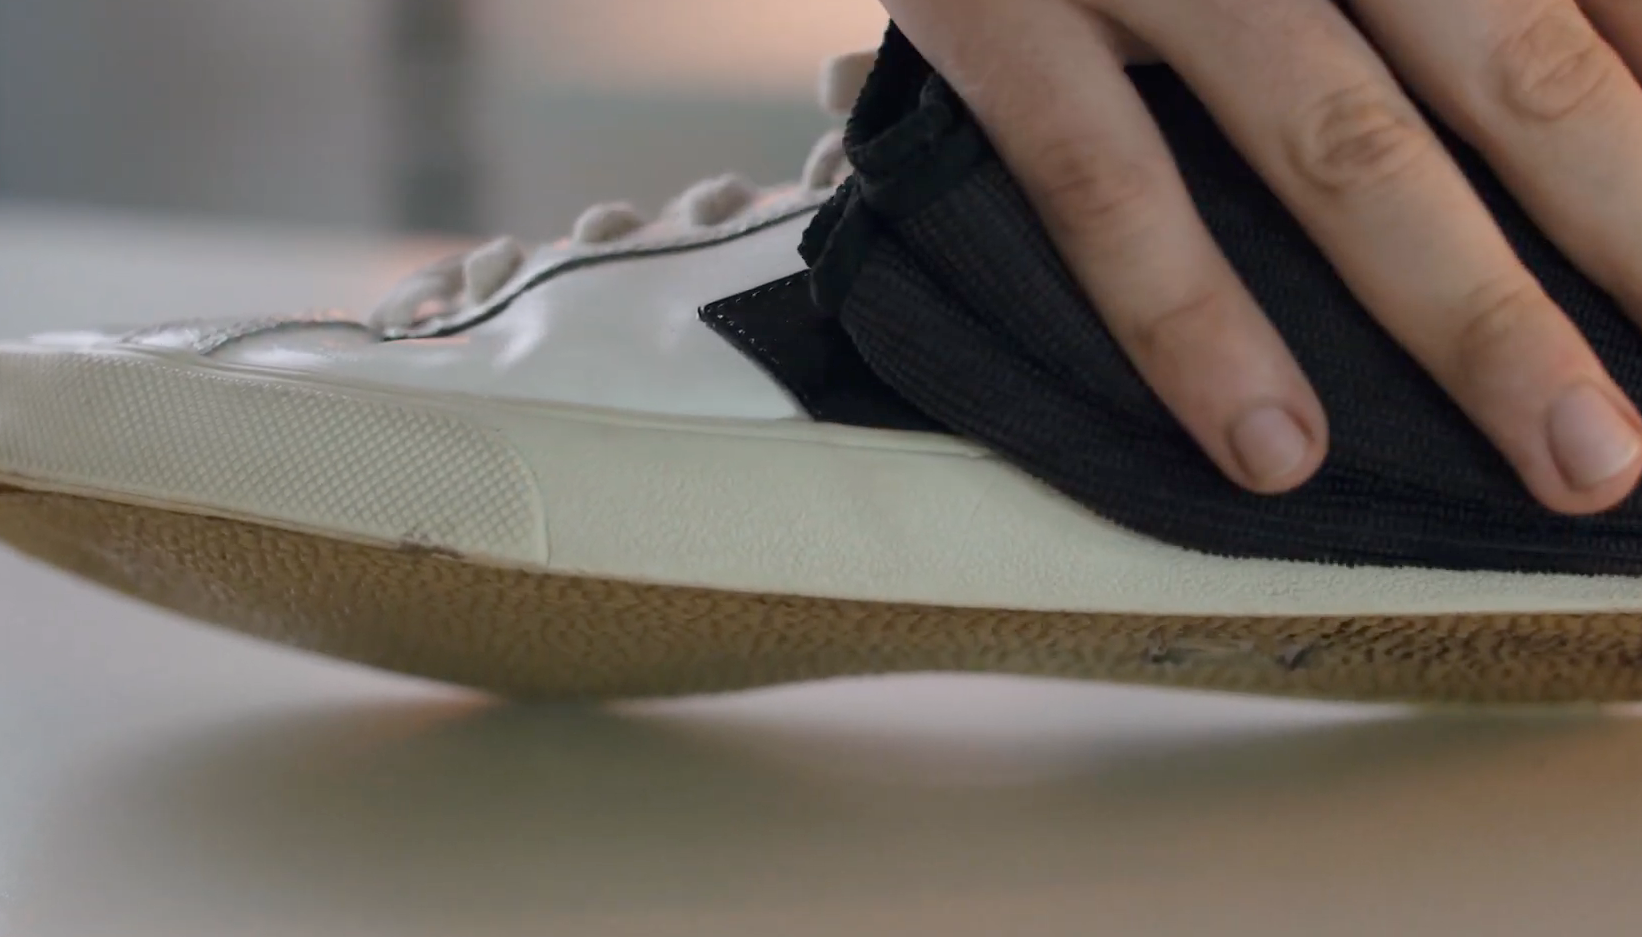
Lastly, you can apply our Leather Care to protect and nourish them. Our Leather Care works on both leather and PU. It UV protects and shines whilst creating a water-resistant seal. This will prolong the life of your sneakers. Apply Leather Care to a microfiber towel and gently massage into the leather and leave to air dry.
[ Follow ]
