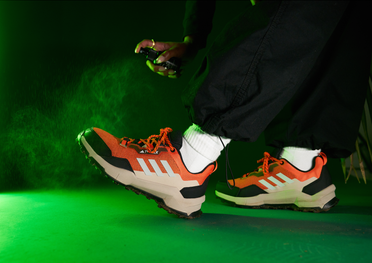
How To Clean adidas Stan Smith Sneakers
[ How To ]
Article
 Play video
The adidas Stan Smith has been an iconic silhouette for years and is an extremely popular sneaker that is, what some would call, timeless.
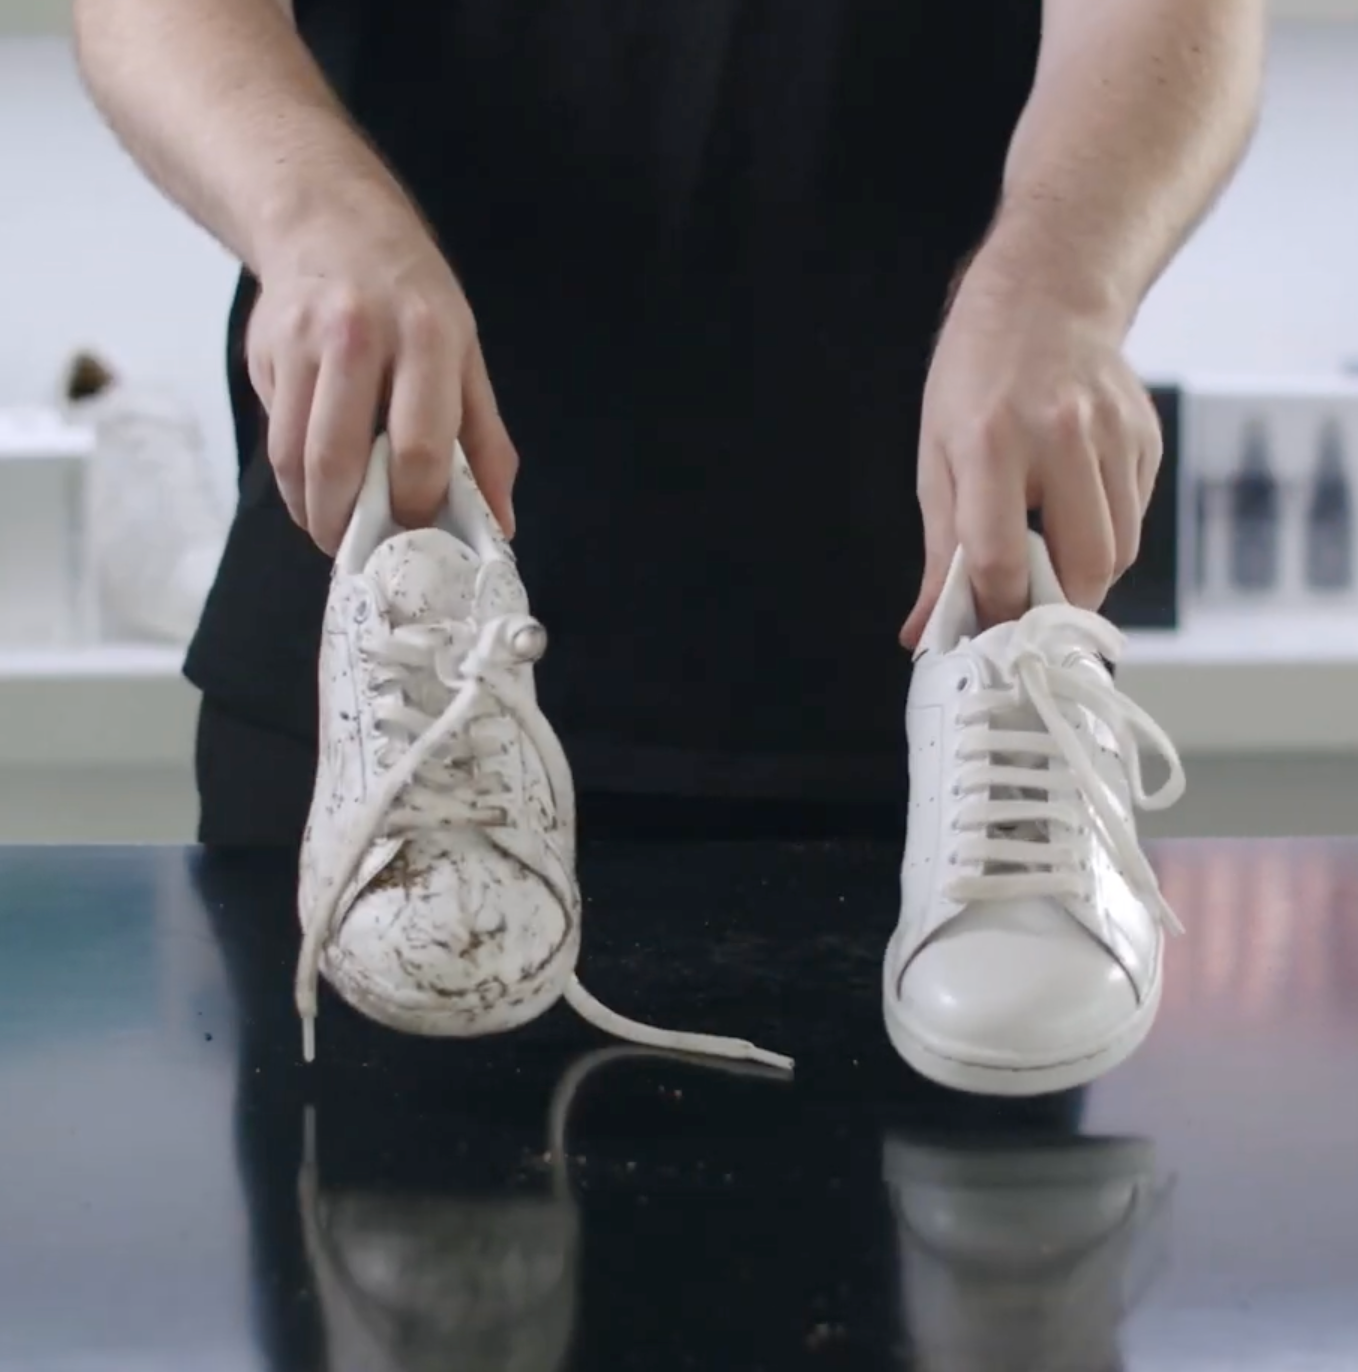
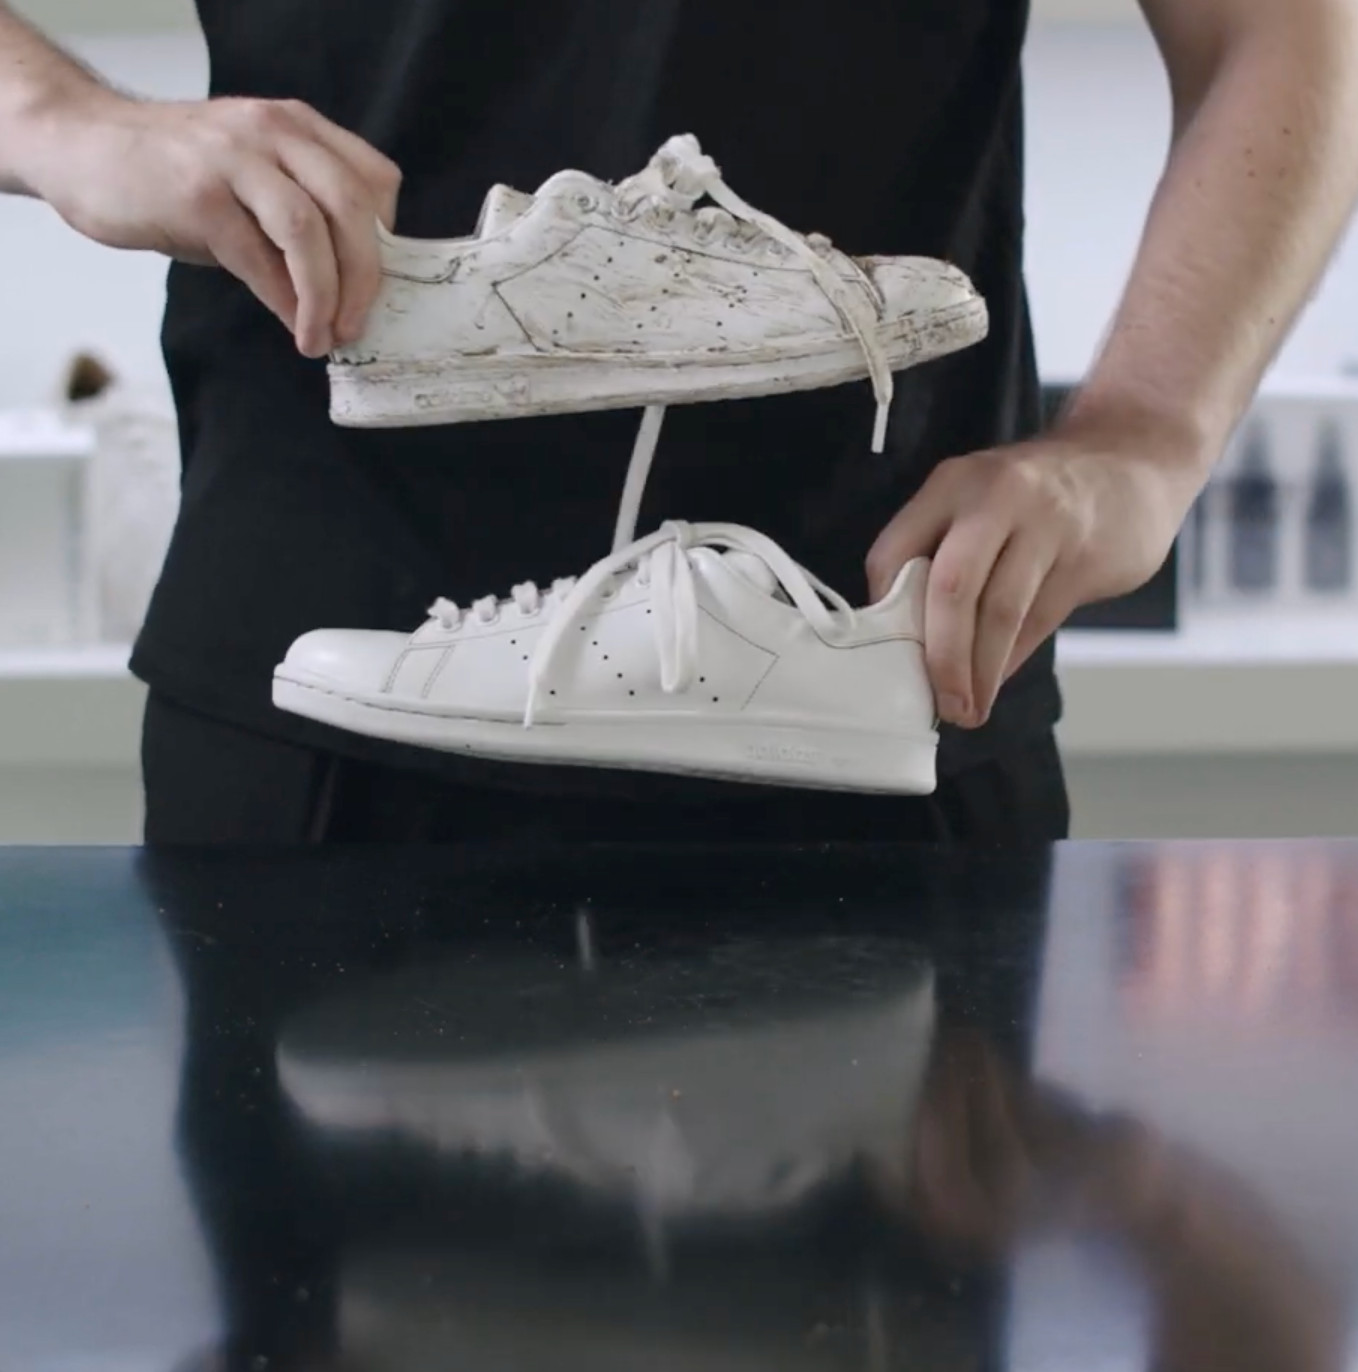
We got our hands on a pair that have seen some action and need some TLC.


Here’s our step by step guide on how to clean your white leather Stan Smiths.
Have a read through or watch the video above to find out how.
Here's our step by step guide:
Step 1
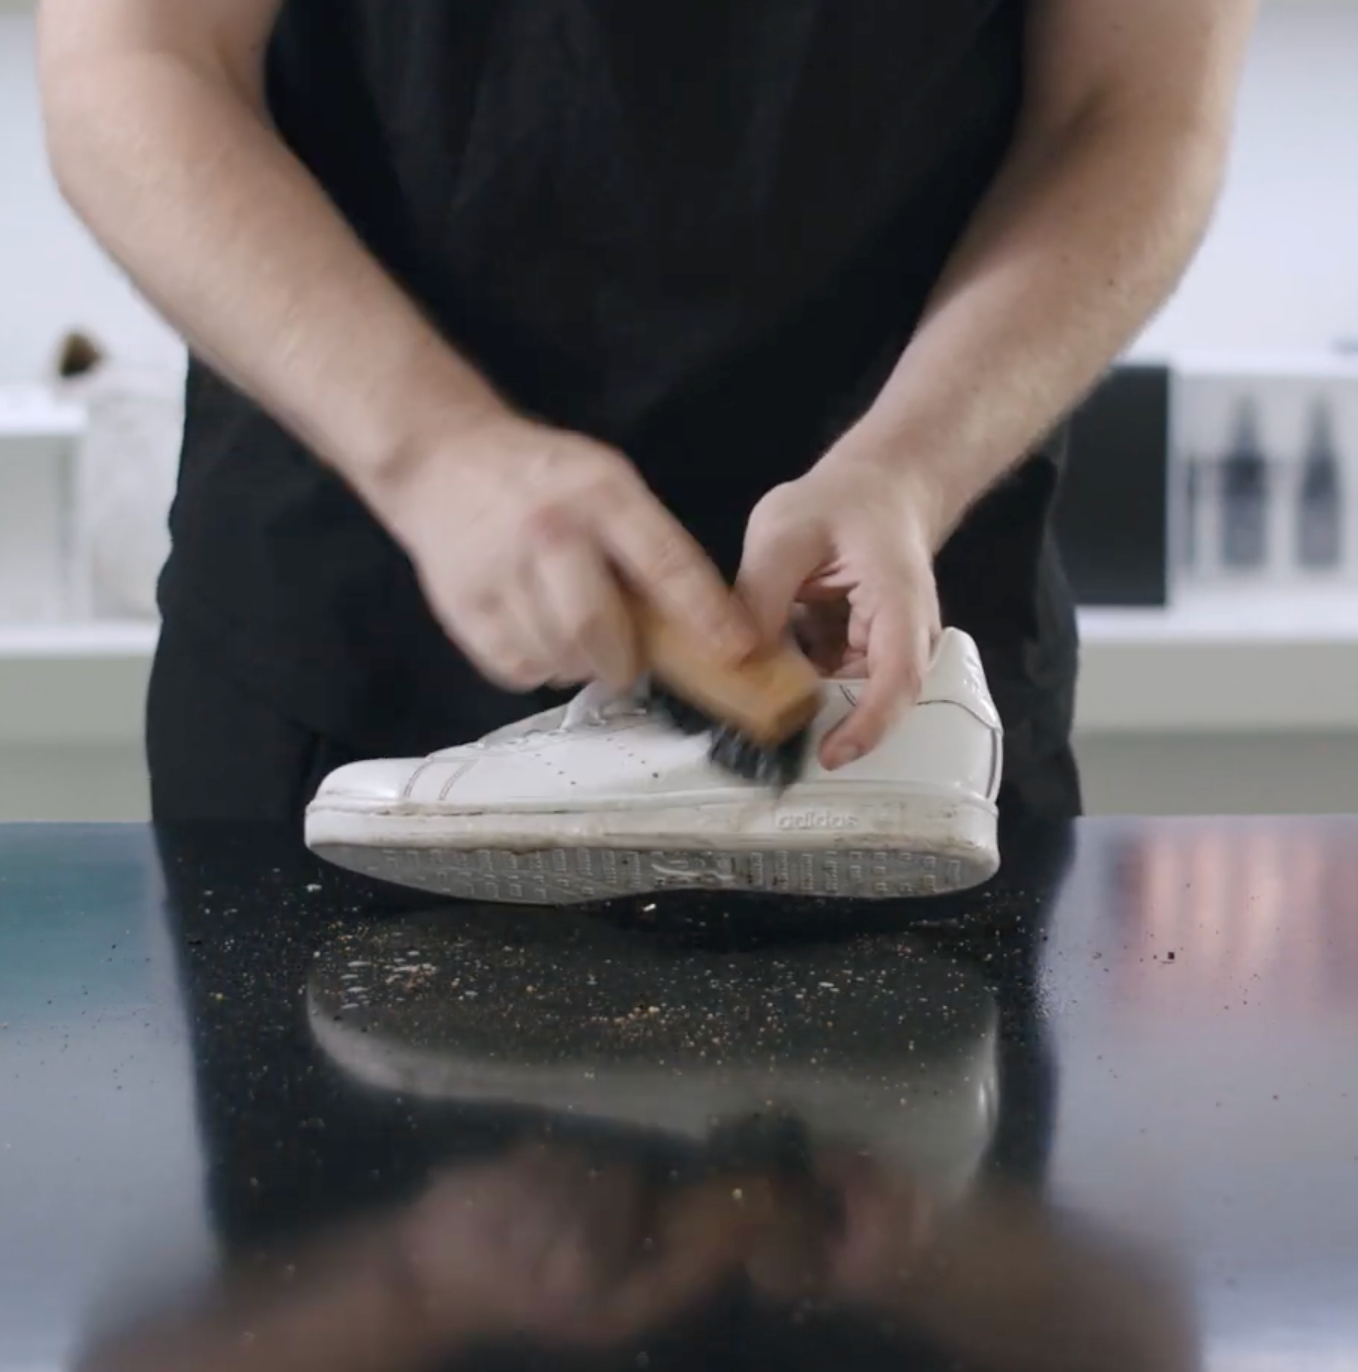
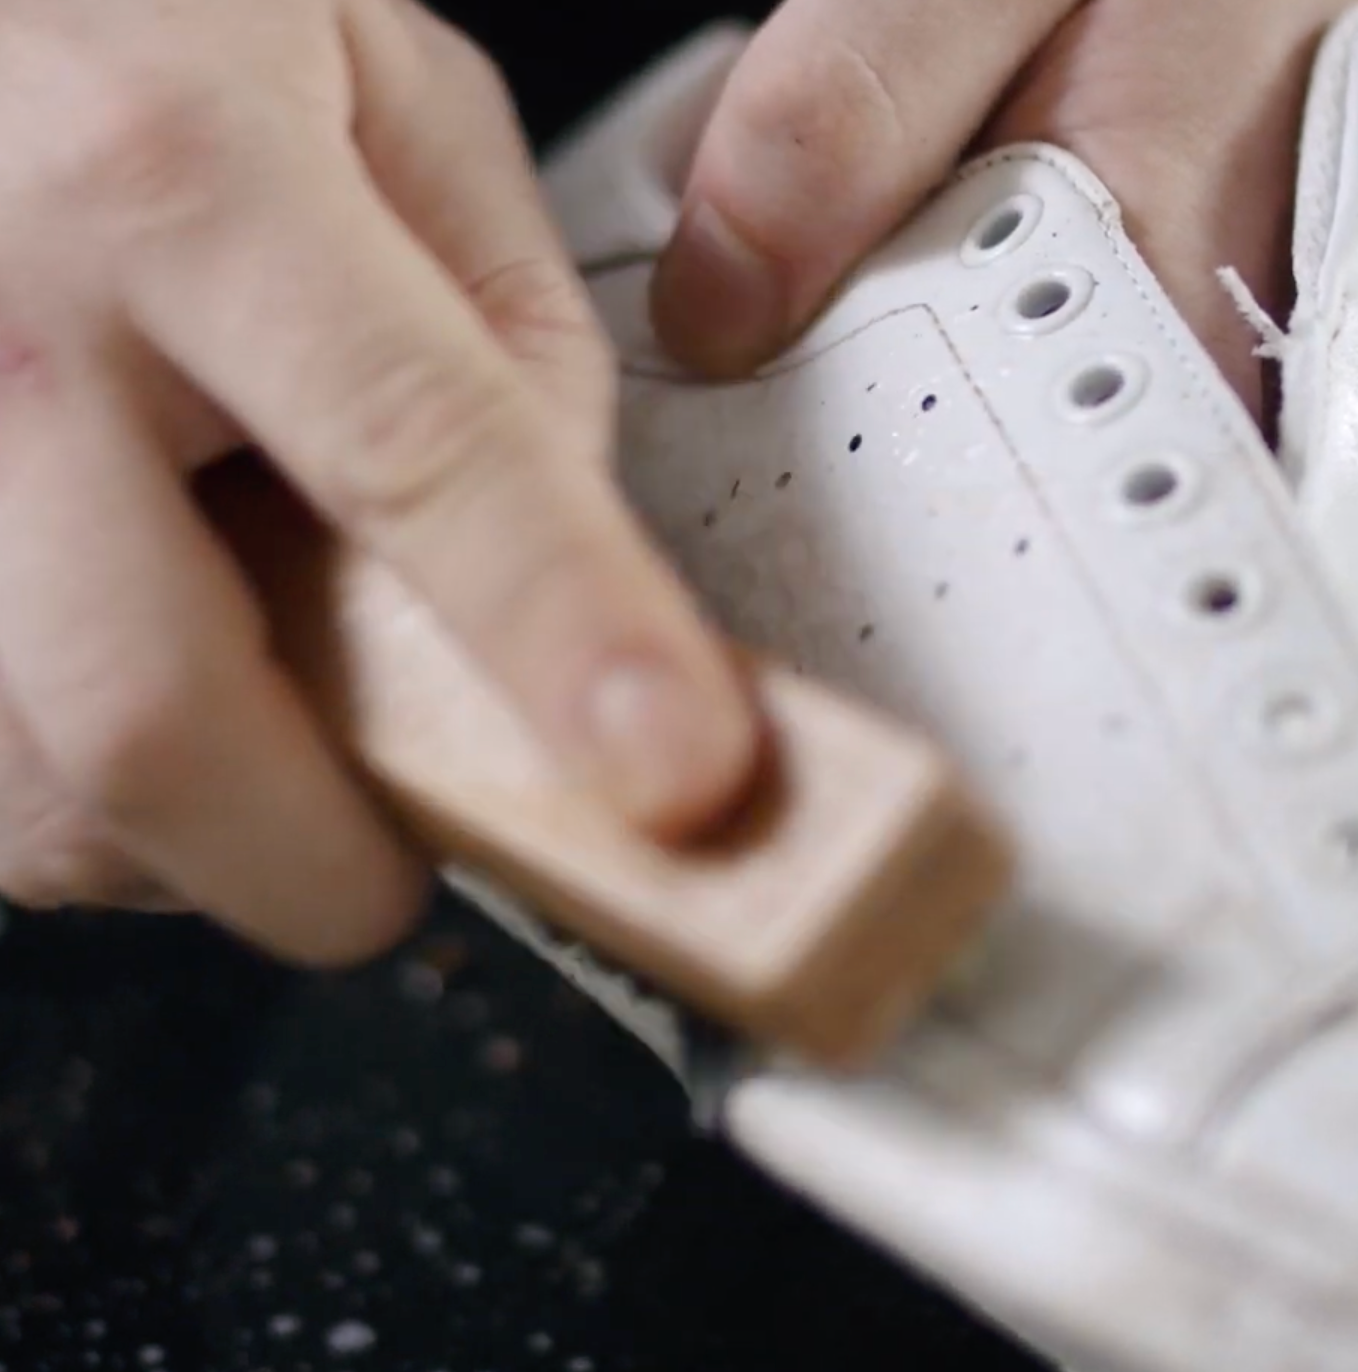
Remove laces from your sneakers and use our Premium Brush to remove the loose dirt on the sneakers.
Step 2
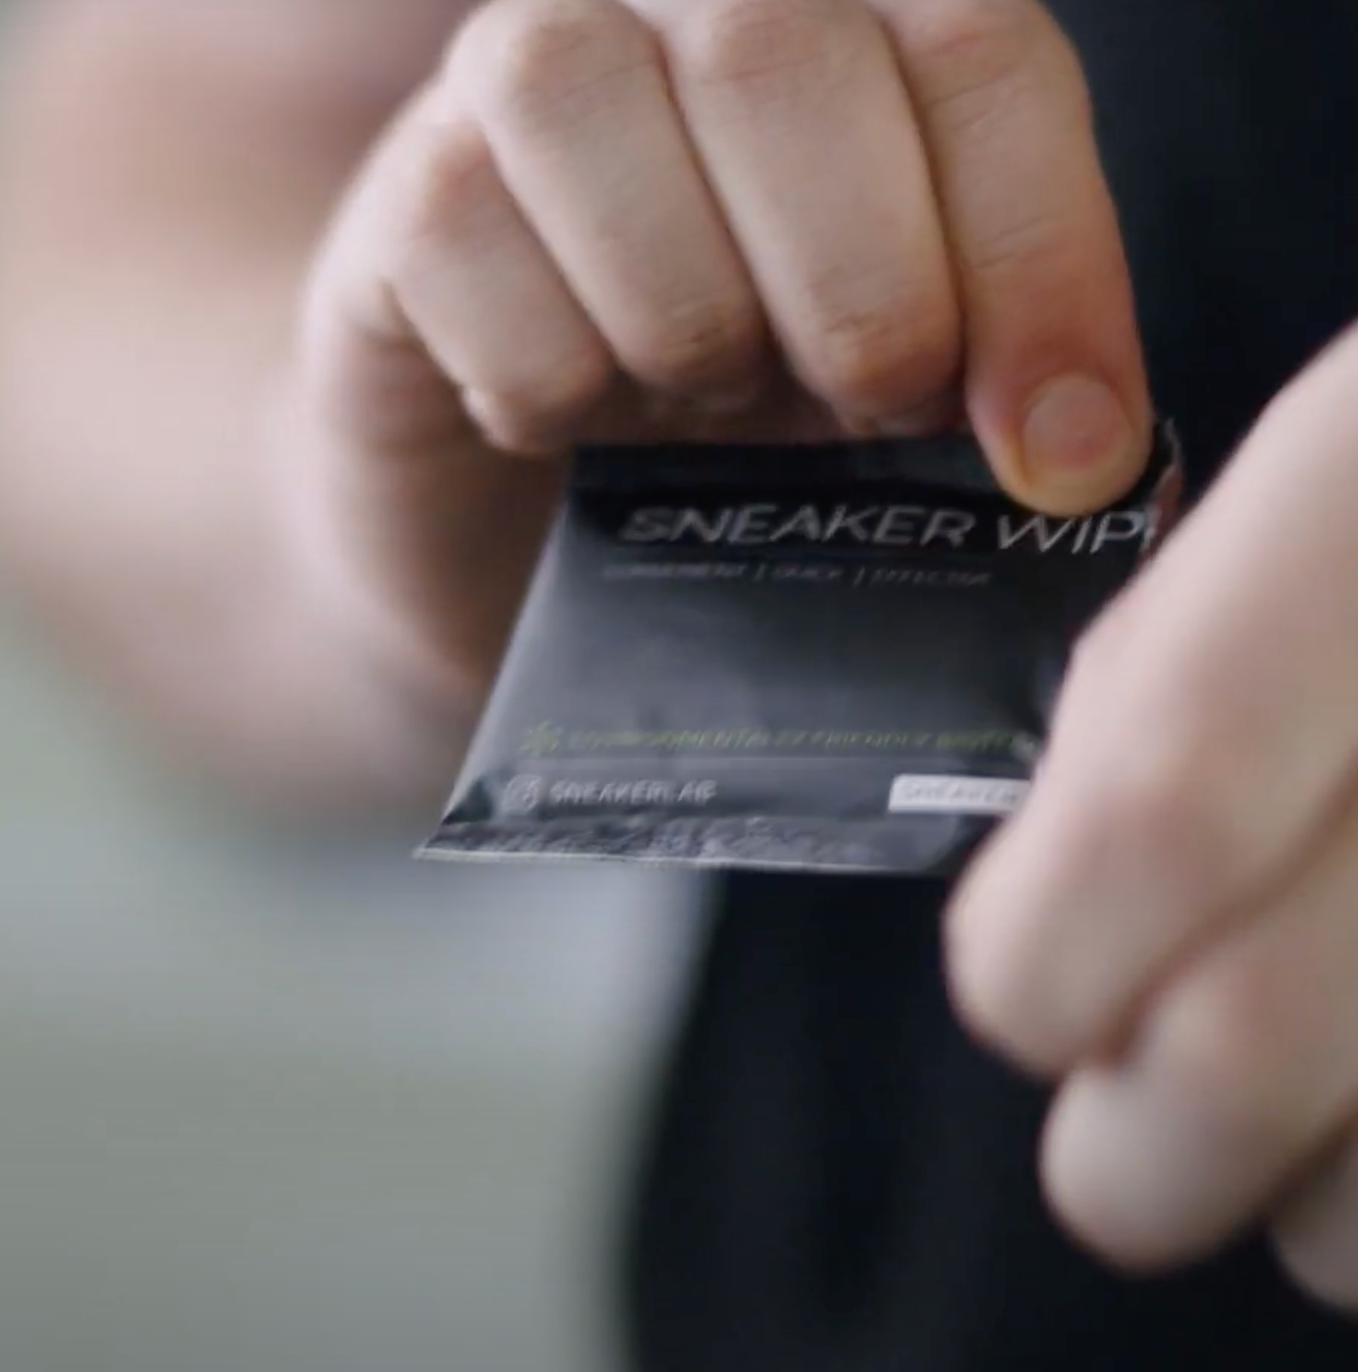
Do a spot clean with a Sneaker Wipe to remove any surface level scuffs and stains as we prepare for the deep clean.
Step 3
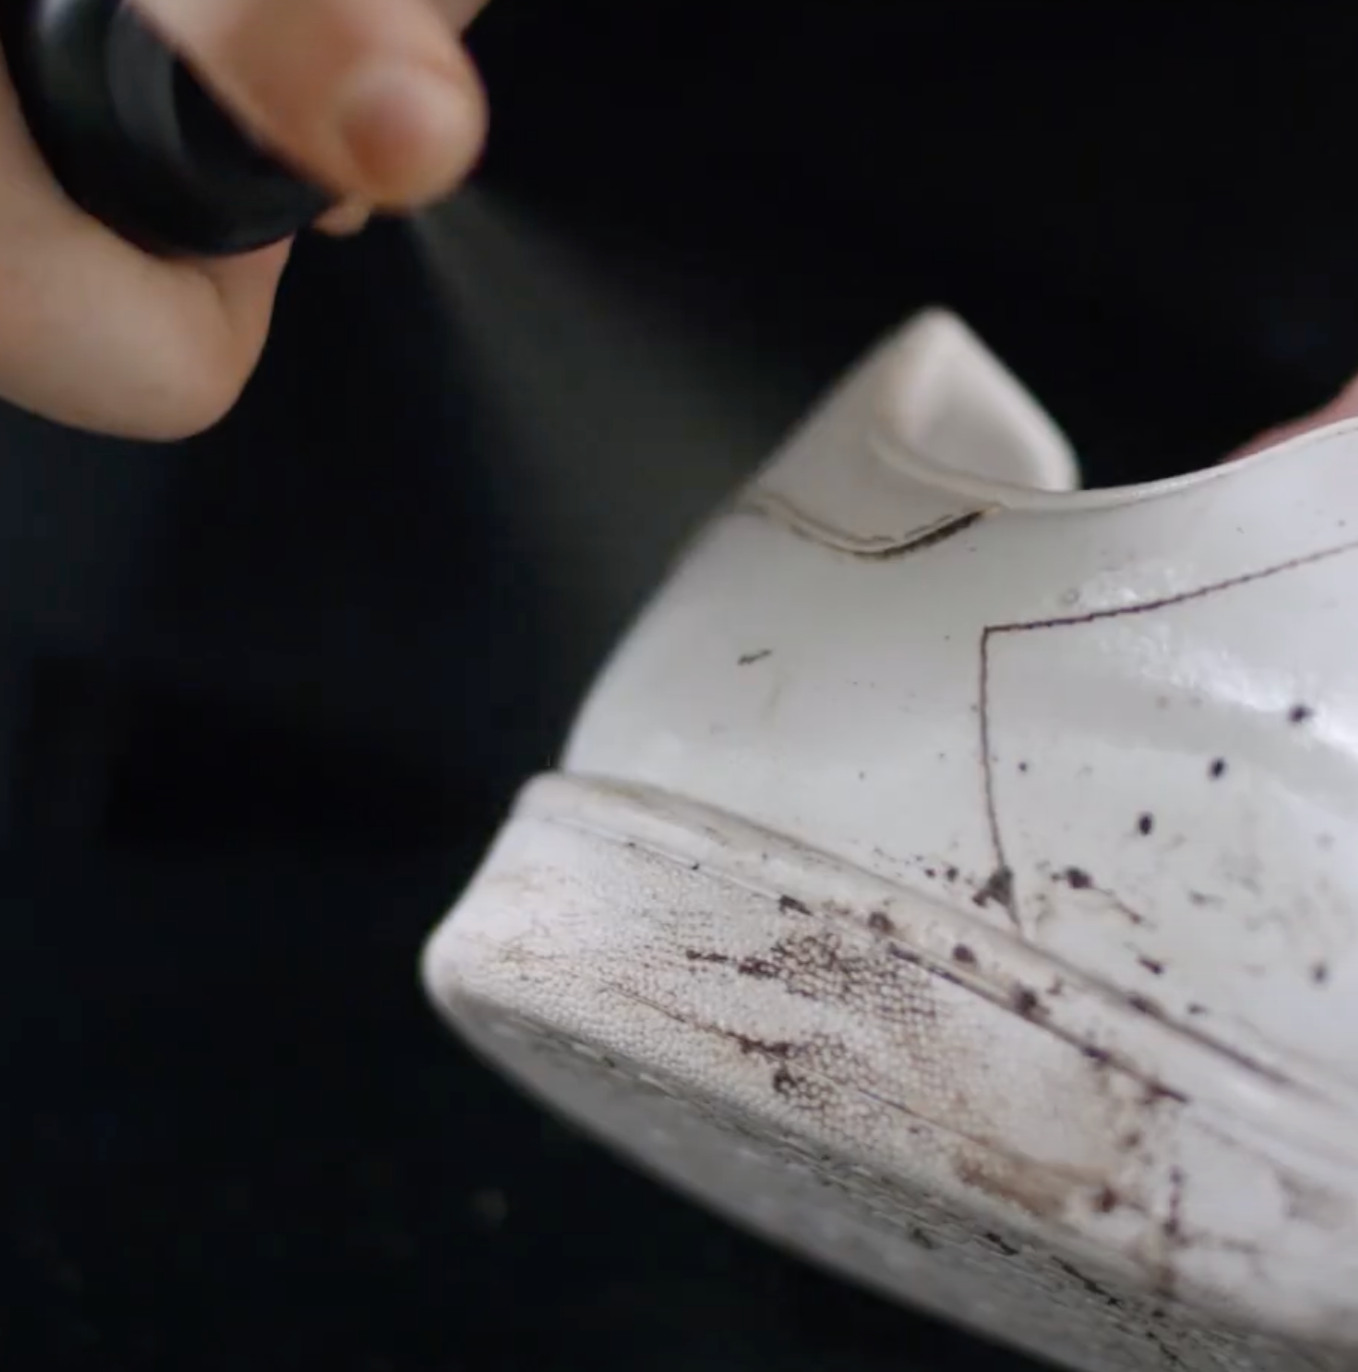
Generously spray the sneakers with our Sneaker Cleaner, focusing on heavily dirtied areas. Dip the Premium Brush into the container of water and tap off the excess liquid. Gently scrub the upper of your shoe in small circular movements. You won’t harm the leather with our Premium Brush so don’t worry about getting stuck into the dirt. Rinse the brush and reapply Sneaker Cleaner when necessary, paying attention to those hard to reach places.
Once you’ve cleaned your upper, make your way down to the midsoles of the shoe. After you’ve given your undersoles a good scrub, use our Micro-Fibre towel to partially dry them off, and set them aside to dry.
Step 4
Spray Sneaker Cleaner on the laces, rub them together in your hands and dip them into water. Continue this process until your laces are well saturated and beginning to appear clean. You can then ring out the water and leave to dry alongside your sneakers.
Step 5
Once your laces and shoes are dry, lace up your kicks in preparation for applying our Odor Protector and Leather Care.
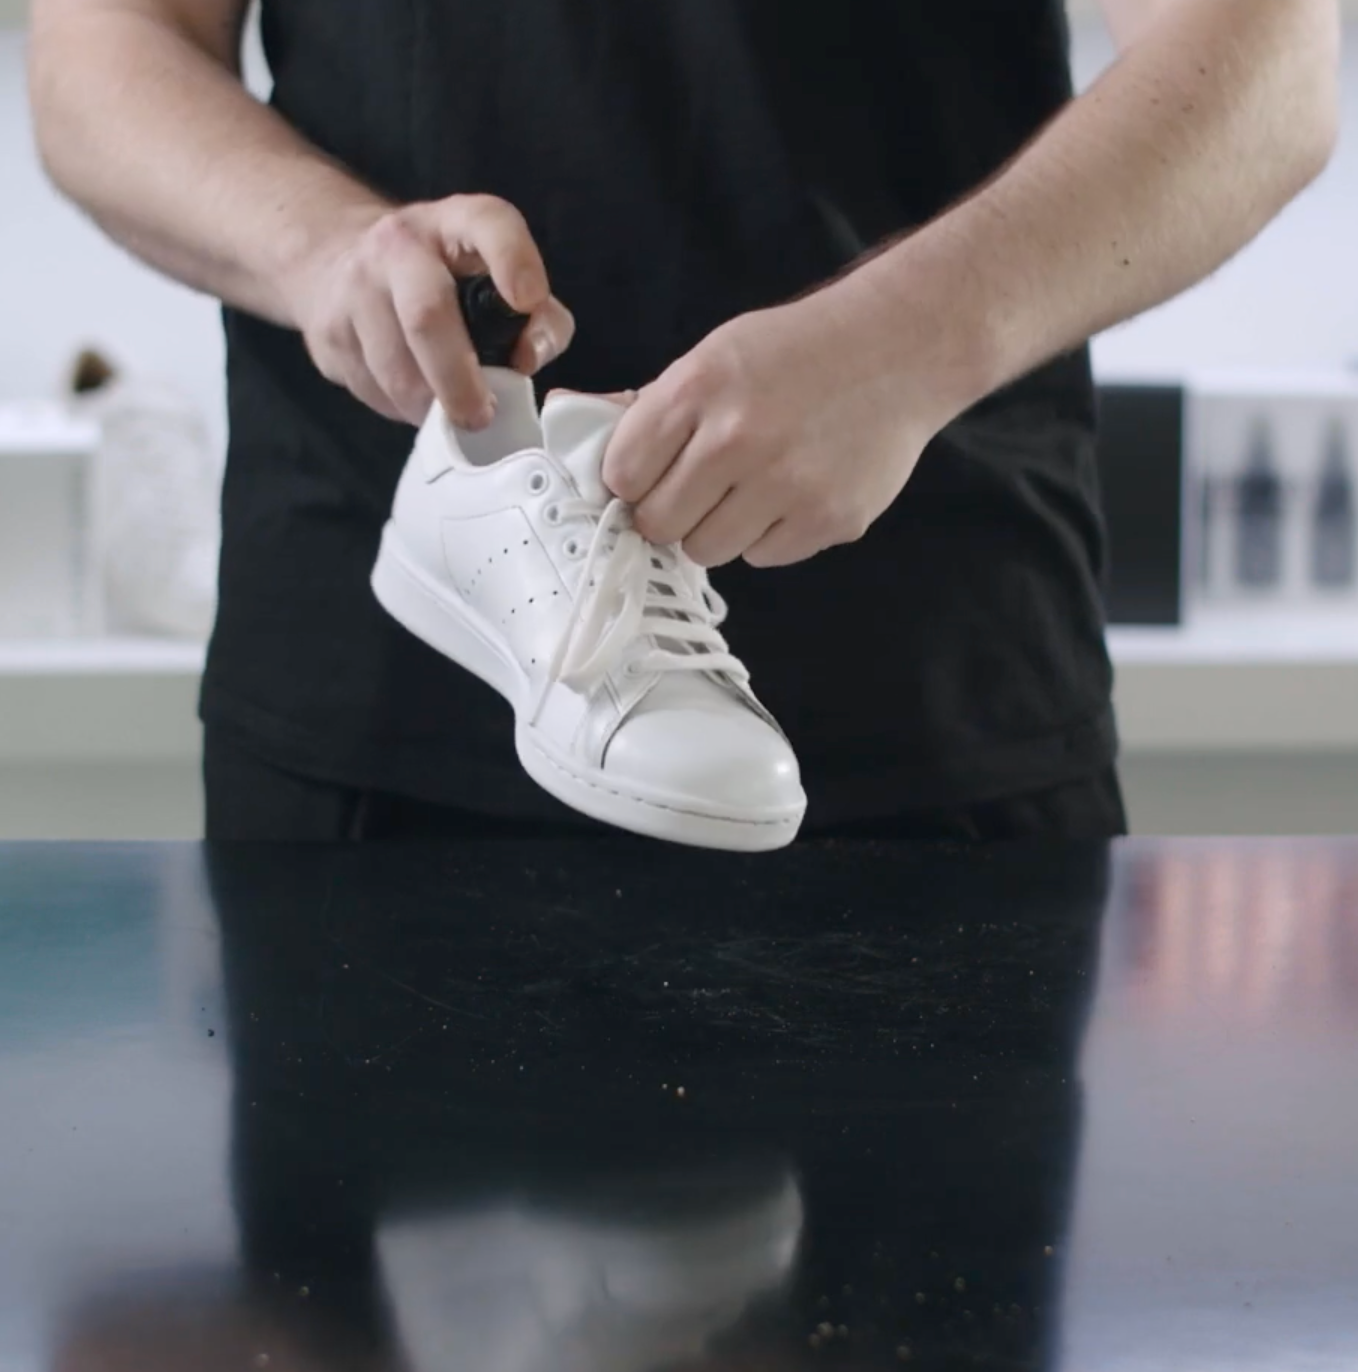
Use our Odor Protector to keep your sneakers feeling fresh for longer. This will fight off any unwanted odors.
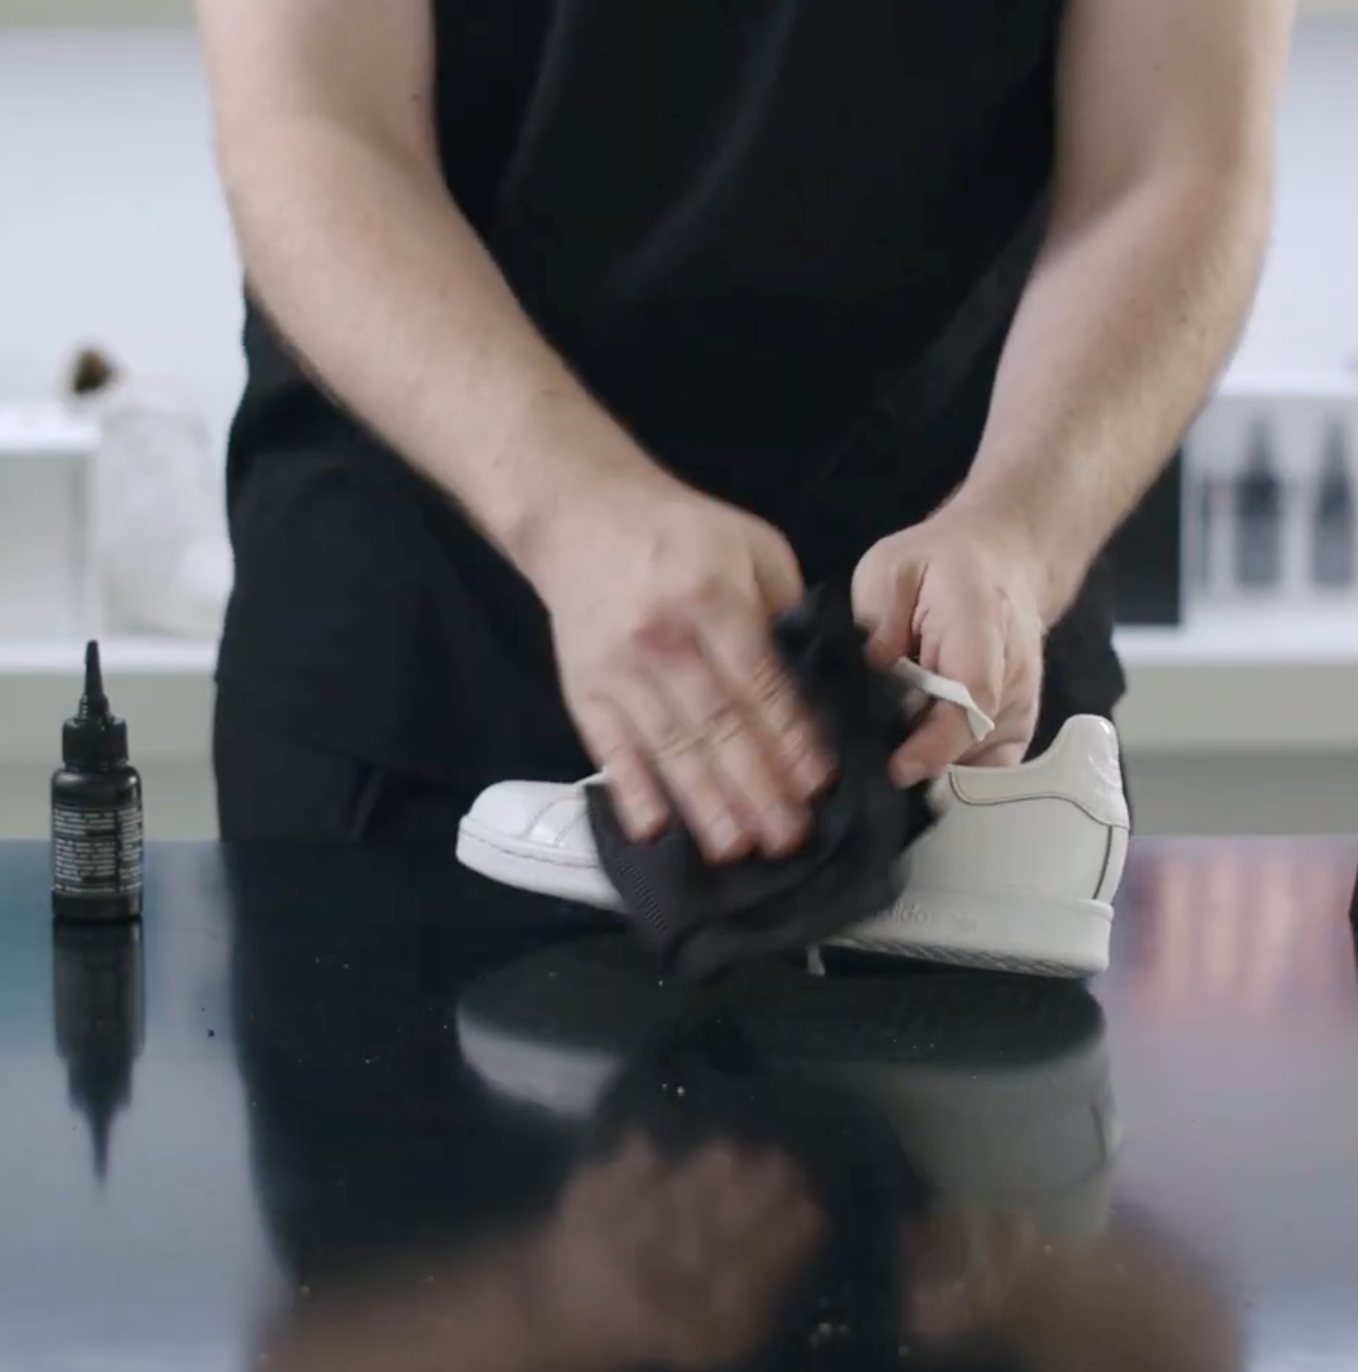
Lastly, you can apply Leather Care to protect and nourish them. This will keep your leather sneakers looking fresher for longer. Apply Leather Care to a microfiber towel and gently massage into the leather and leave to air dry.
[ Follow ]
