How To Clean Air Max 90
[ How To ]
Article
 Play video
The Nike Air Max 90 debuted in 1990 and has been an iconic silhouette since.
The model has seen many colorways over the years and will be a mainstay in streetwear and fashion for years to come.
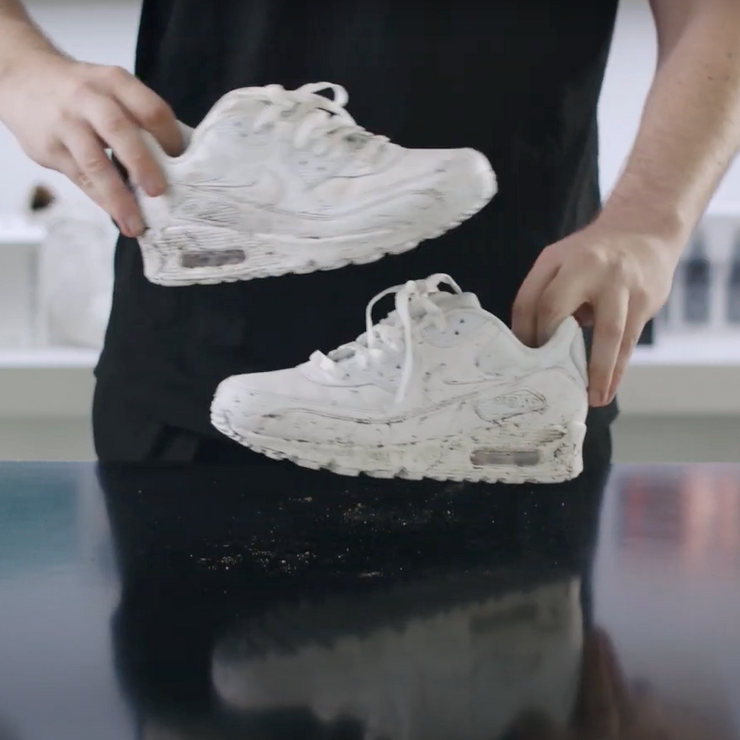
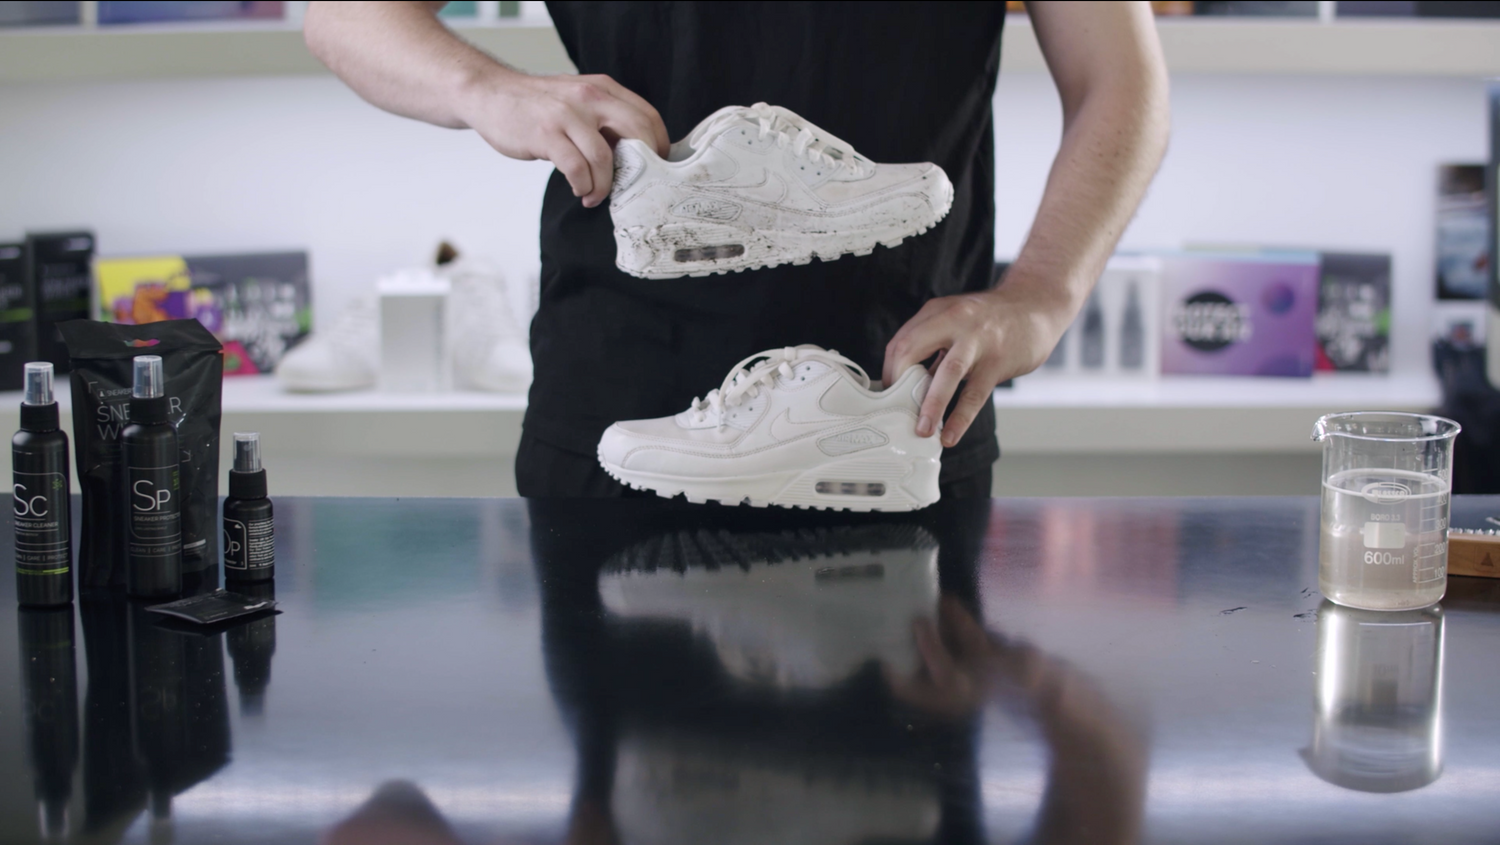
We got our hands on a dirty pair of Nike Air Max 90 in the Triple White colorway...
which features a blend of premium leather, mesh, rubber and is completed with the famed Nike Air Max unit in the heel.
Here's our step by step guide on the best way to clean, care for and protect your sneakers.
Here's everything you will need to get your Air Max 90s looking fresh again. You will need our Sneaker Cleaner, Premium Brush, a container of water, Micro Fiber Towel, Sneaker Wipes, Odor Protector and our Sneaker Protector.
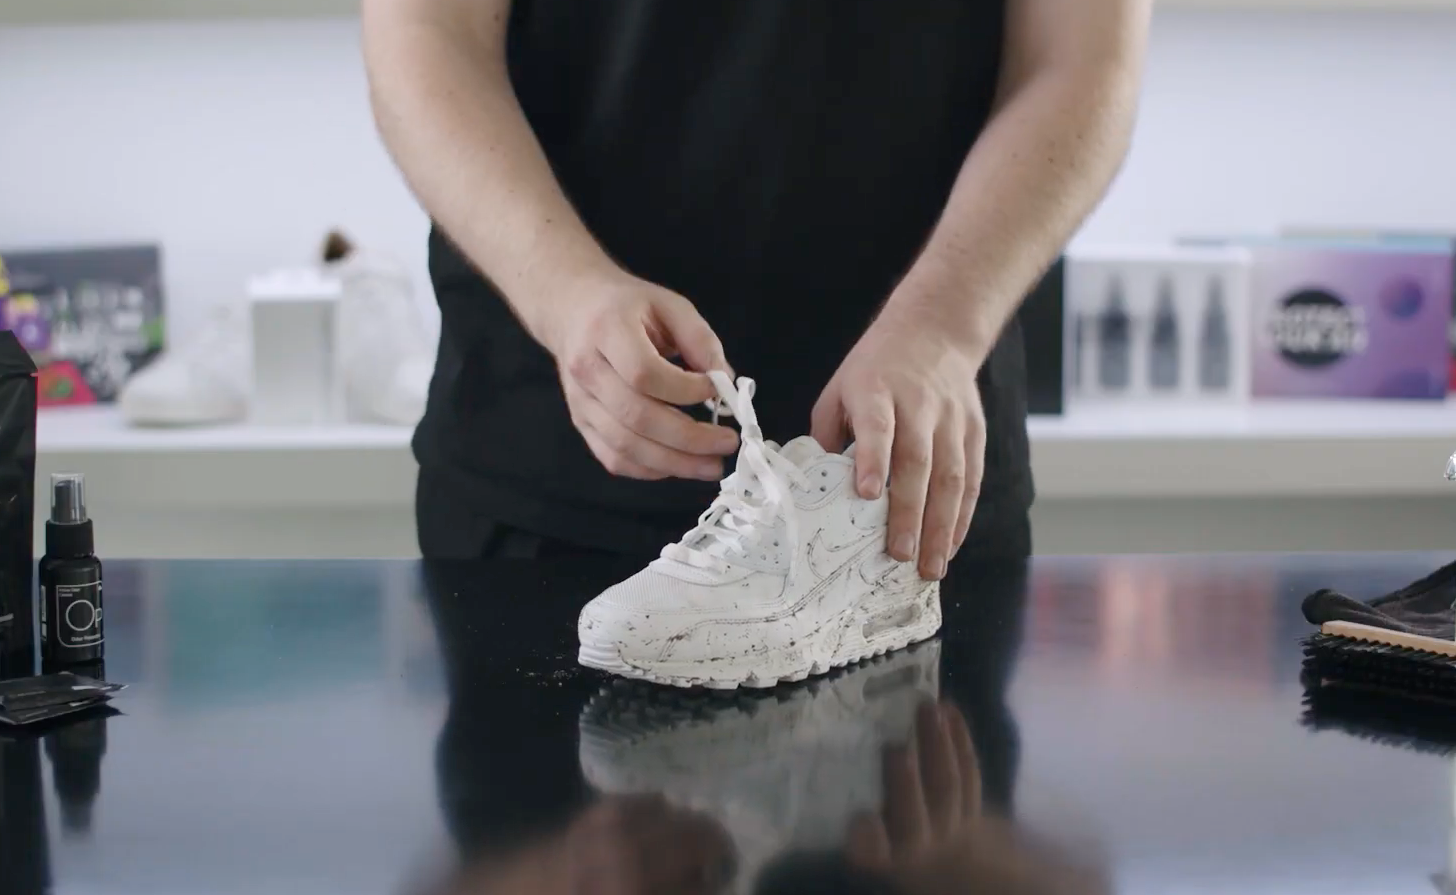
Step 1
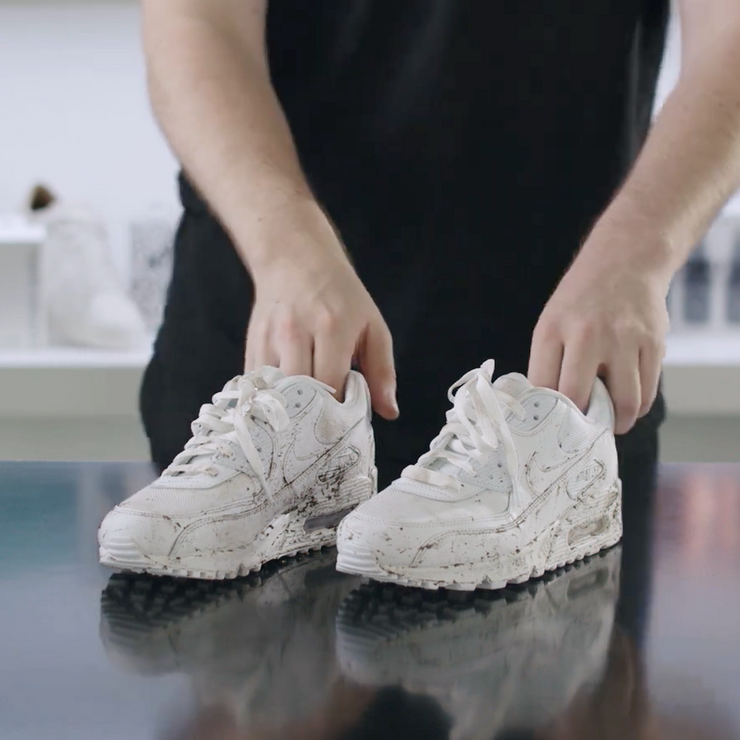
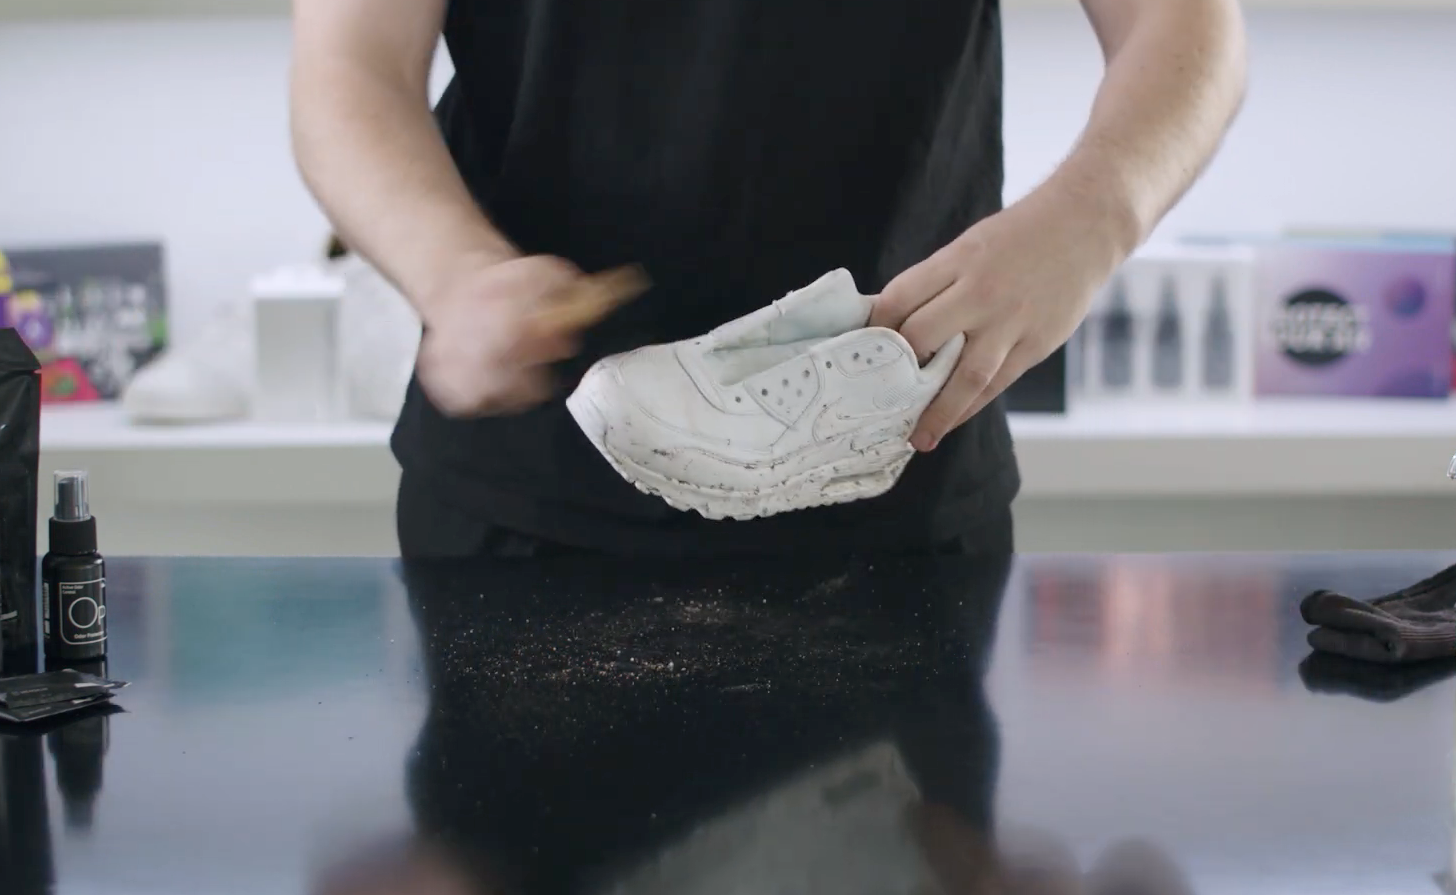
Remove your laces from the sneakers and set aside as we'll clean them at a later stage. Then use our Premium Brush to scrub down the sneakers of any dry dirt.
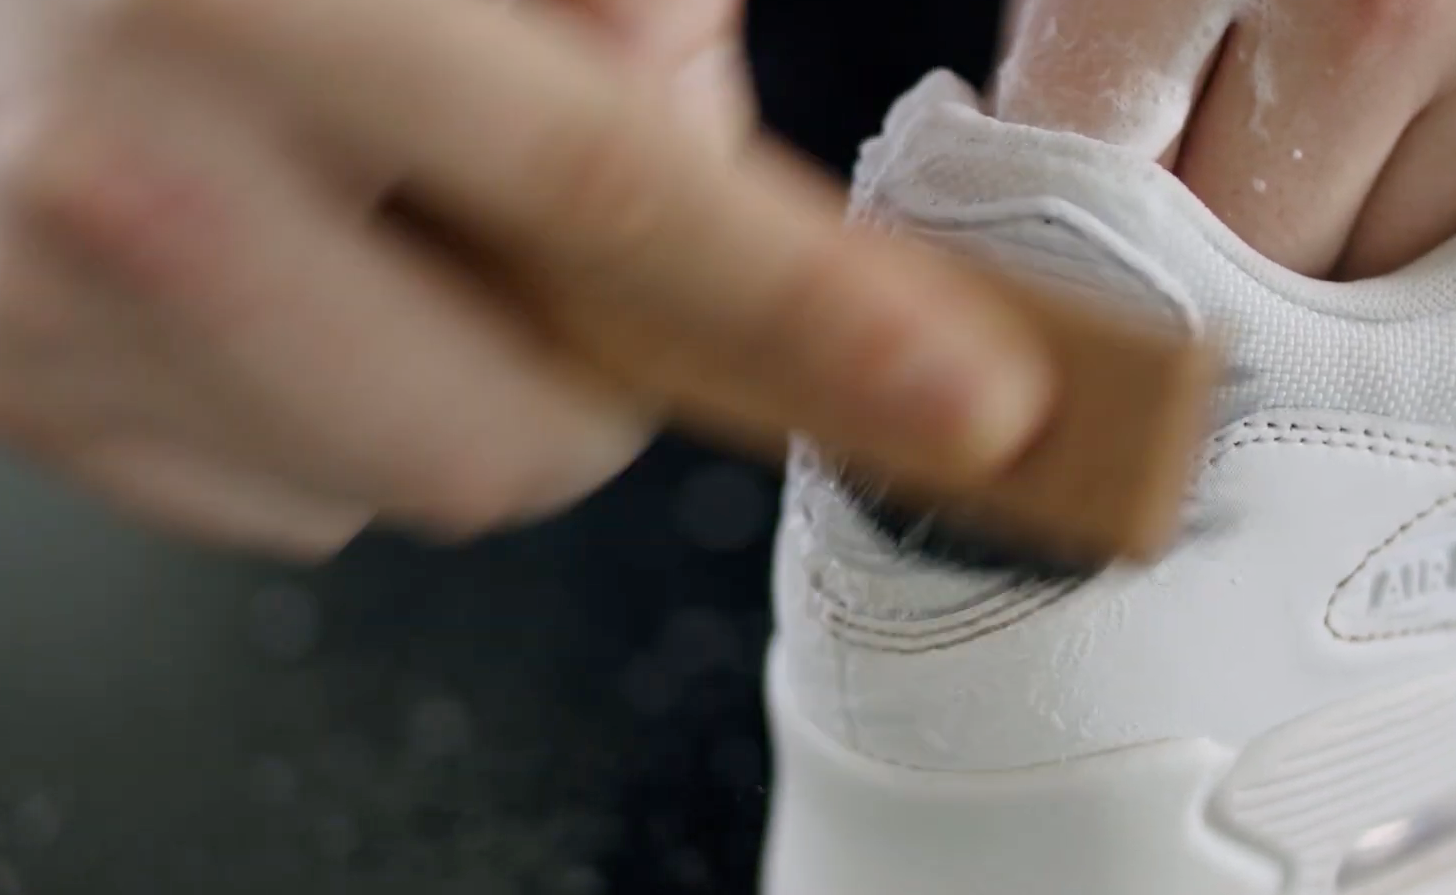
Step 2
Do a spot clean of the shoe with a Sneaker Wipe to remove any surface level scuffs and stains. Pay special attention to the mesh areas of the shoe to lift off any dirt that may be deep within the material.
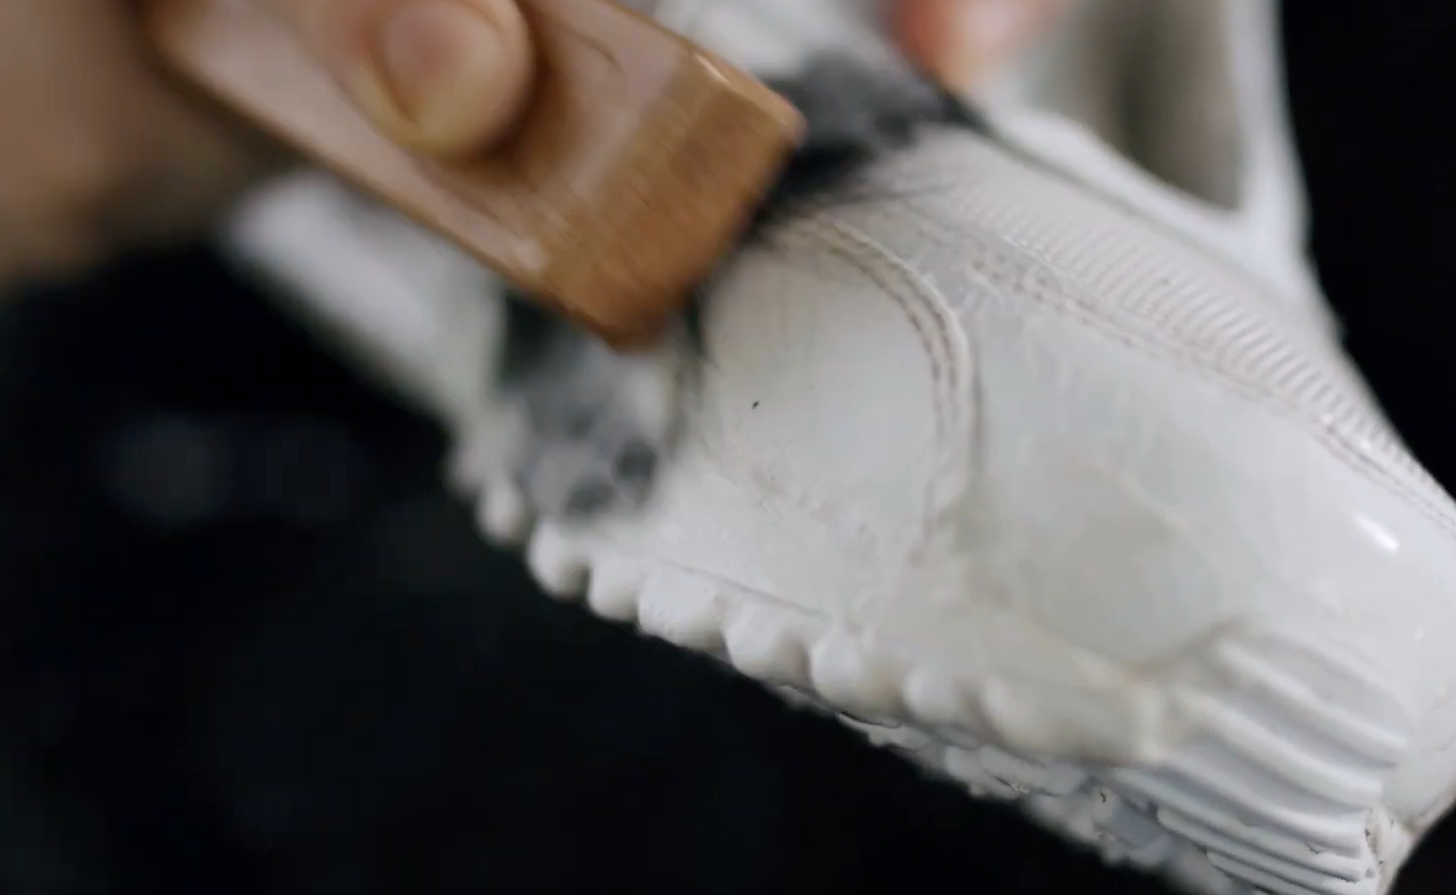
Step 3
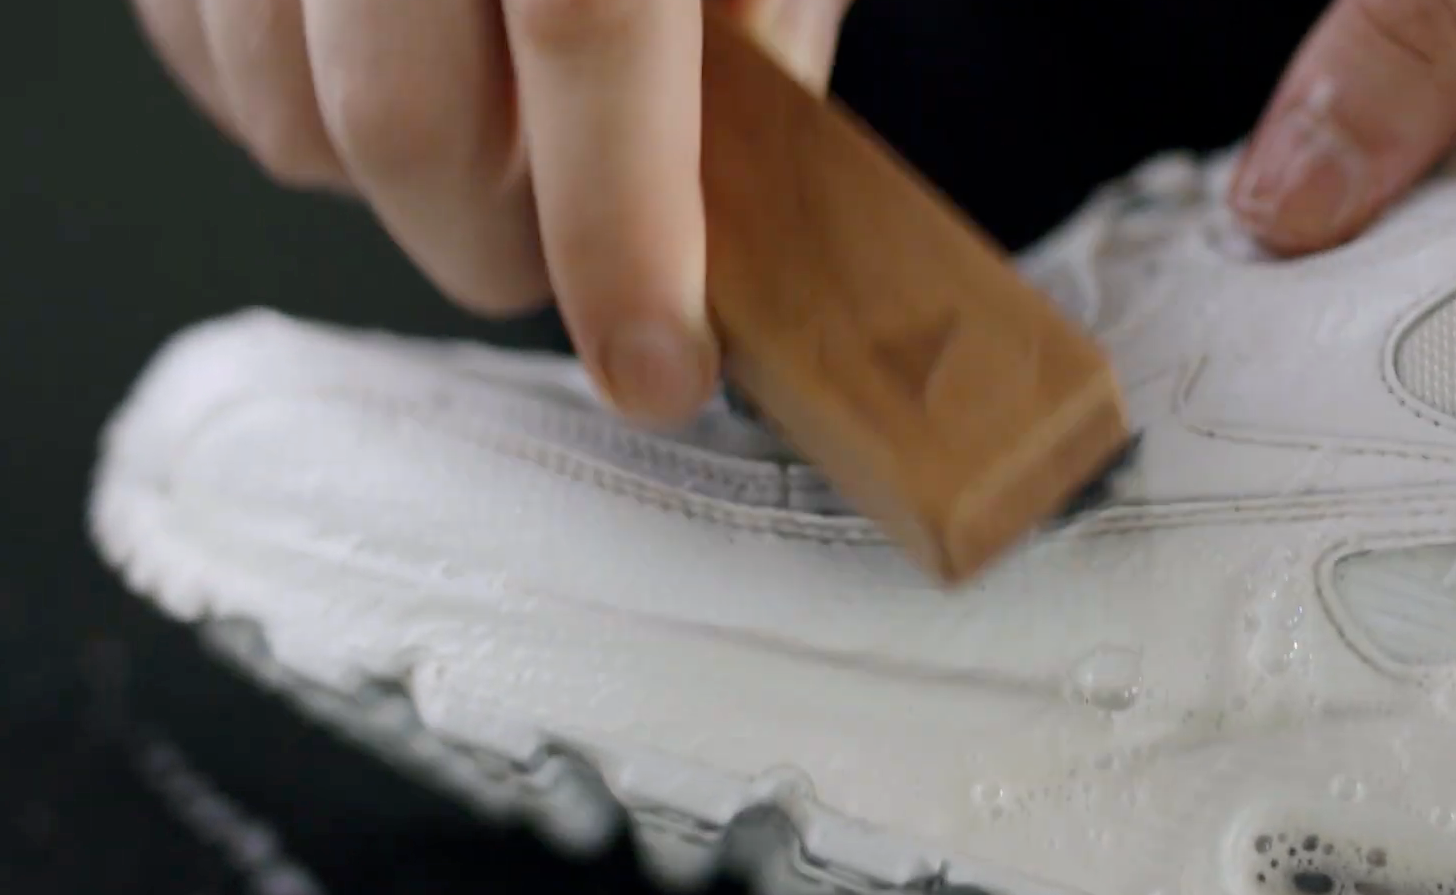
Generously spray the sneaker with Sneaker Cleaner and focus on heavily dirtied areas. Dip the Premium Brush into a container of water to wet the bristles and to create a foam when cleaning. Start scrubbing the upper of the Air Max and focus on the leather and rubber sections before cleaning the mesh areas. When those sections have been cleaned, wipe the shoe down with a microfiber towel and turn your attention to the mesh. Reapply Sneaker Cleaner and dip the brush in water. Scrub the mesh gently in small circular motions to lift the dirt from the fabric.
Once you’ve cleaned your upper, make your way down to the midsoles of the shoe. Finally, finish off by giving the under soles of your shoe a scrub. Don’t be scared to apply more pressure as the dirt on the soles will be tougher to remove.
Once you have completed the clean, use a microfiber towel to wipe off any excess solution and partially dry your sneakers. Then set your sneakers aside to dry.
Step 1
Remove your laces from the sneakers and set aside as we'll clean them at a later stage. Then use our Premium Brush to scrub down the sneakers of any dry dirt.
Step 2
Do a spot clean of the shoe with a Sneaker Wipe to remove any surface level scuffs and stains. Pay special attention to the mesh areas of the shoe to lift off any dirt that may be deep within the material.
Step 3
Generously spray the sneaker with Sneaker Cleaner and focus on heavily dirtied areas. Dip the Premium Brush into a container of water to wet the bristles and to create a foam when cleaning. Start scrubbing the upper of the Air Max and focus on the leather and rubber sections before cleaning the mesh areas. When those sections have been cleaned, wipe the shoe down with a microfiber towel and turn your attention to the mesh. Reapply Sneaker Cleaner and dip the brush in water. Scrub the mesh gently in small circular motions to lift the dirt from the fabric.
Once you’ve cleaned your upper, make your way down to the midsoles of the shoe. Finally, finish off by giving the under soles of your shoe a scrub. Don’t be scared to apply more pressure as the dirt on the soles will be tougher to remove.
Once you have completed the clean, use a microfiber towel to wipe off any excess solution and partially dry your sneakers. Then set your sneakers aside to dry.
Step 4
Now turn your attention to the laces. Place the laces in your hand and spray a generous amount of Sneaker Cleaner on them. Rub them together and dip the laces into water. Continue this process until your laces are well saturated and starting to look clean. You can then ring out the water and dry alongside the sneakers.
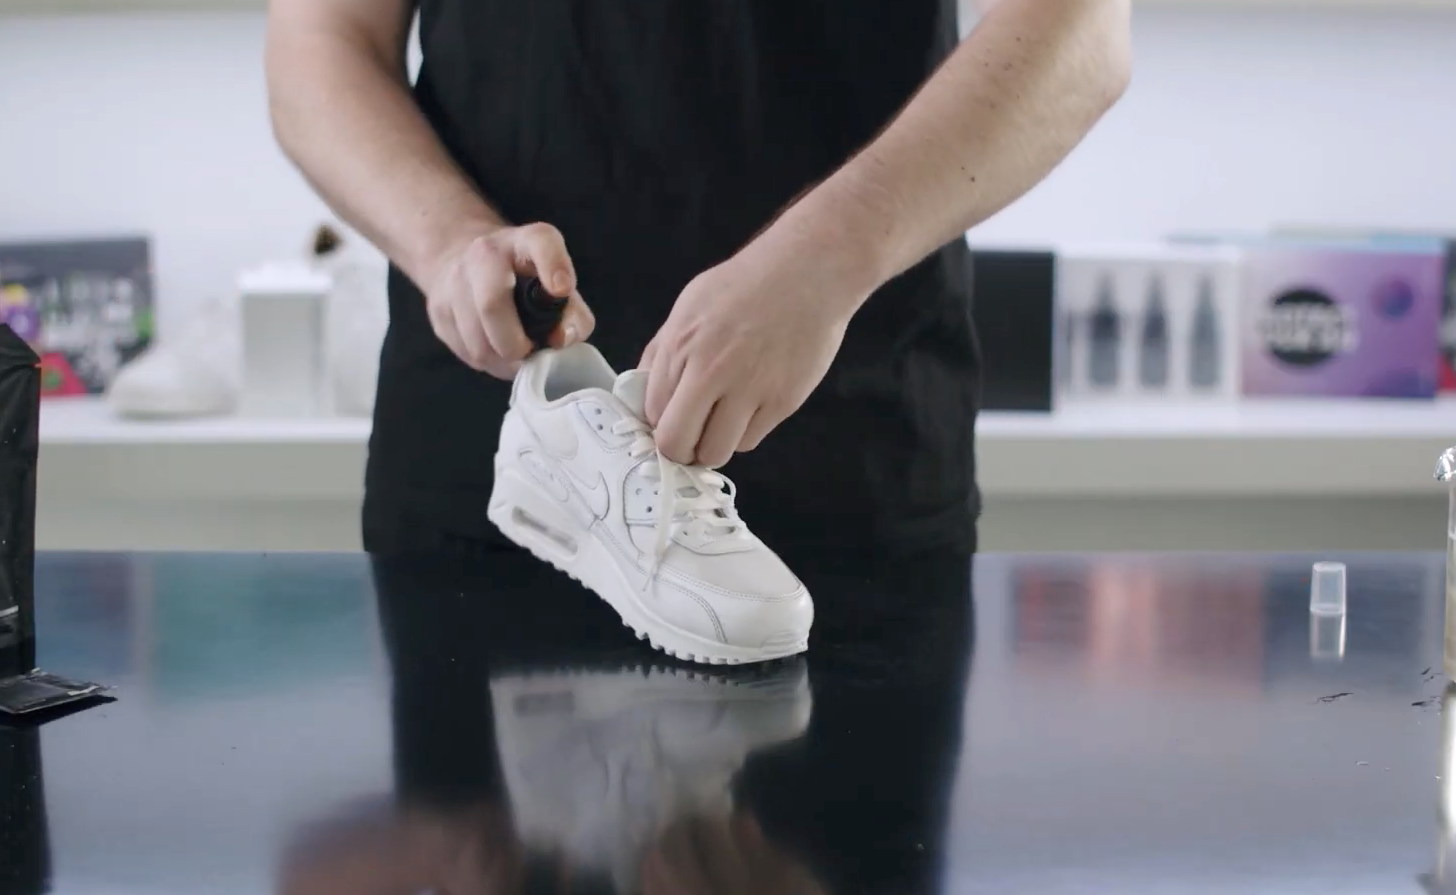
Step 5
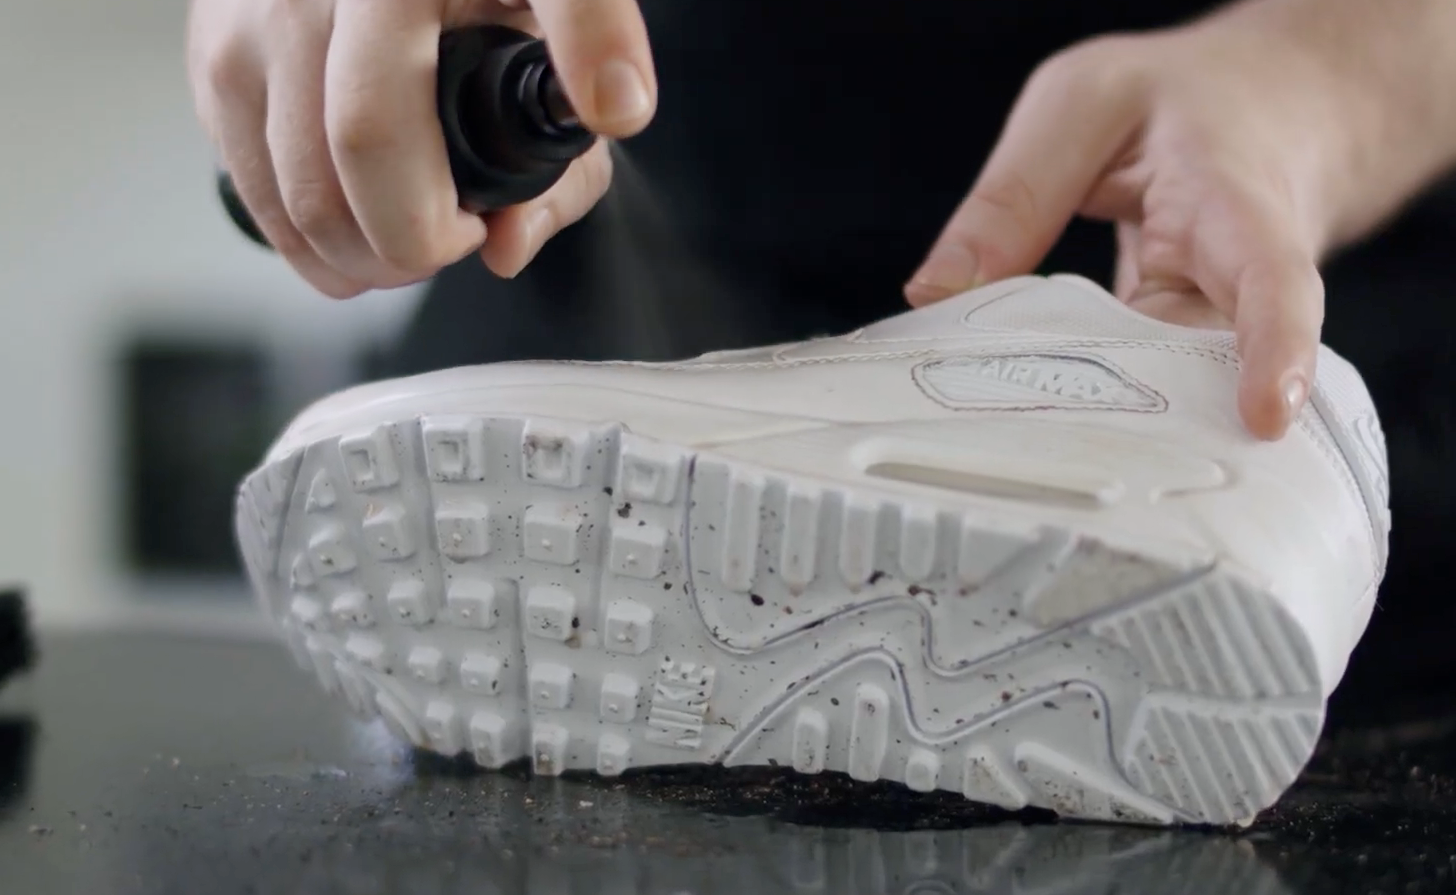
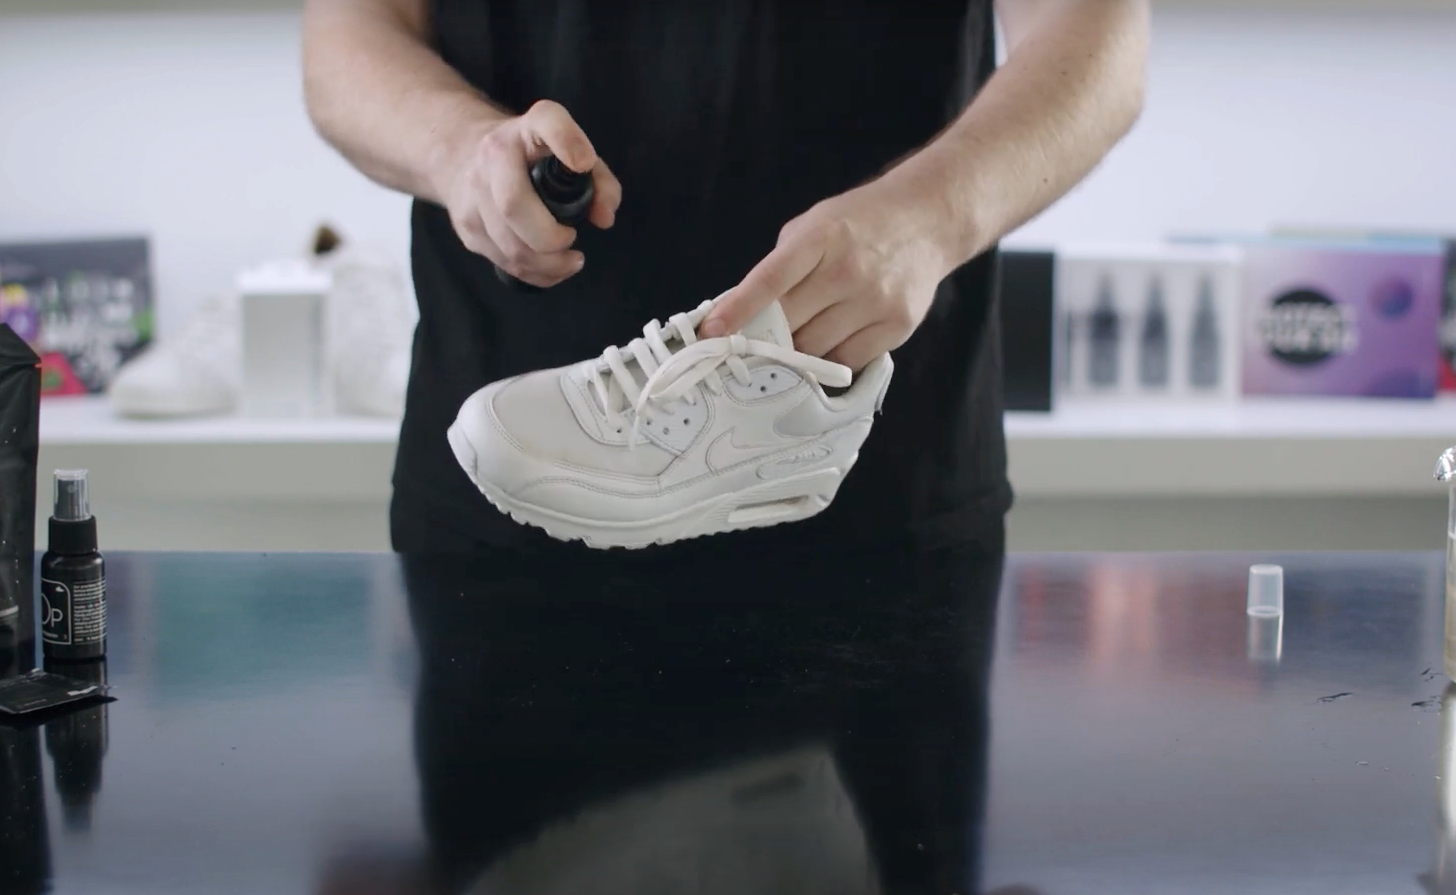
Lace up your kicks and prepare to apply our Odor Protector and Sneaker Protector.
Remove your innersoles and spray them as well as the inside of the shoe with Odor Protector. This will fight off any unwanted odor and bacteria and will keep your sneakers feeling fresher for longer.
Now generously apply Sneaker Protector around the shoe to create an invisible barrier against dirt, stains and harmful UV Rays. This will also make future cleaning easier.
Now turn your attention to the laces. Place the laces in your hand and spray a generous amount of Sneaker Cleaner on them. Rub them together and dip the laces into water. Continue this process until your laces are well saturated and starting to look clean. You can then ring out the water and dry alongside the sneakers.
Step 5
Lace up your kicks and prepare to apply our Odor Protector and Sneaker Protector.
Remove your innersoles and spray them as well as the inside of the shoe with Odor Protector. This will fight off any unwanted odor and bacteria and will keep your sneakers feeling fresher for longer.
Now generously apply Sneaker Protector around the shoe to create an invisible barrier against dirt, stains and harmful UV Rays. This will also make future cleaning easier.
[ Follow ]