How To Clean New Balance MADE In U.S.A 990v6
[ How To ]
Article
 Play video
We are sharing how to get the New Balance 990v6 squeaky clean!
The designers of the first 990 were tasked with creating the single best running shoe on the market. The MADE in USA 990v6 embraces this original mandate, with a series of performance-inspired updates. The upper dispenses with the standard midfoot saddle, allowing the pigskin and synthetic overlays to flow from heel to toe across the mesh underlay, for a speedy, streamlined look.
While the evolved design marks one of the most dramatic changes from one generation model to the next that the 990 has ever seen, the greatest leap forward occurs on the inside. The addition of FuelCell midsole cushioning means that the evolution of the 990 can be felt as much as it can be seen.
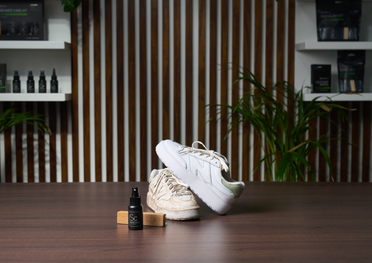
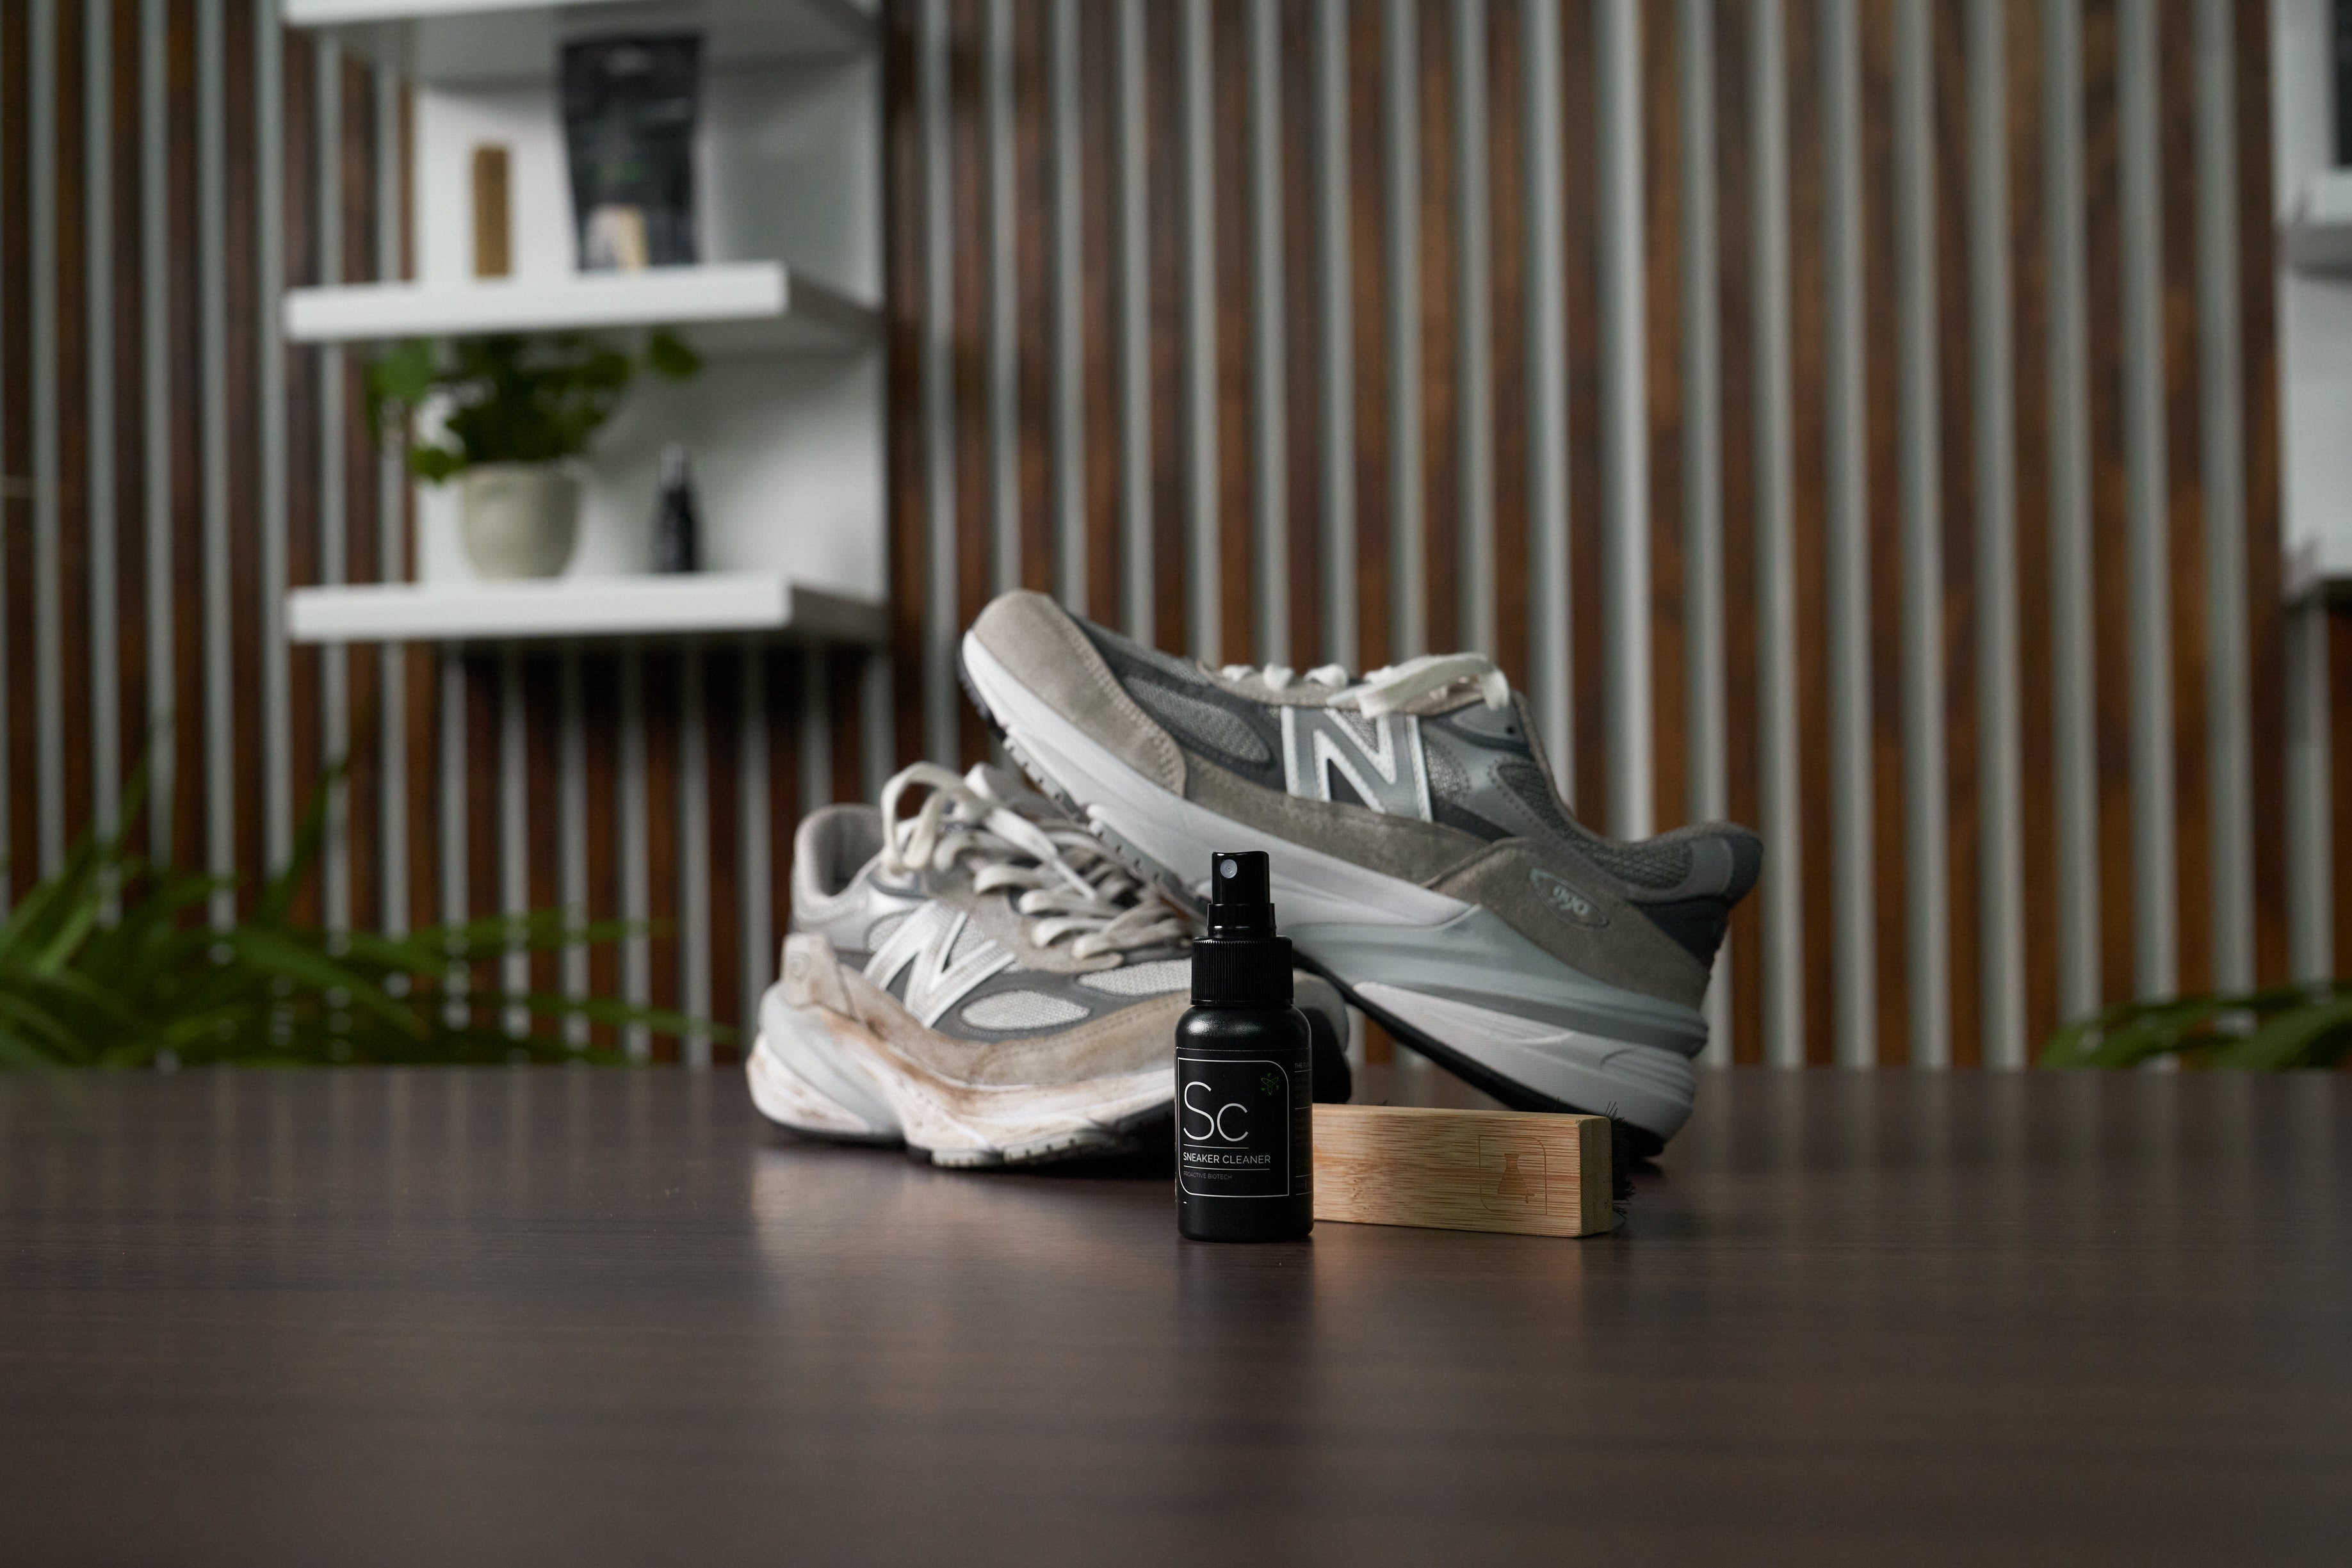
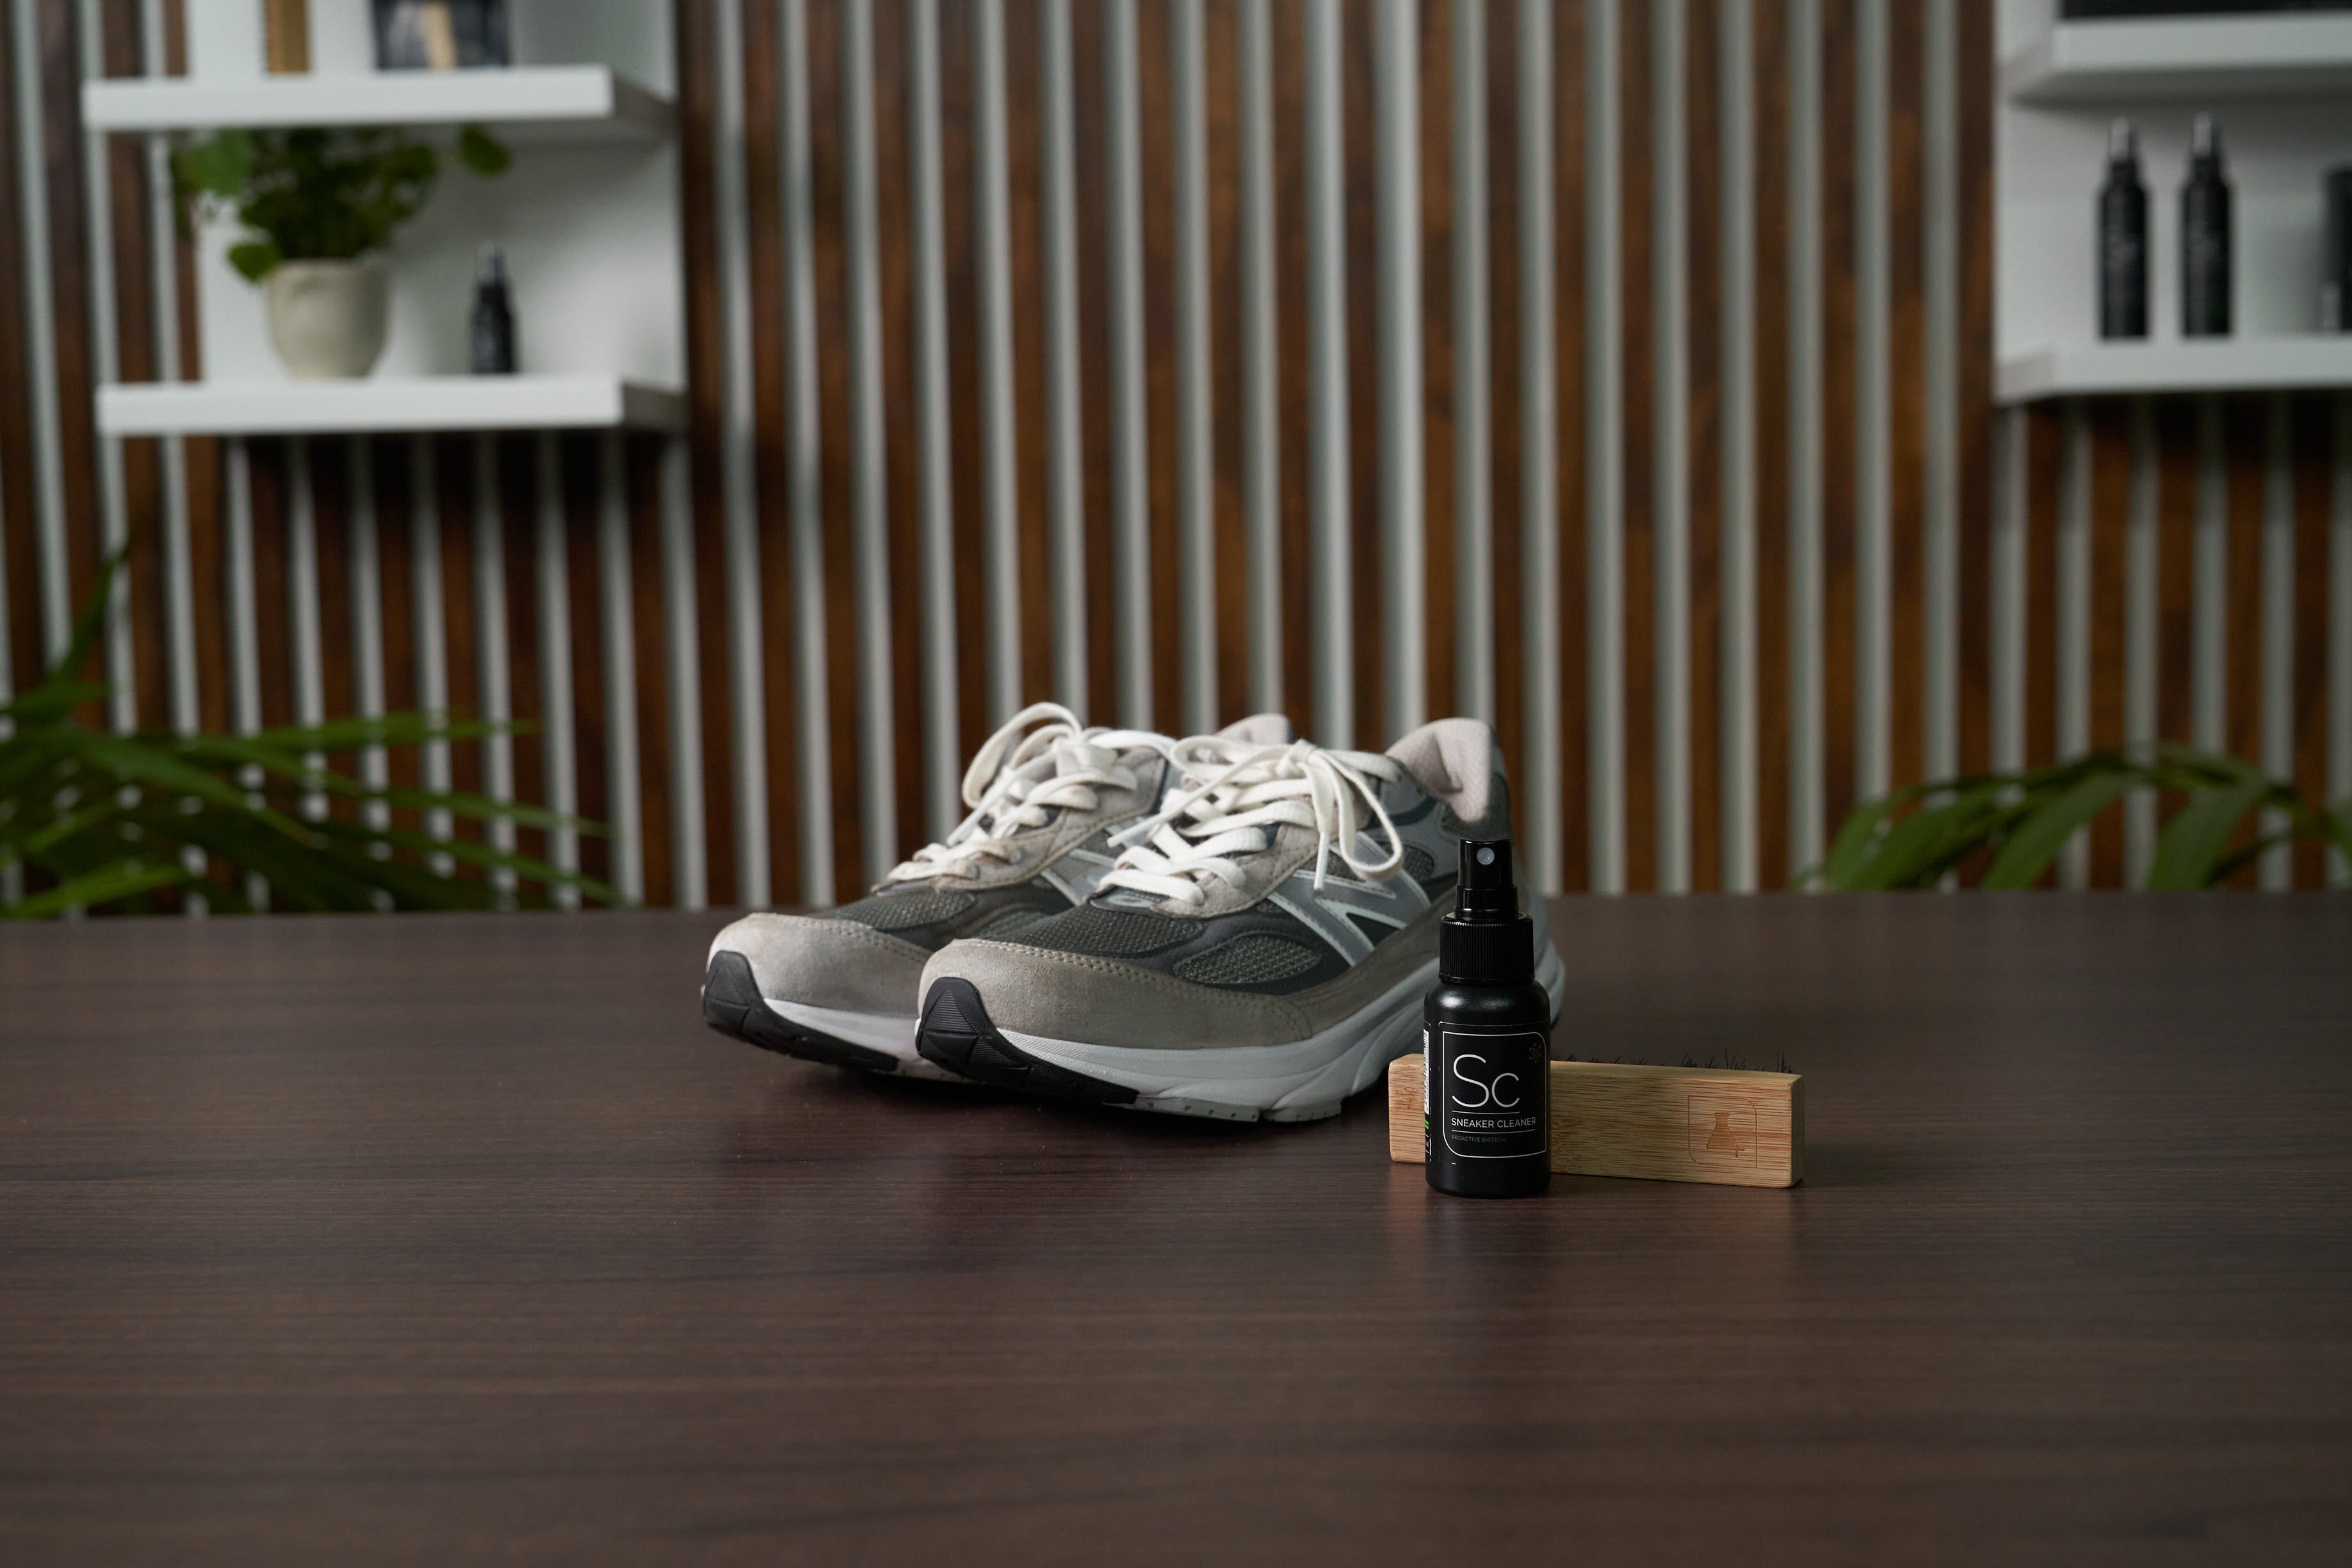
We used products found in our Premium Kit to get these 990s looking fresh again. The premium Kit contains our Sneaker Cleaner, Sneaker Protector, Odor Protector, and our Premium Brush.
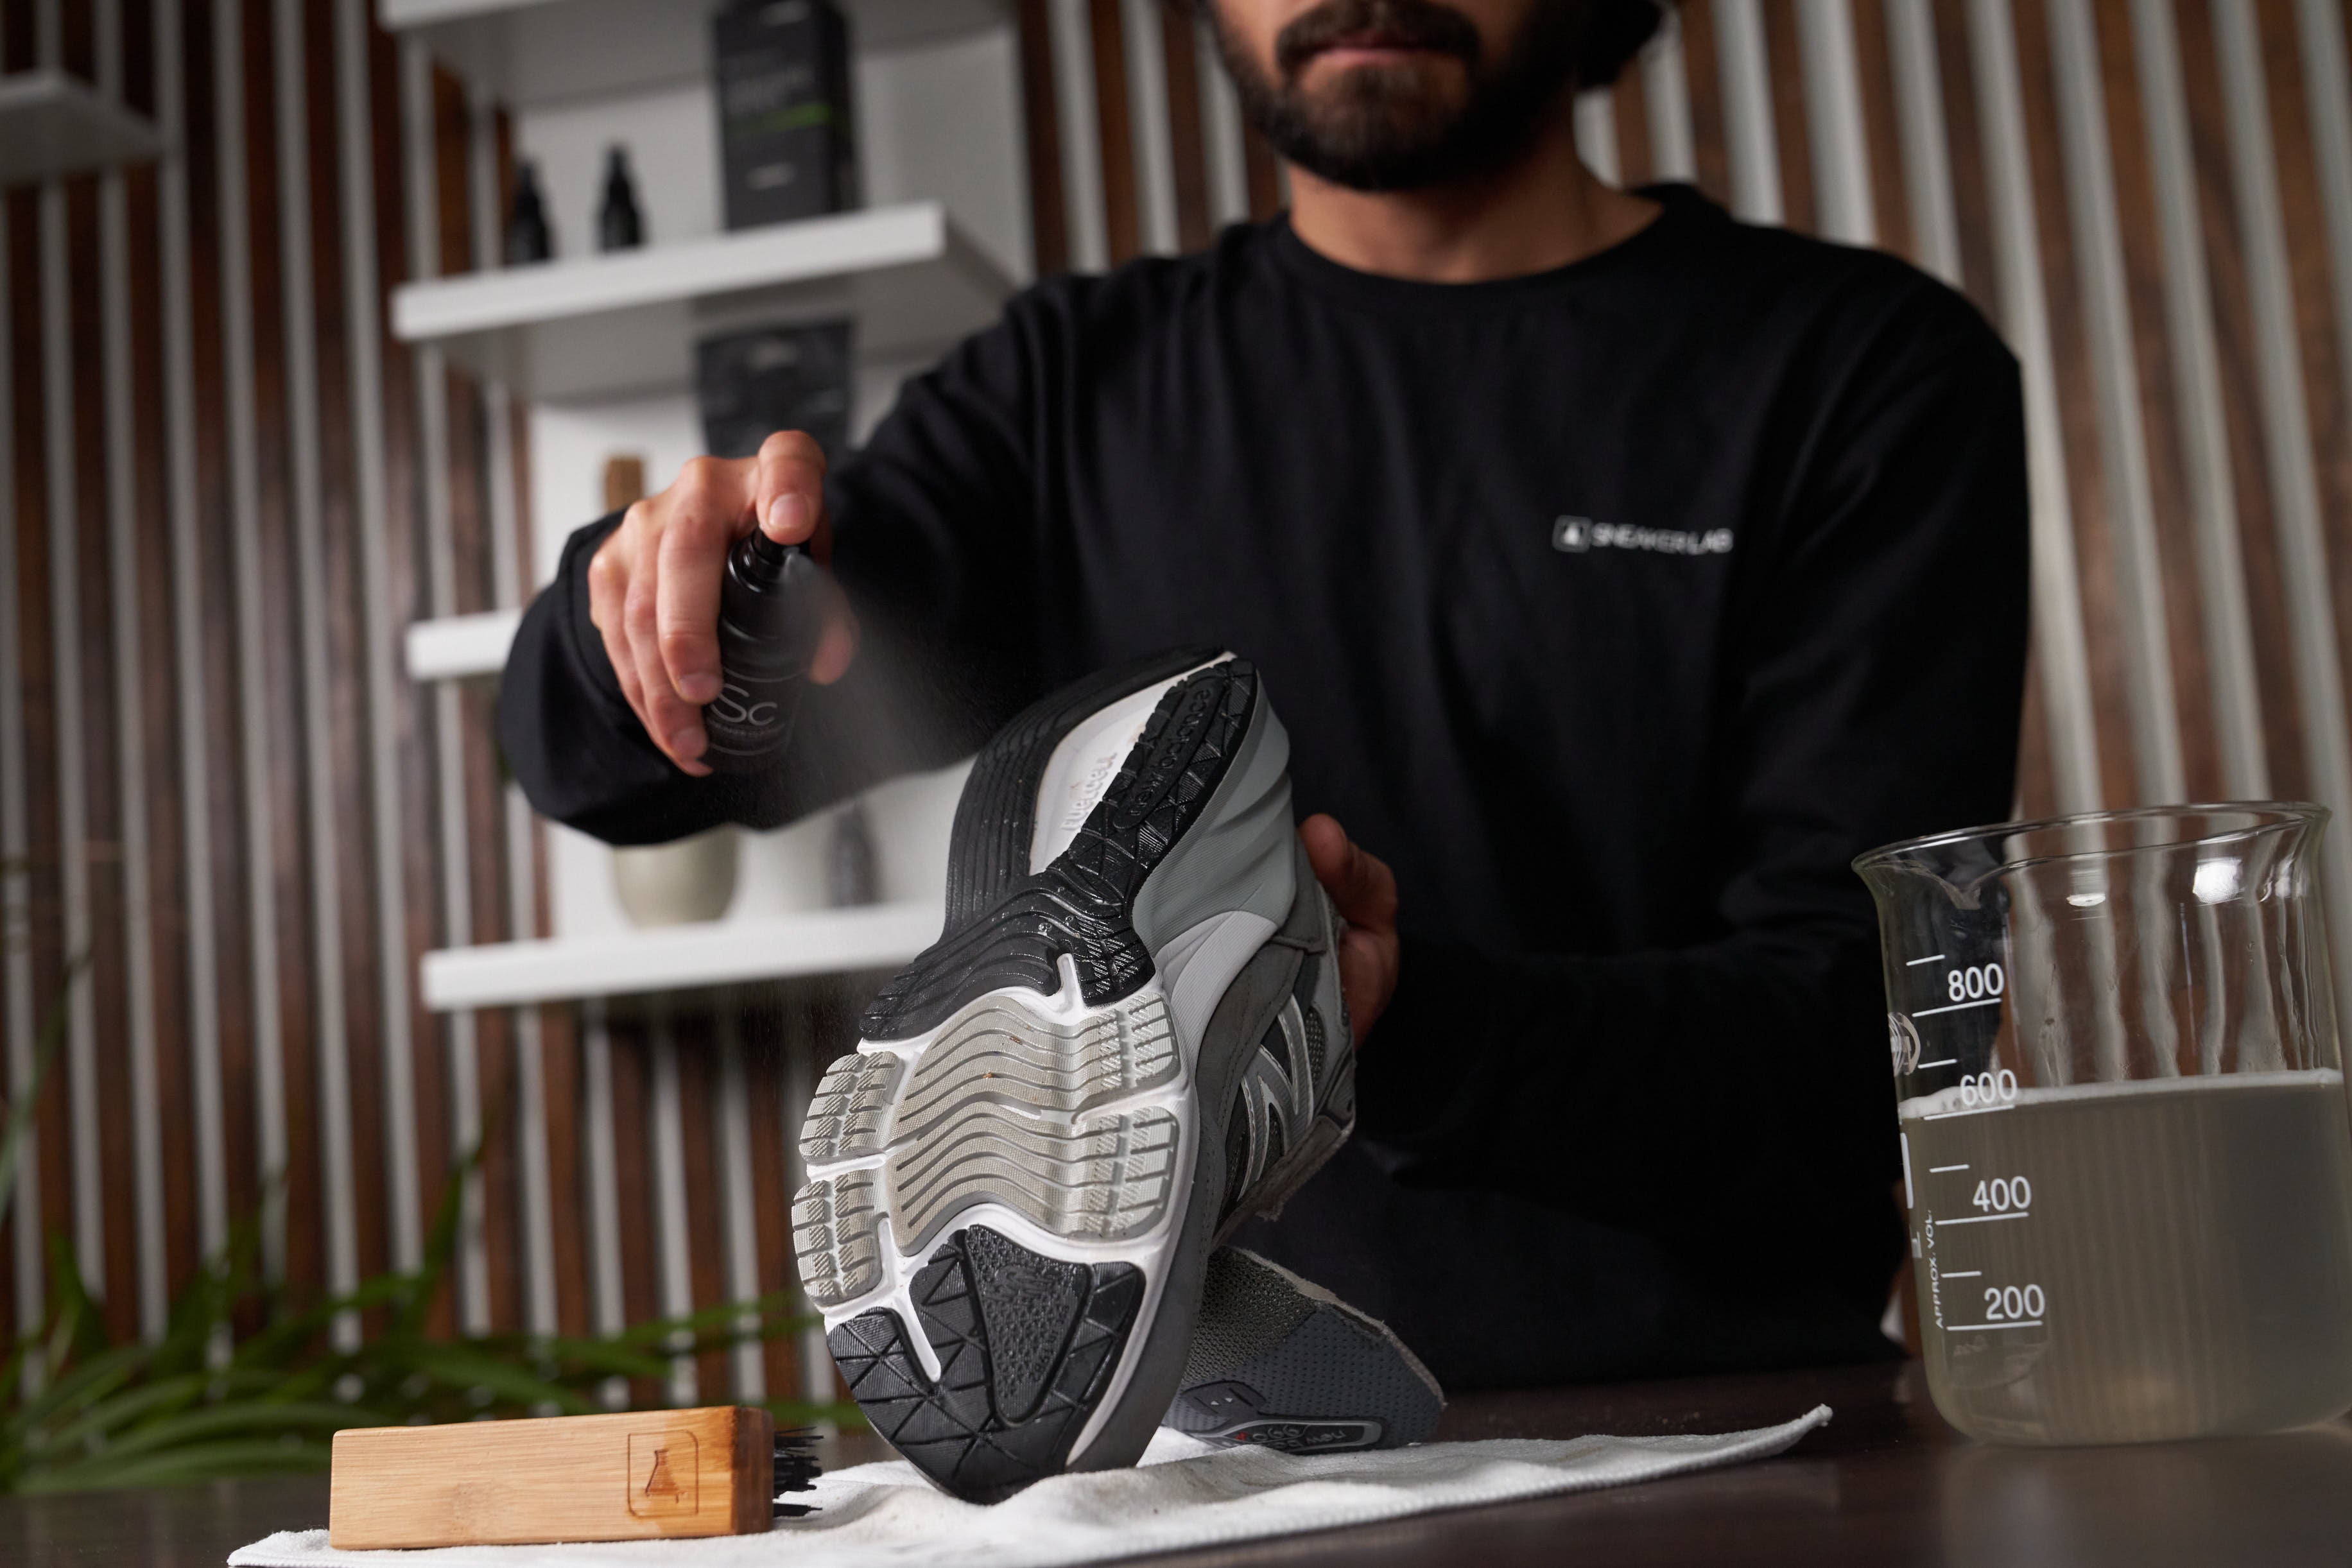
Step 1:
First, you will need to prepare your sneakers for a deep clean. You will need to remove the laces from your sneakers and set them aside. Then, use our Premium Brush to brush off any excess dirt that is on the sneakers.
Step 2:
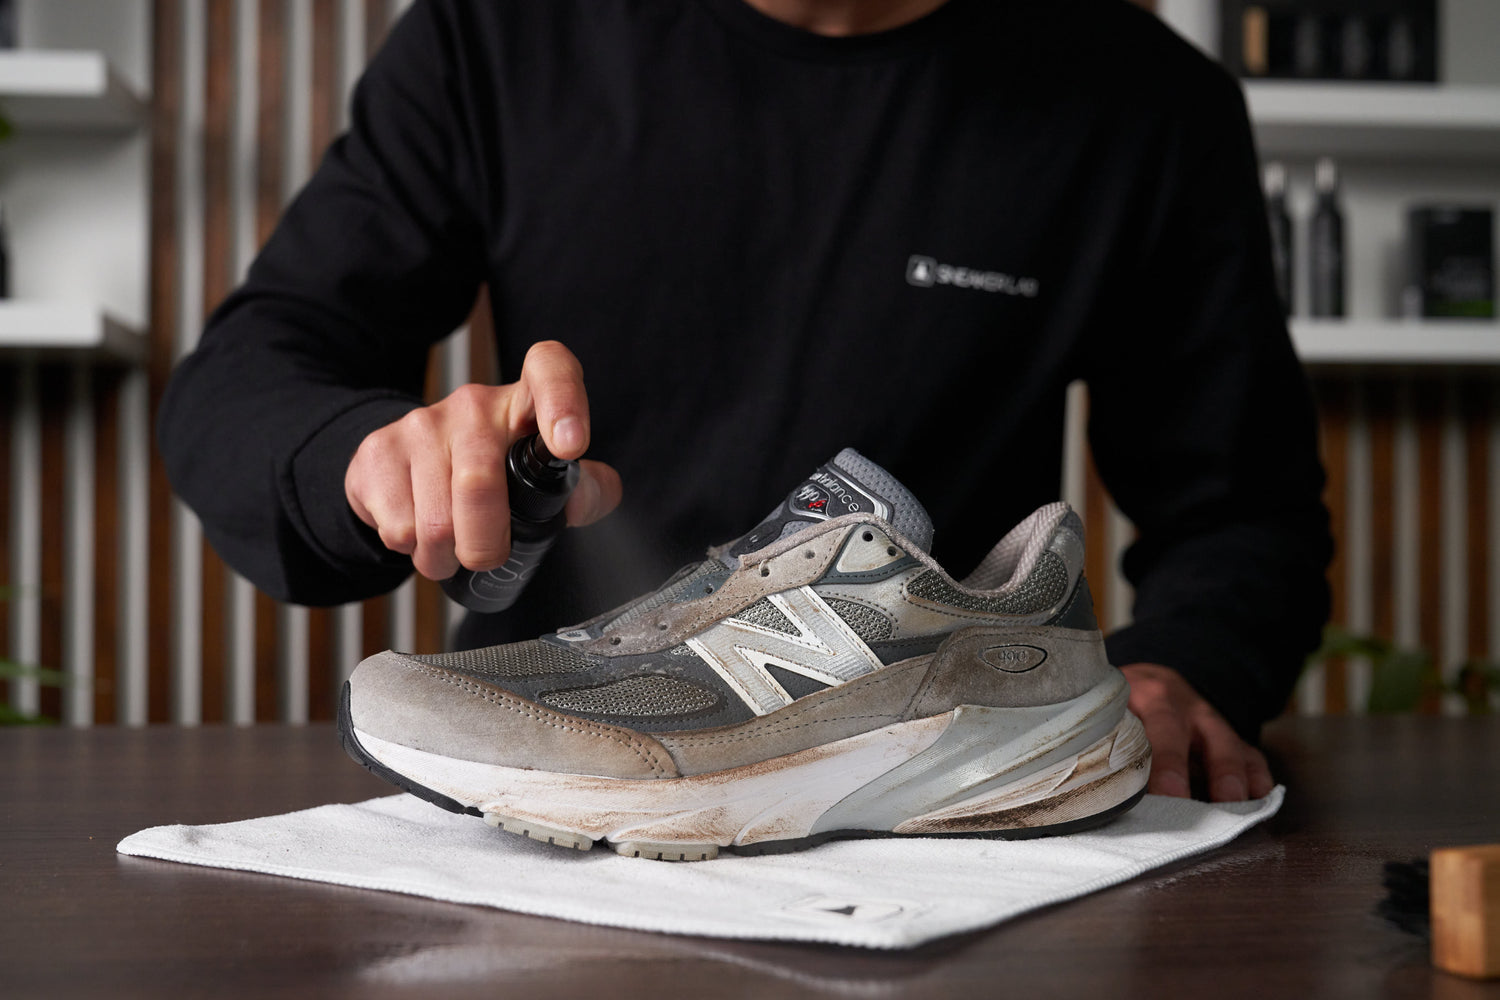
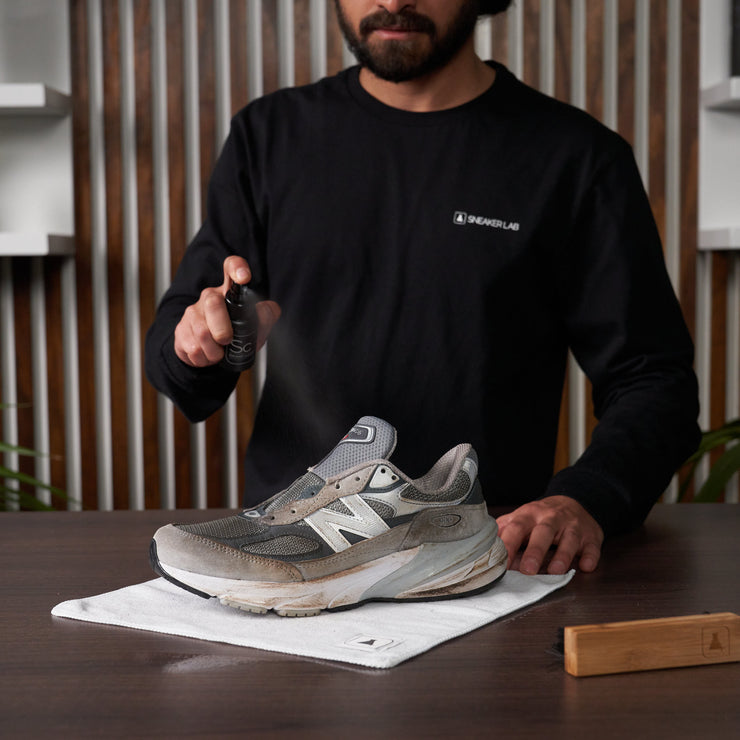
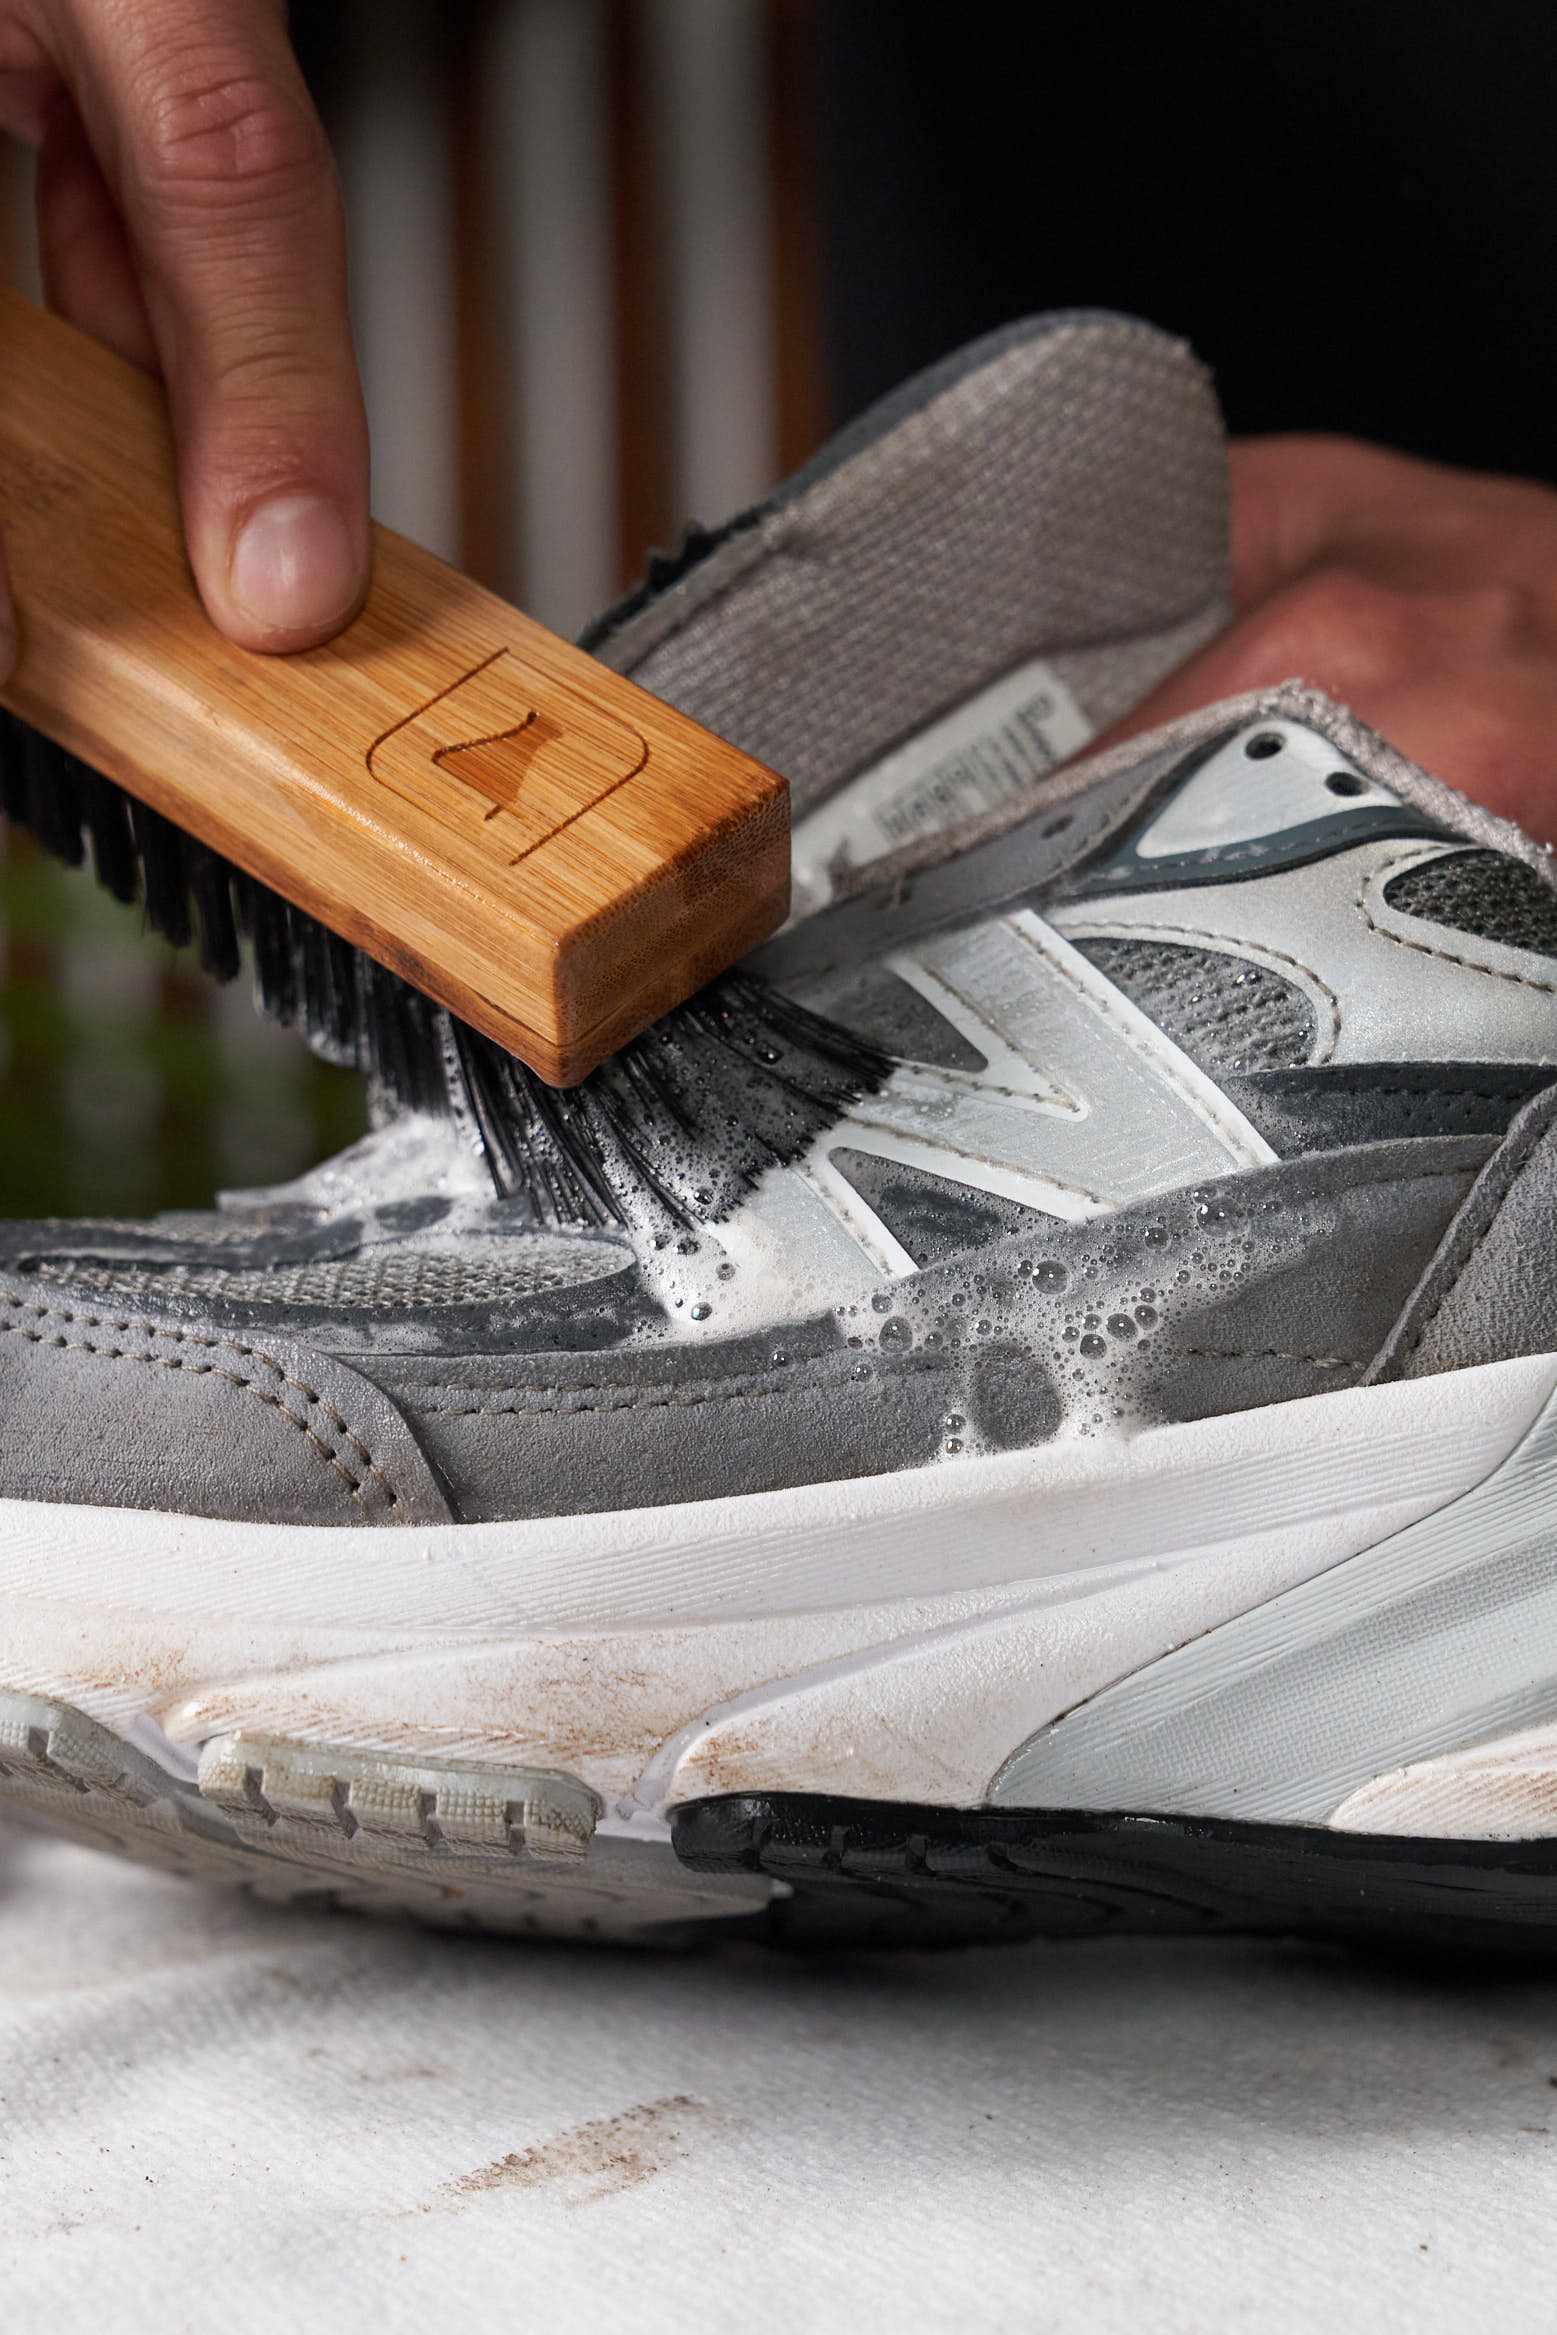
Grab our Sneaker Cleaner and spray around the uppers of the sneakers, focusing heavily on the dirted areas. There are multiple materials such as suede, perforated leather and mesh on this sneaker so we will have to tackle each material differently. Grab a container of clean water as we will be using it in conjunction with the Sneaker Cleaner.
First, we should attend to the suede panels. Dip the brush into the water but tap off the excess water as we don't want to get the suede oversaturated with liquid. Scrub in a circular motion and remove dirt. With the suede sections, immediately use a microfibre towel to dry the suede to maintain the integrity of the material. Once the suede areas are clean you can turn your attention to the mesh areas. Here you can use more water if need be.
Our Sneaker Cleaner is environmentally friendly and biodegradable.
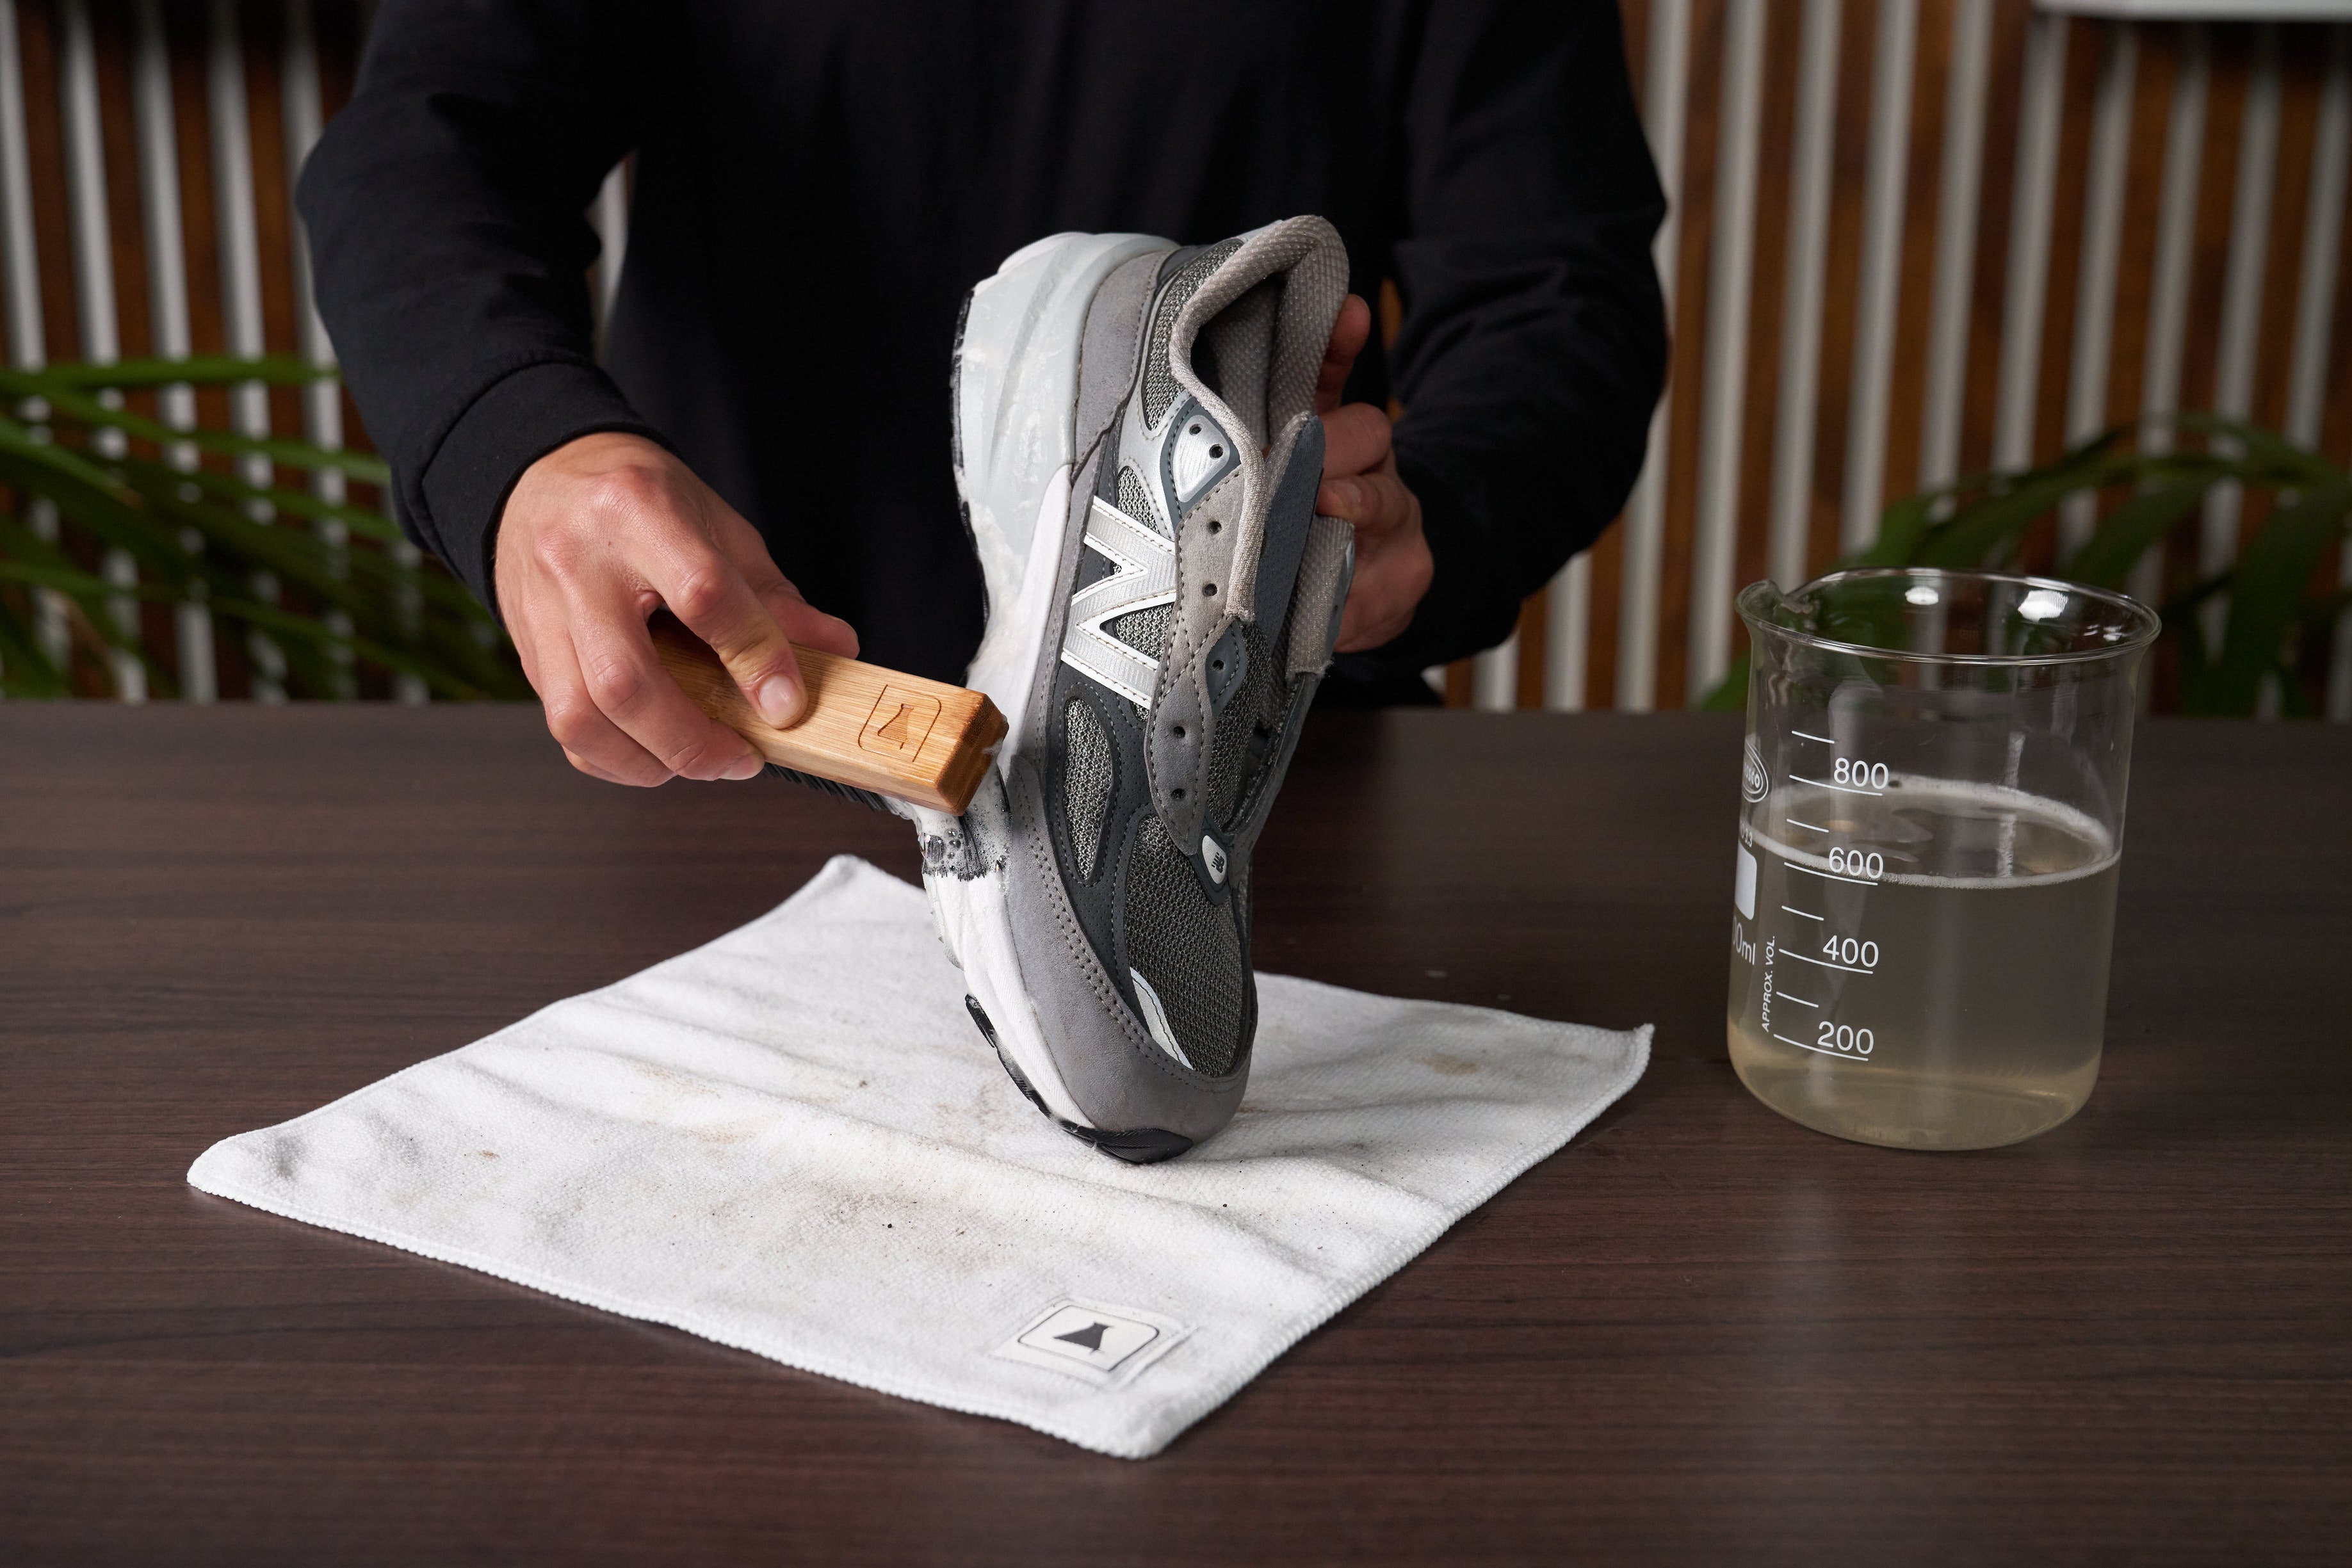
Step 3:
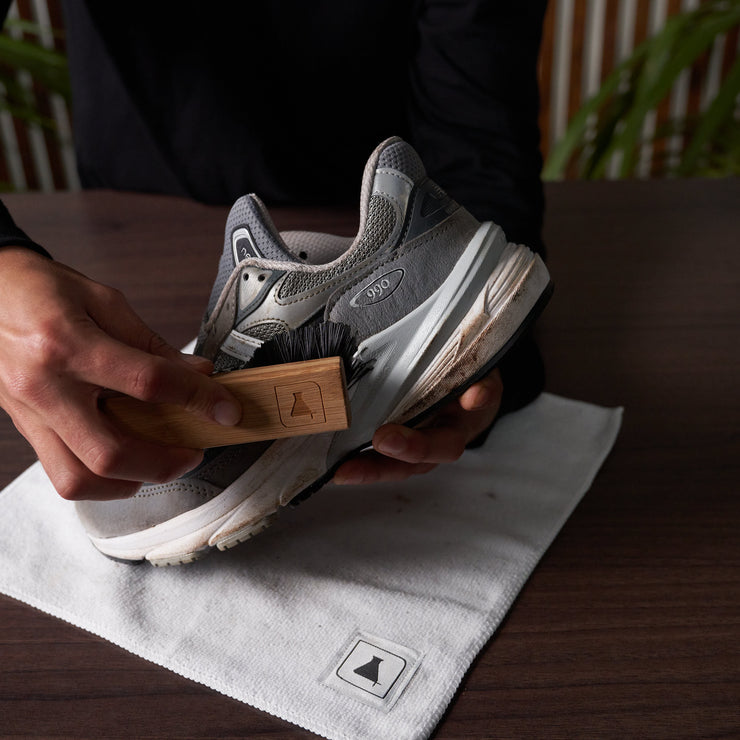
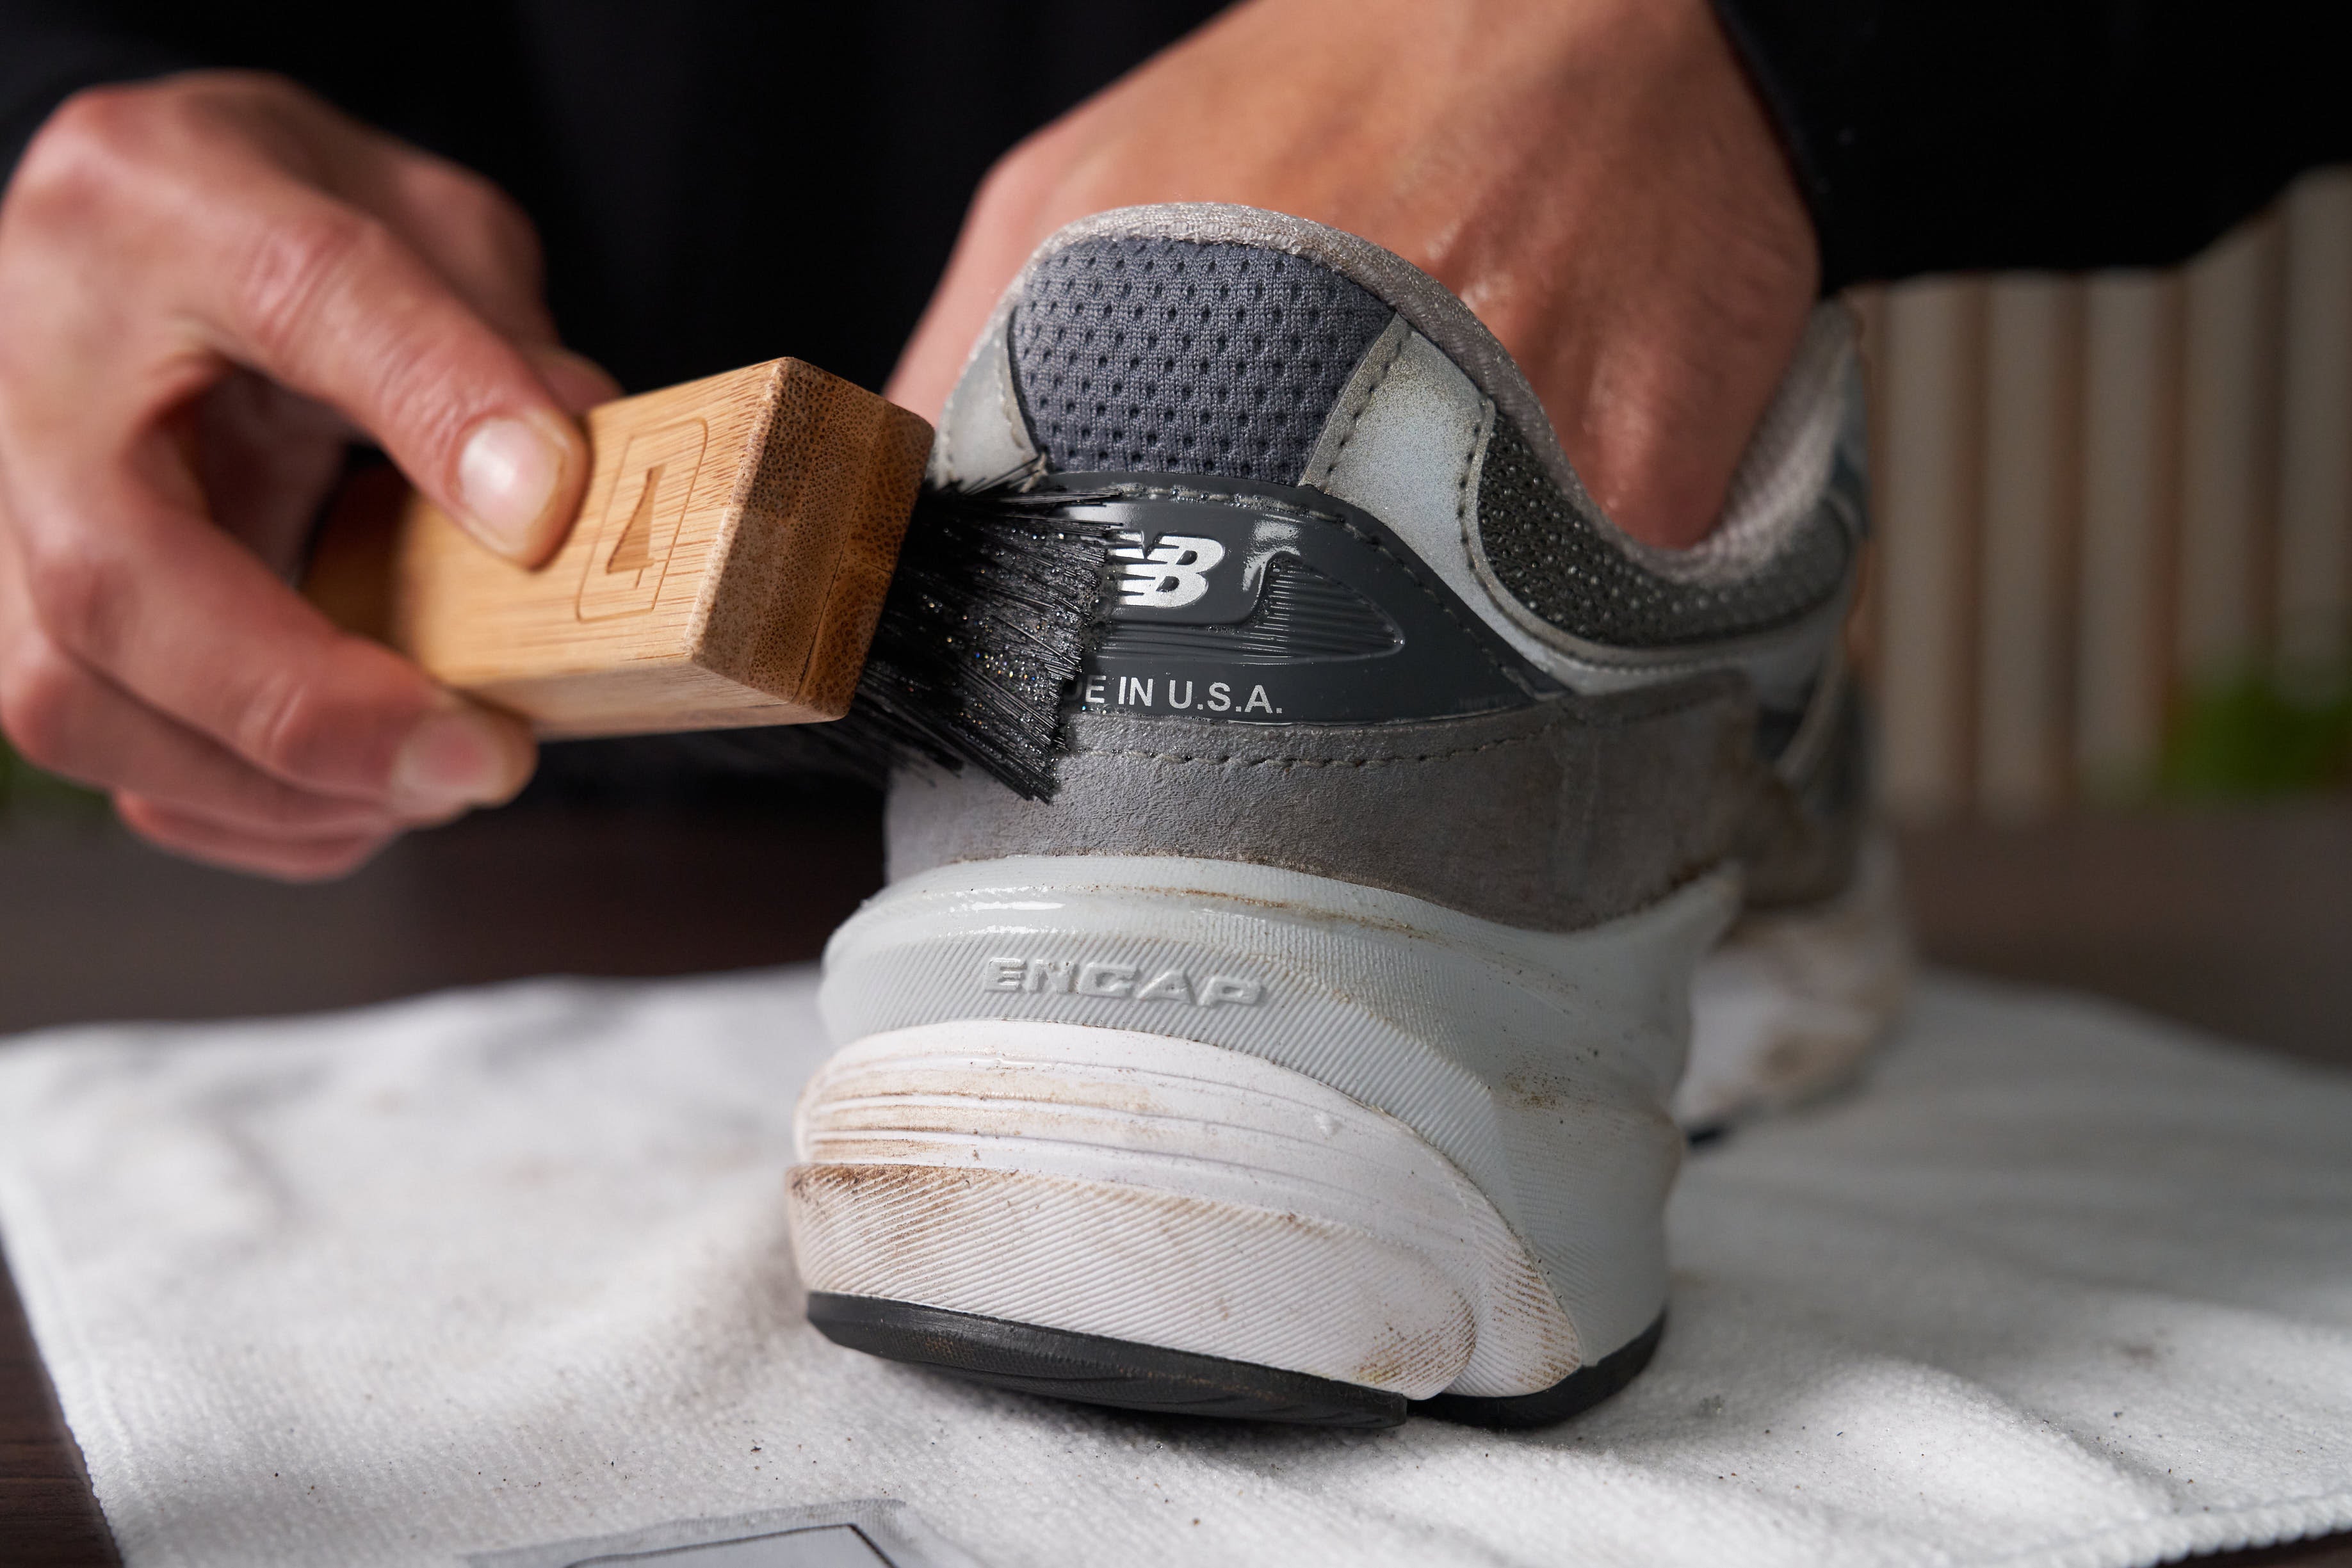
Now that the uppers are cleaned, turn your attention to the soles of the sneakers which are made of a rubber and mesh material. Spray Sneaker Cleaner around the soles, dip your Premium Brush into the container of water and scrub the soles. You may have to apply more pressure on the soles to remove stubborn dirt.
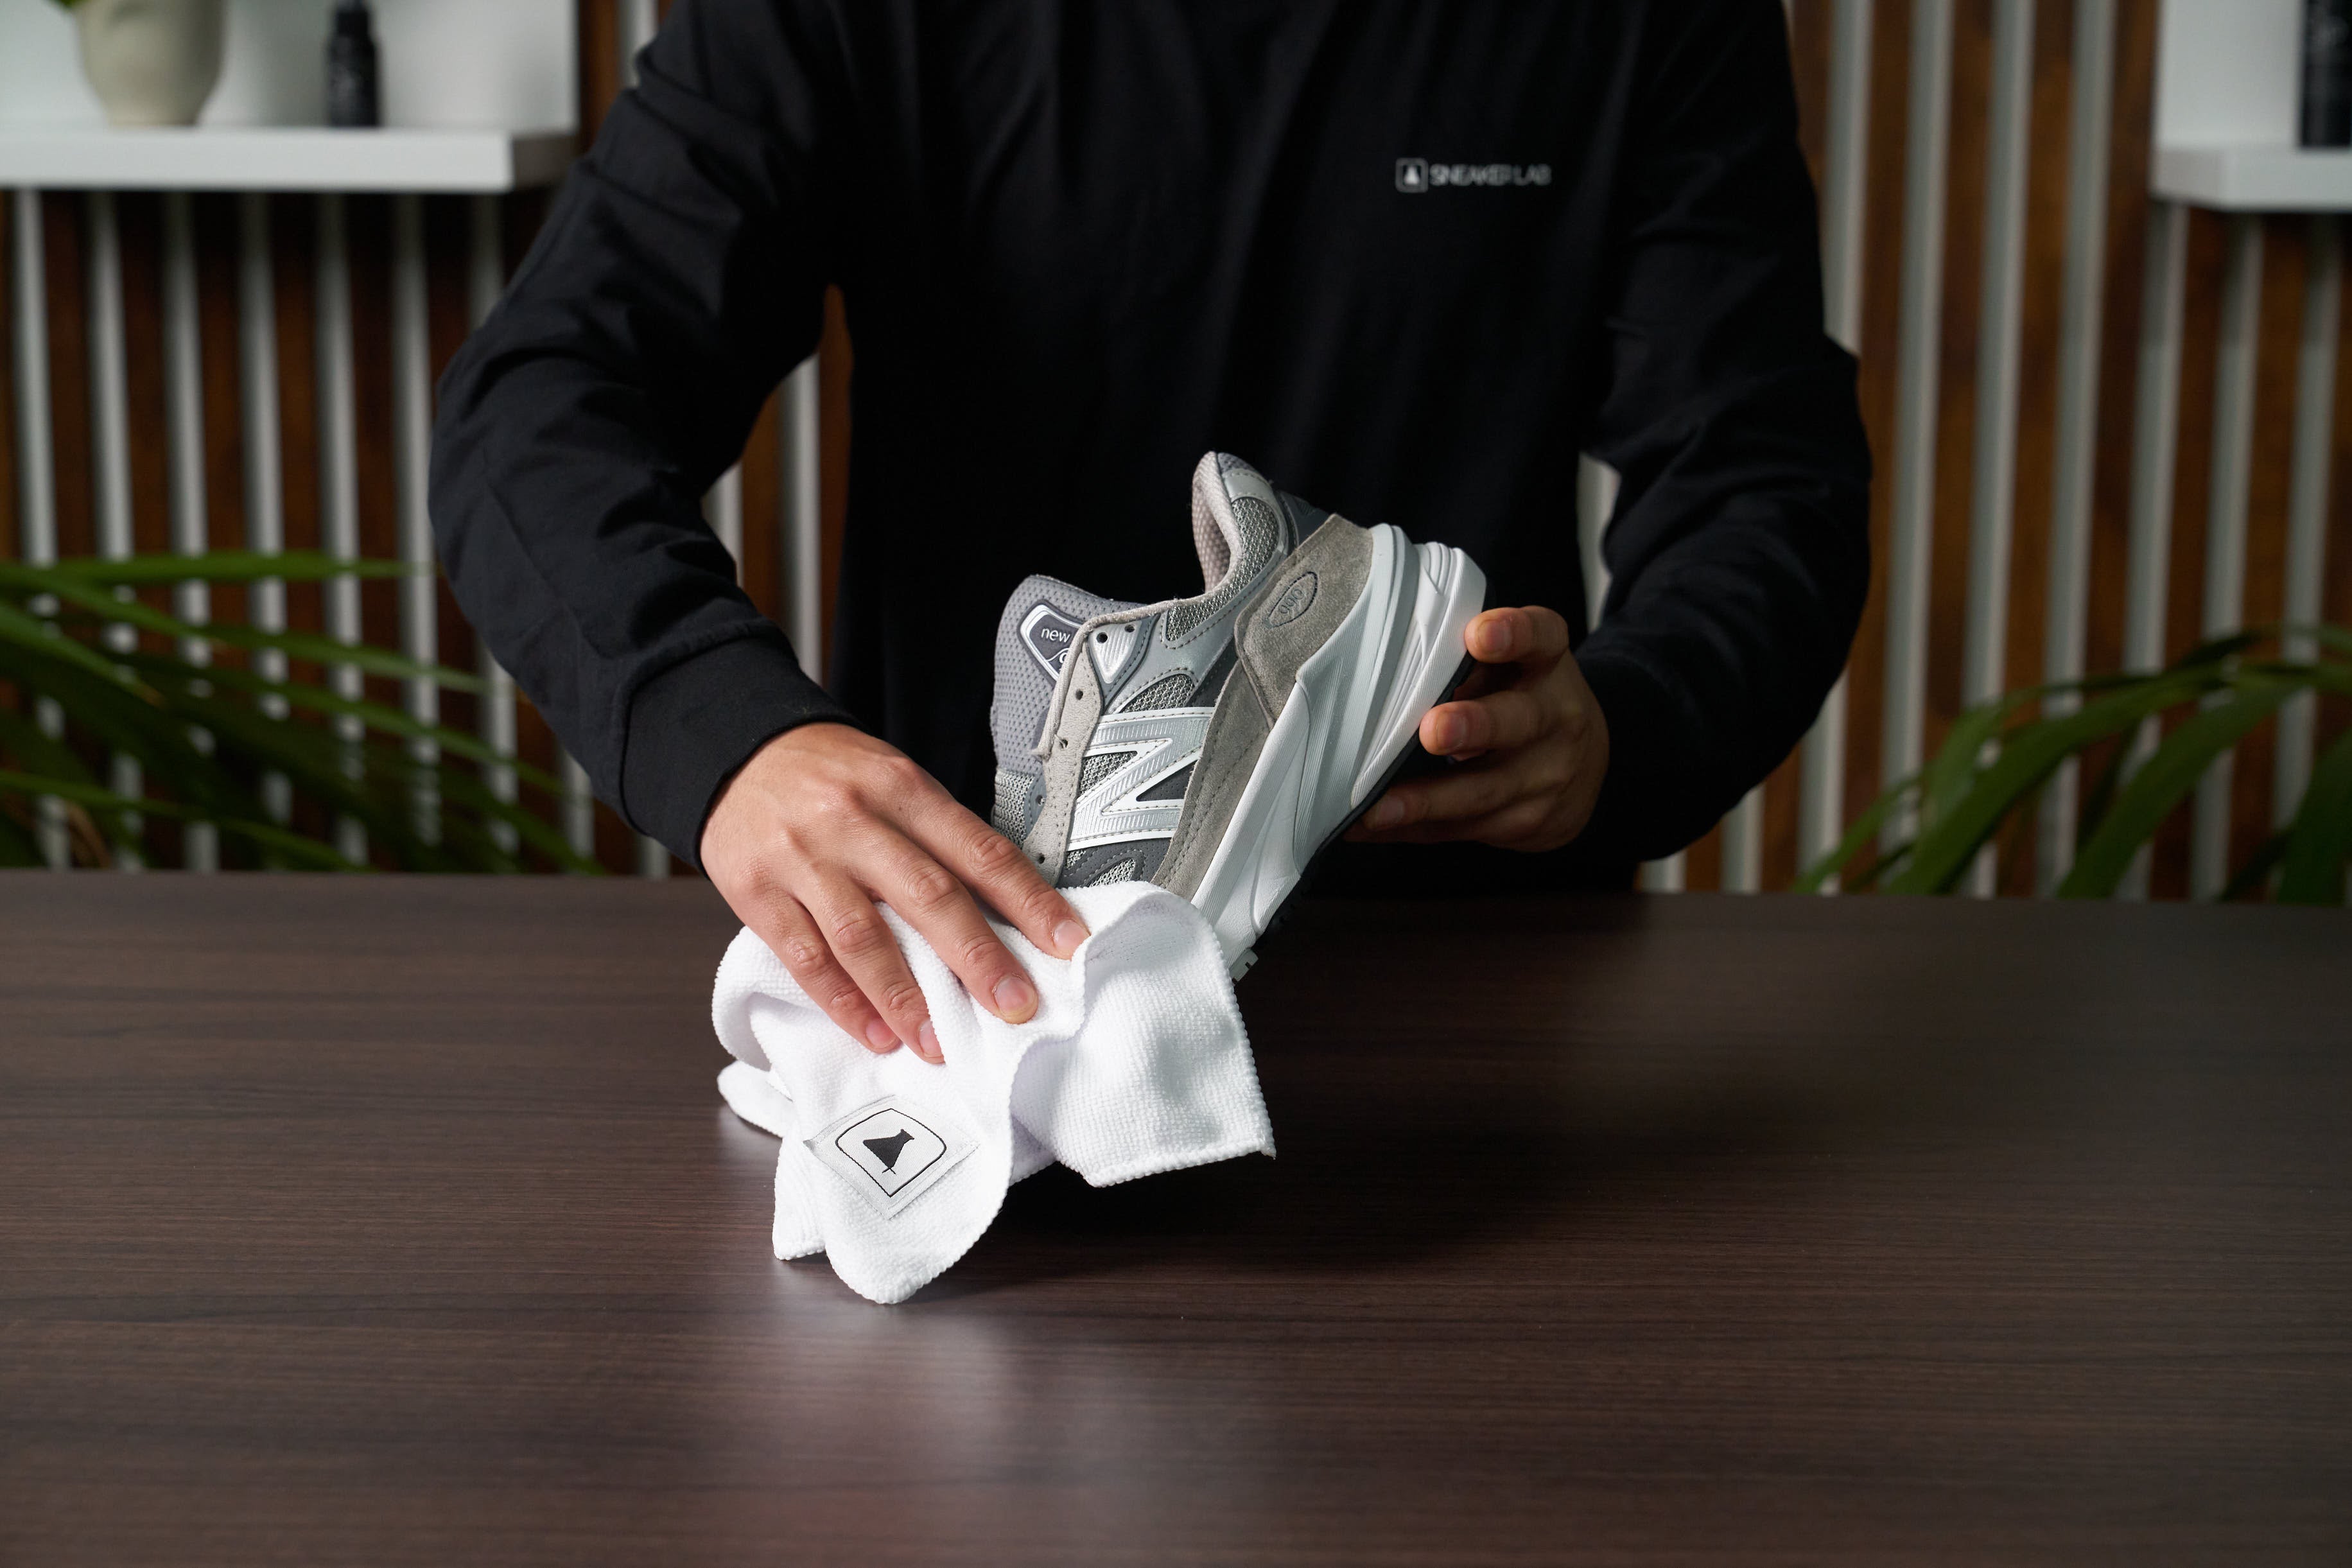
Step 4:
Wipe down the sneakers with a Microfiber Towel and set aside to dry.
Step 5:
Now it's time to clean your laces. Place the laces in the palm of your hands and generously spray Sneaker Cleaner on the laces. Rub the laces rigorously together in the palms of your hands and then dip them into a container of clean water. Continue rubbing in your hands and dipping in water when moisture is needed.
Ring the laces out with a Microfiber Towel to remove excess moisture and set aside to dry.
A few more steps left until your sneakers are as good as new!
Step 6:
Once your sneakers and laces are dry. Lace-up the sneakers and prepare to apply our protective products.
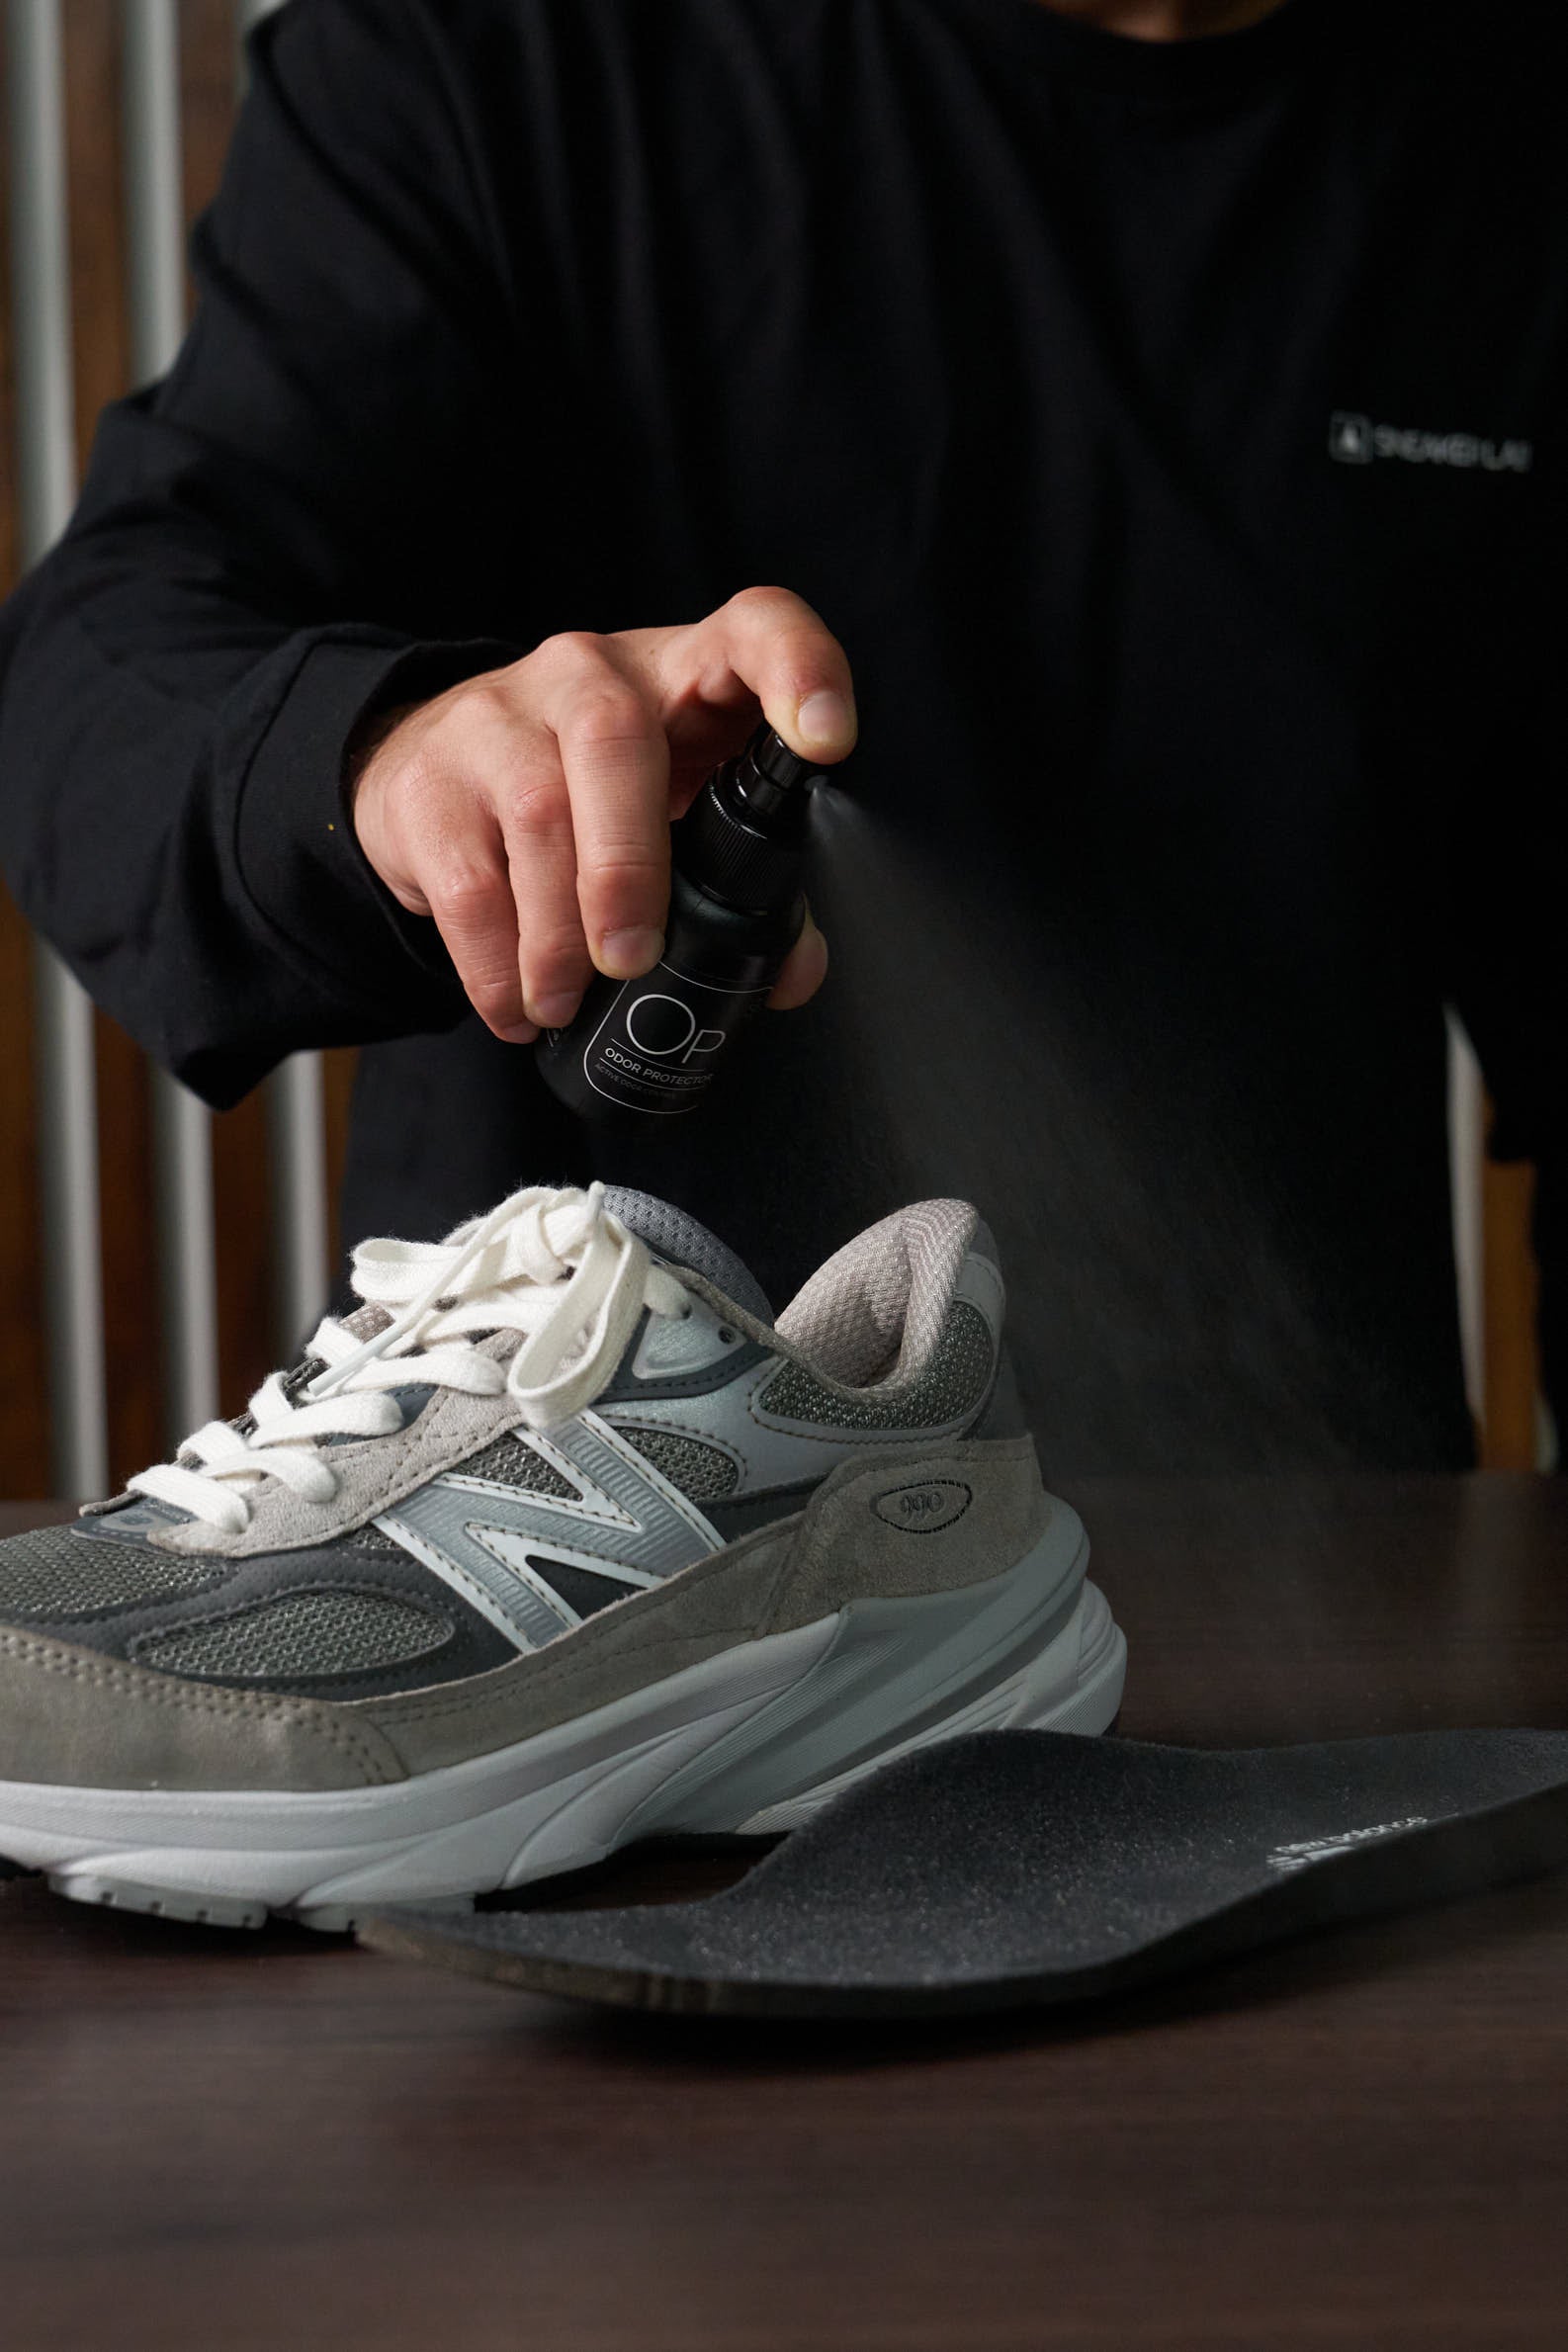
Step 7:
Our Odor Protector will help fight off any unwanted odors that build up within the sneaker and keep them feeling and smelling fresh for longer. If the innersole is removable, take them out and spray Odor Protector on them.
Step 8:
Lastly, you will apply our Sneaker Protector to the sneaker to protect the sneaker from dirt setting in and will make cleaning in the future easier. Spray the Sneaker Protector generously around the sneaker.
Leave to work overnight!
Step 9:
Time to rock your clean kicks!
[ Follow ]