How To Clean White Nike Air Force 1’s
[ How To ]
Article
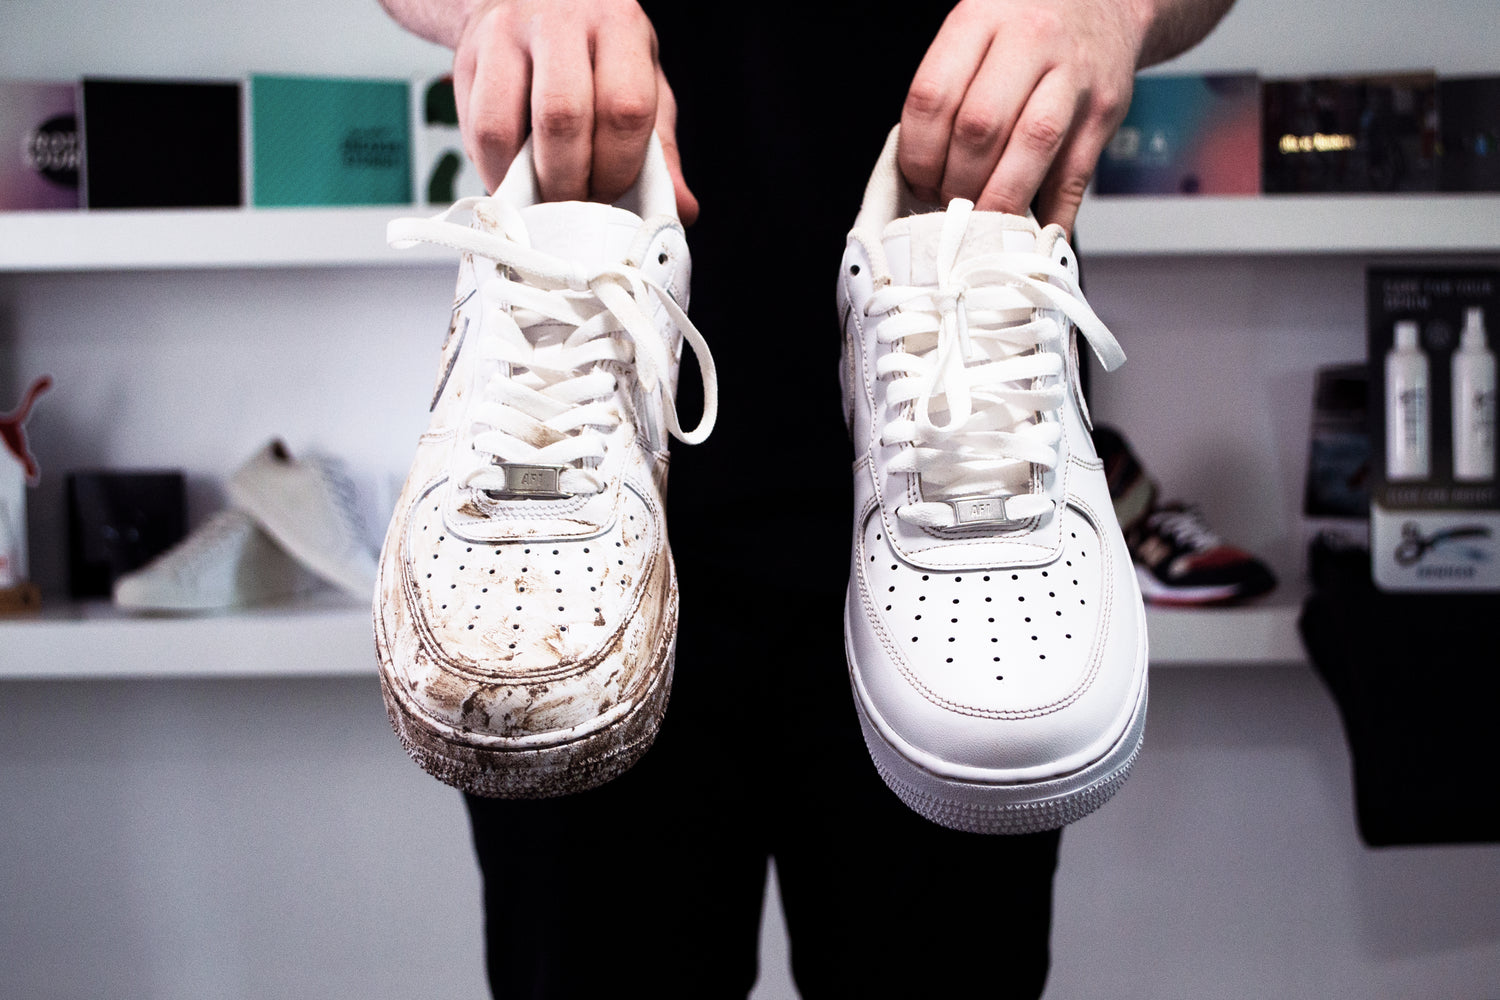 Play video
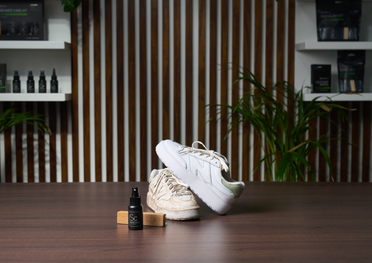
Nike Air Force 1s are a classic staple for pretty much every sneakerhead out there.
They are that white pair that goes with every outfit and the pair that is worn until the very end!


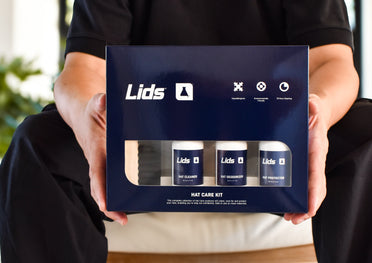
We have a clear step-by-step guide on how to clean, care for and protect your favorite classic Nike Air Force 1s to prolong their life so you are able to enjoy them for longer.
Have a read through or watch the video above to find out how.
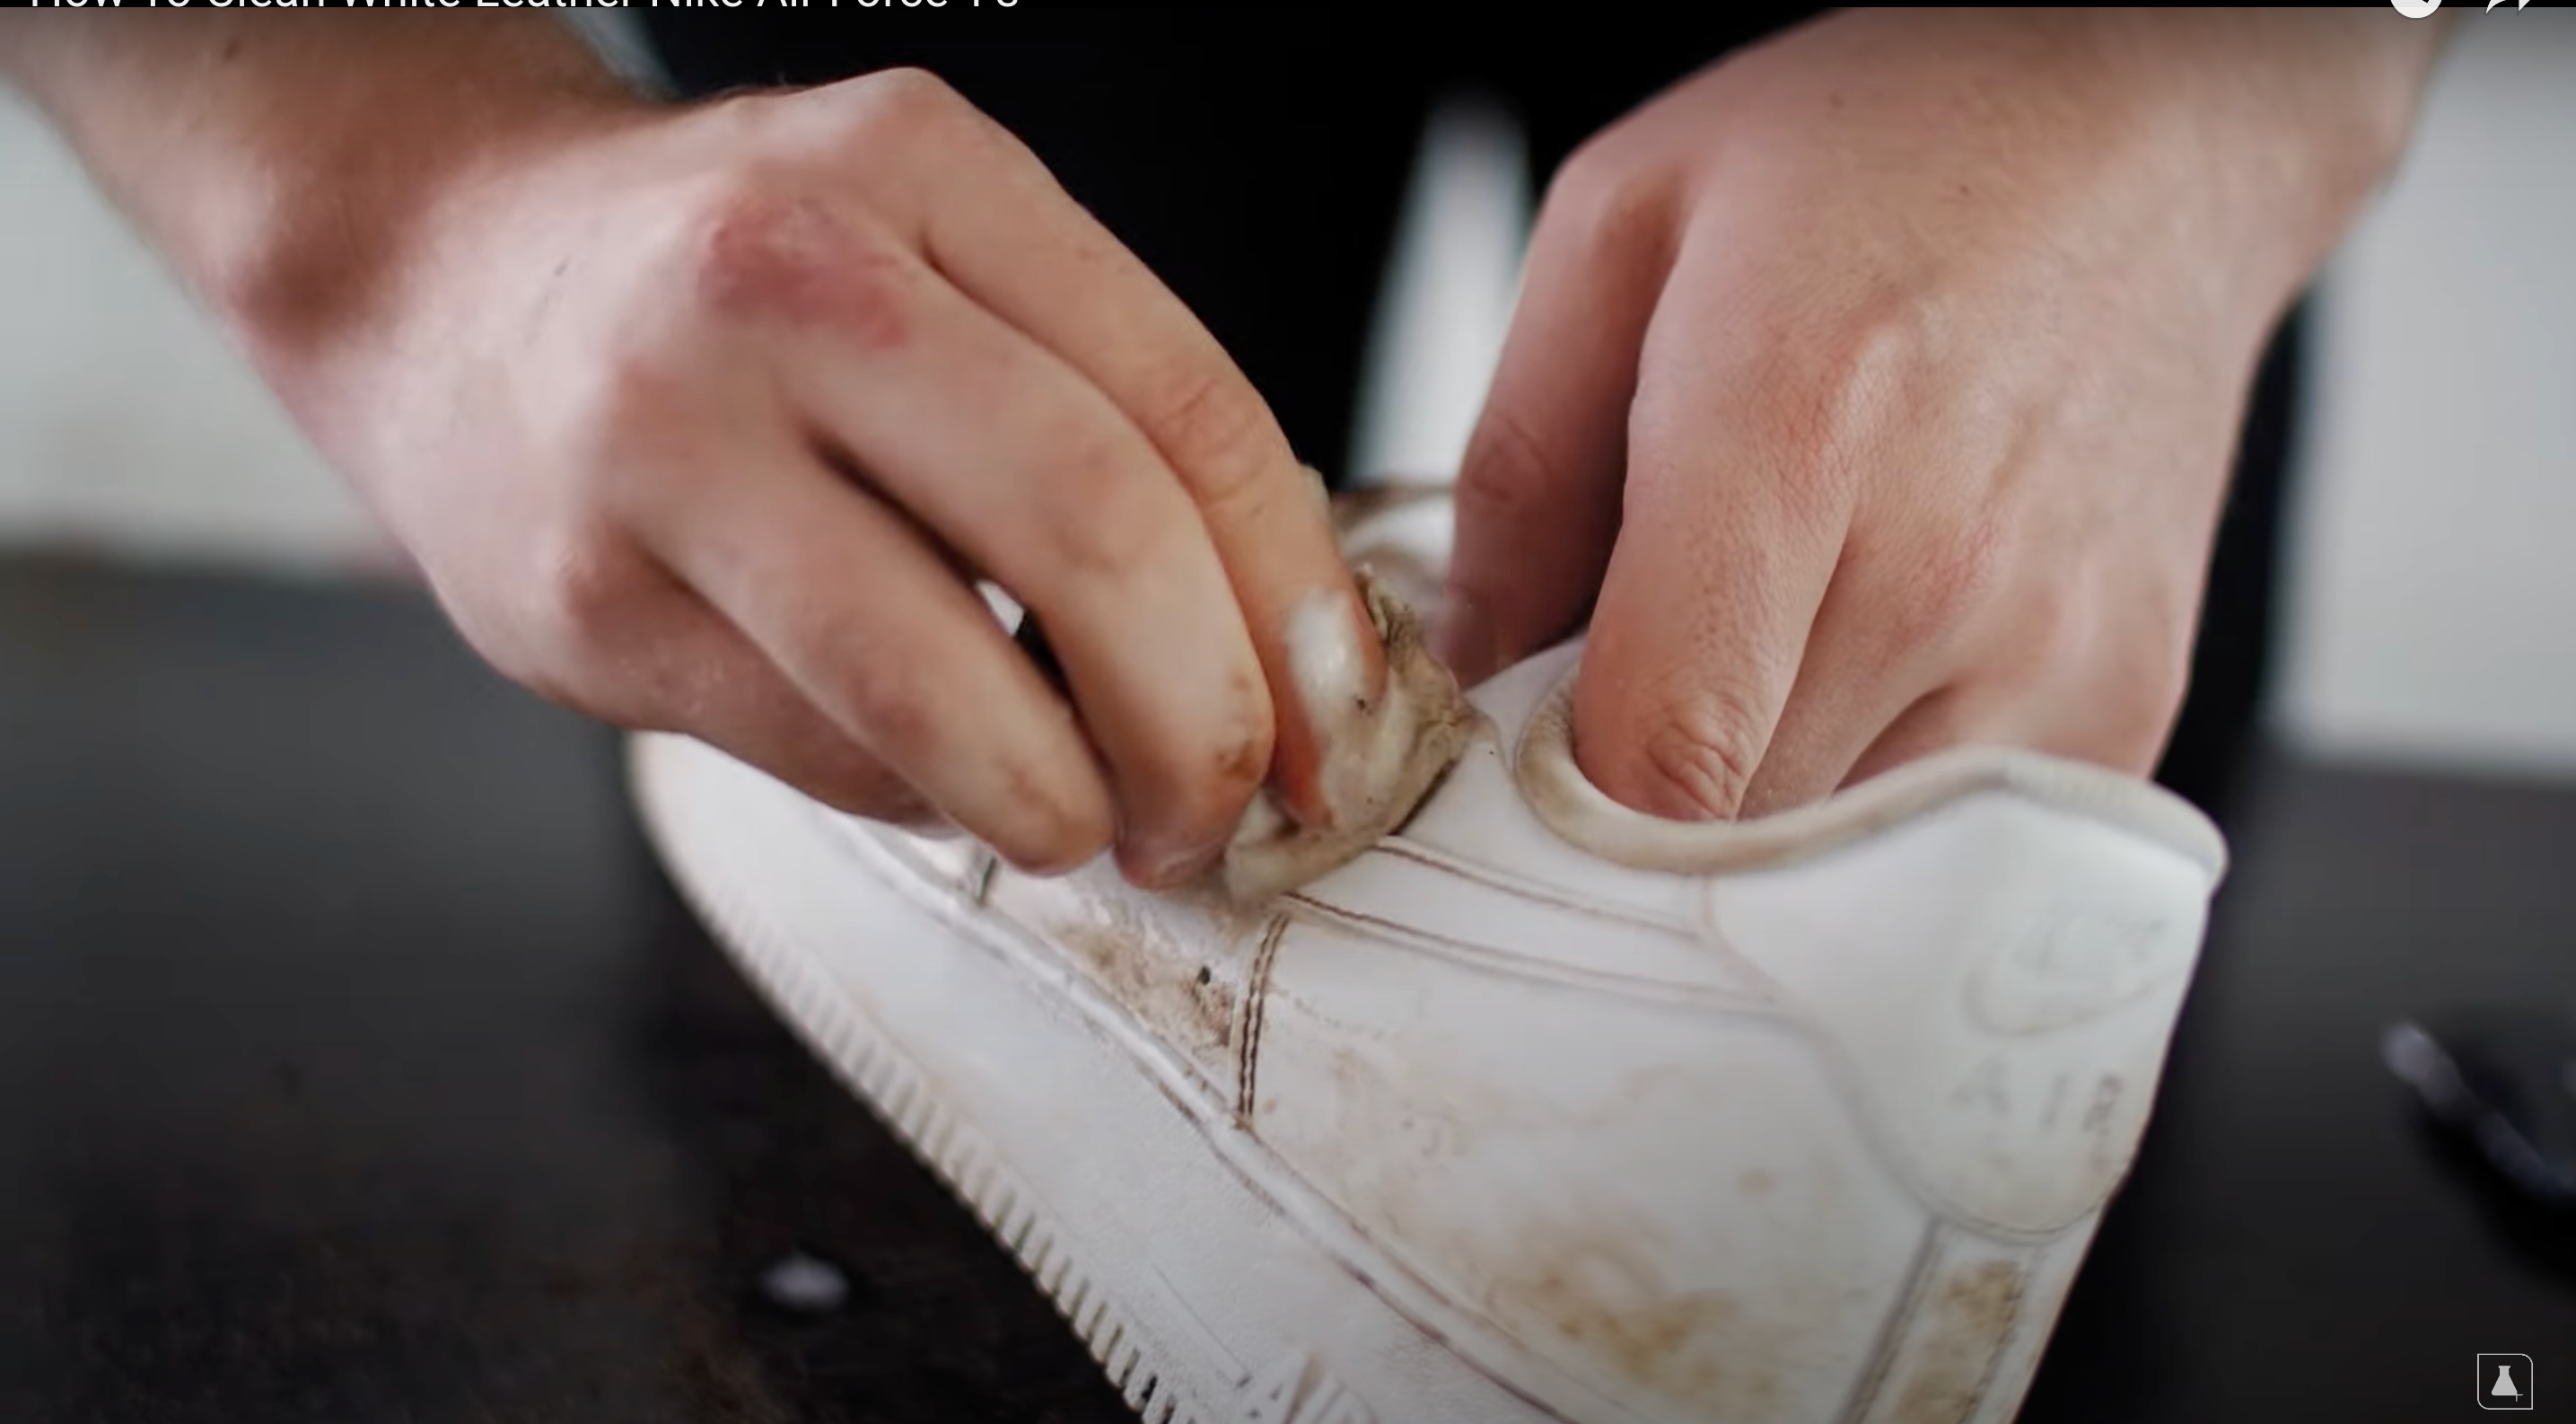
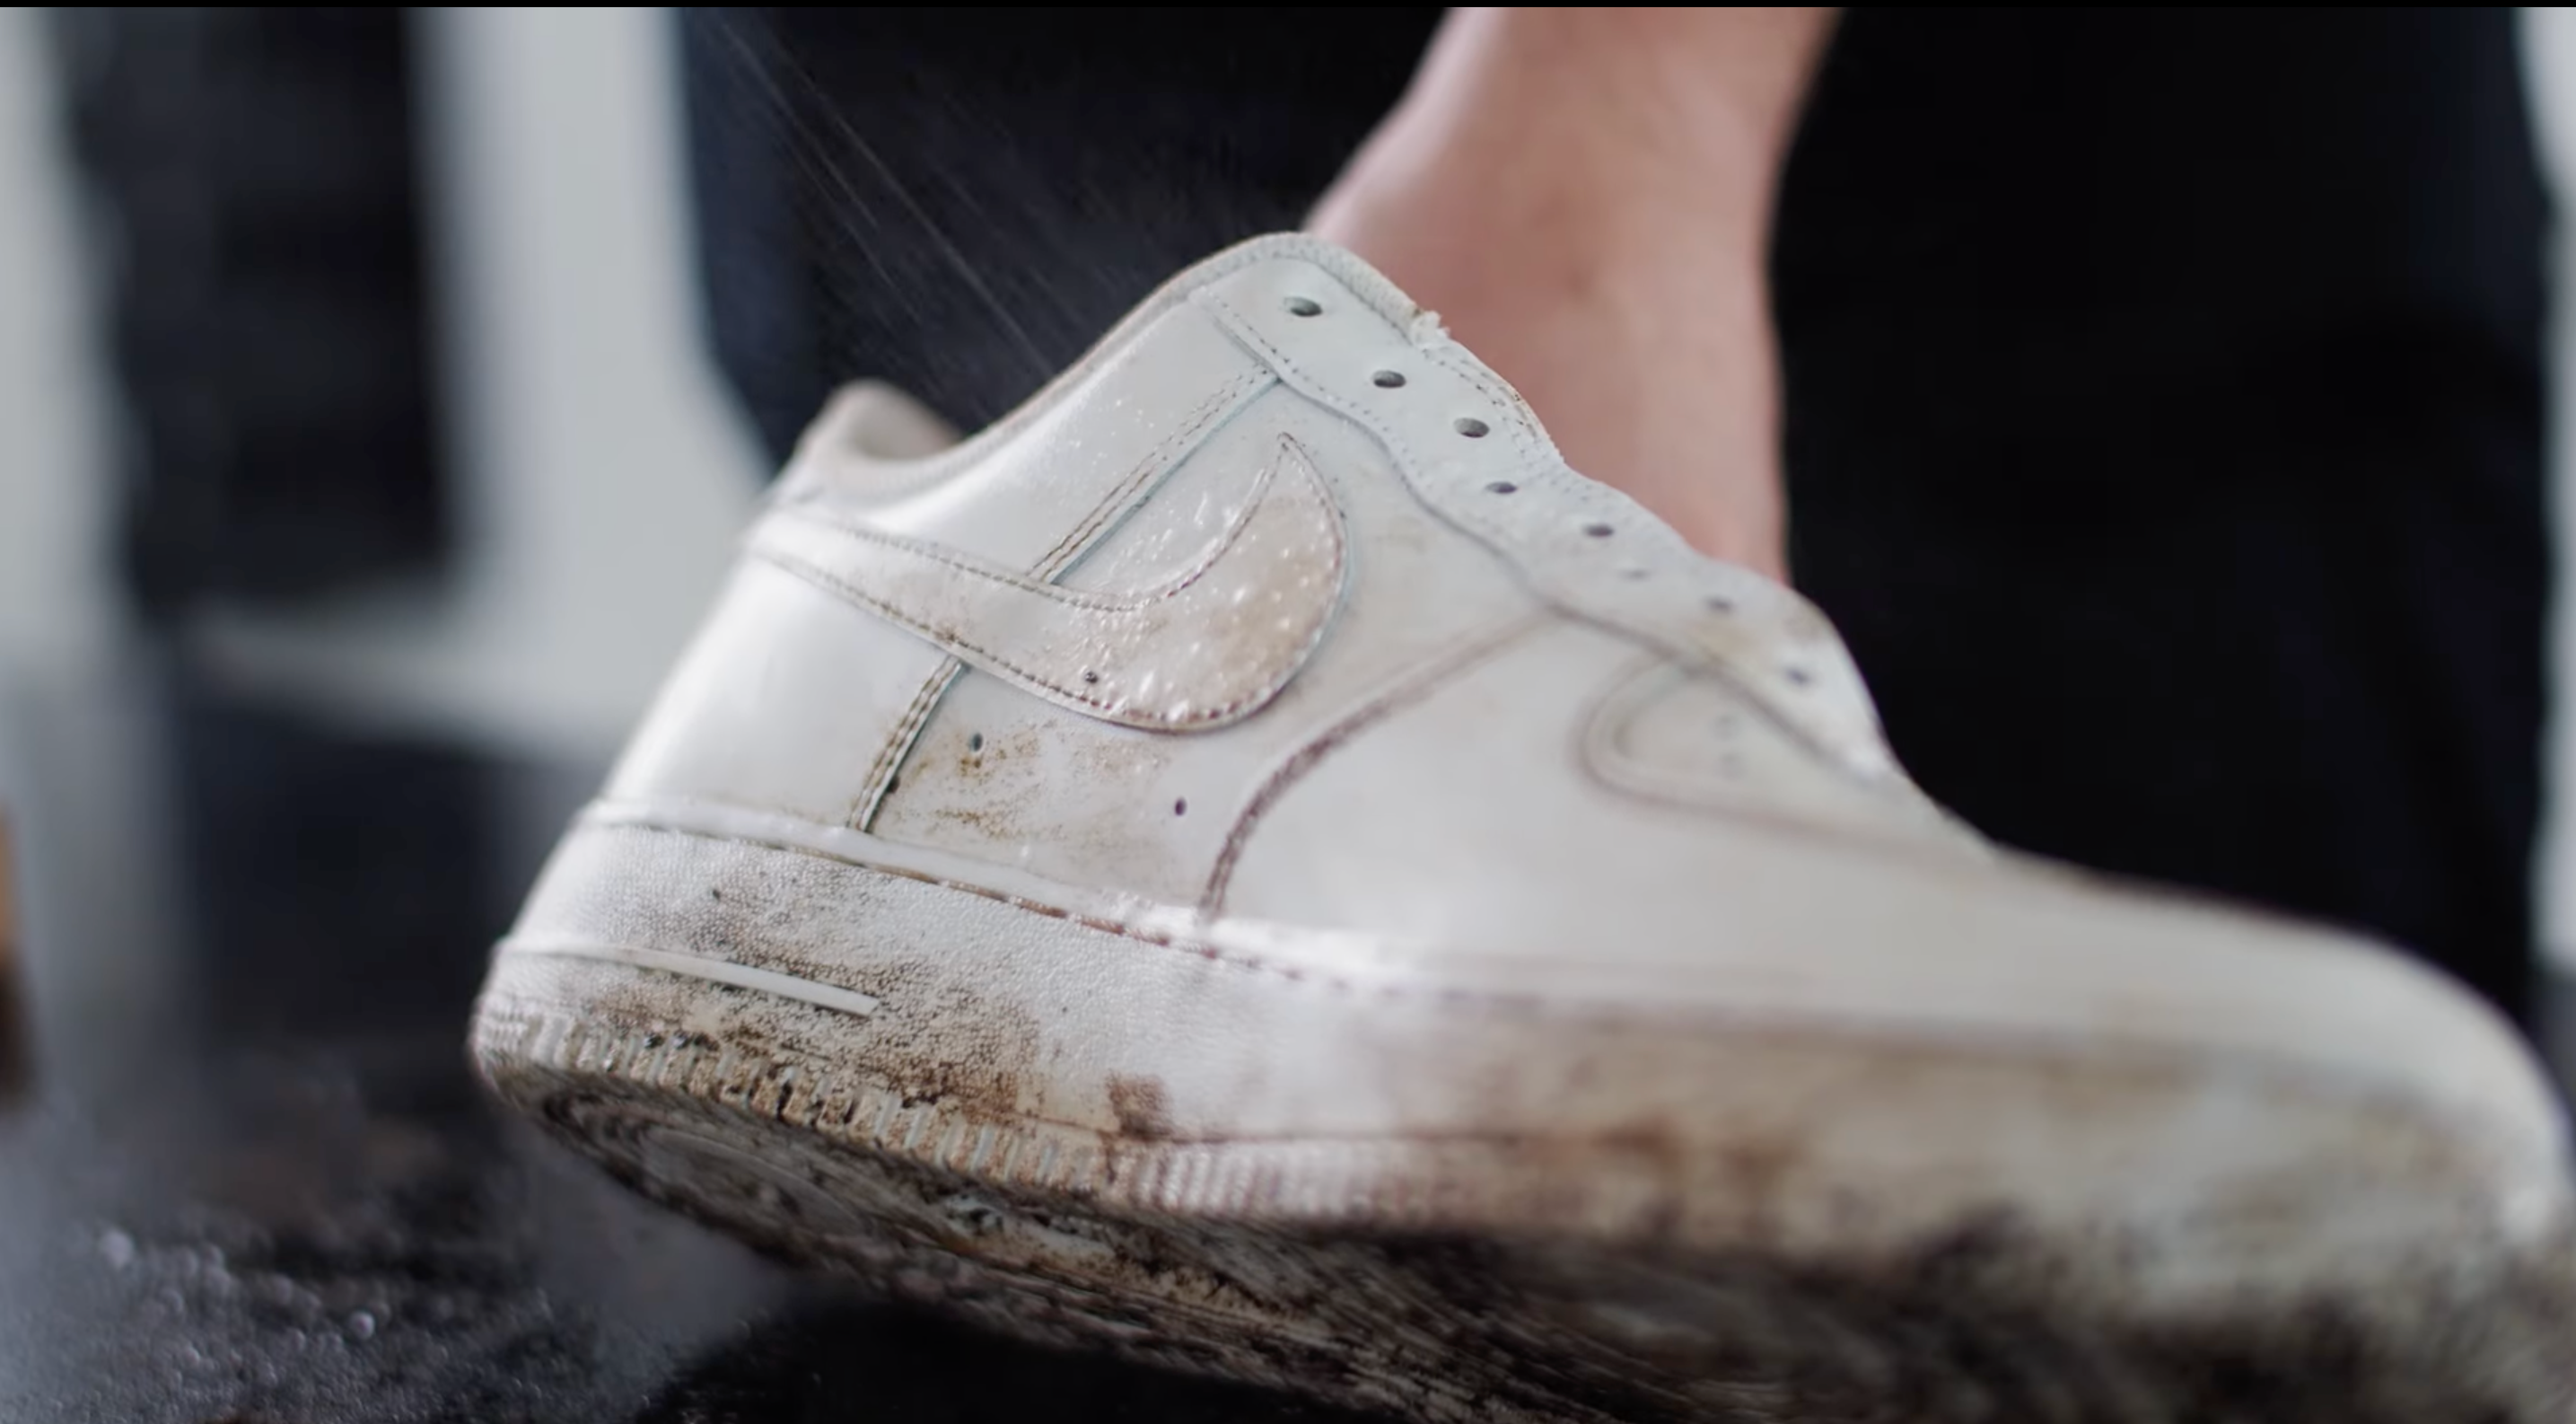

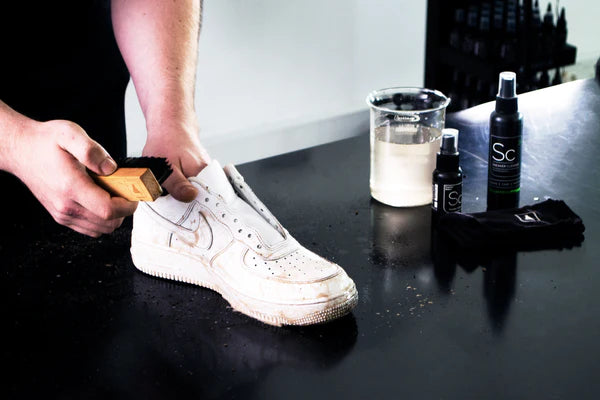
Here are our steps:
Step 1:
Prep your sneakers for a deep clean by taking a dry brush to scrub off any excess dirt, as well as tapping your shoe with your hand to ensure that all excess dirt is removed. Remove the laces and set them aside to be cleaned.
Step 2:
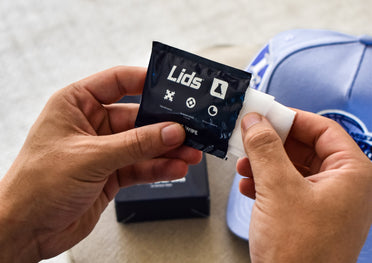
Use a Sneaker Wipe – be sure not to unfold the wipe to keep the moisture locked into the wipe – to get rid of any surface-level stains and scuffs.
Step 3:
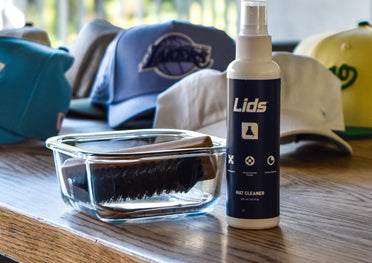
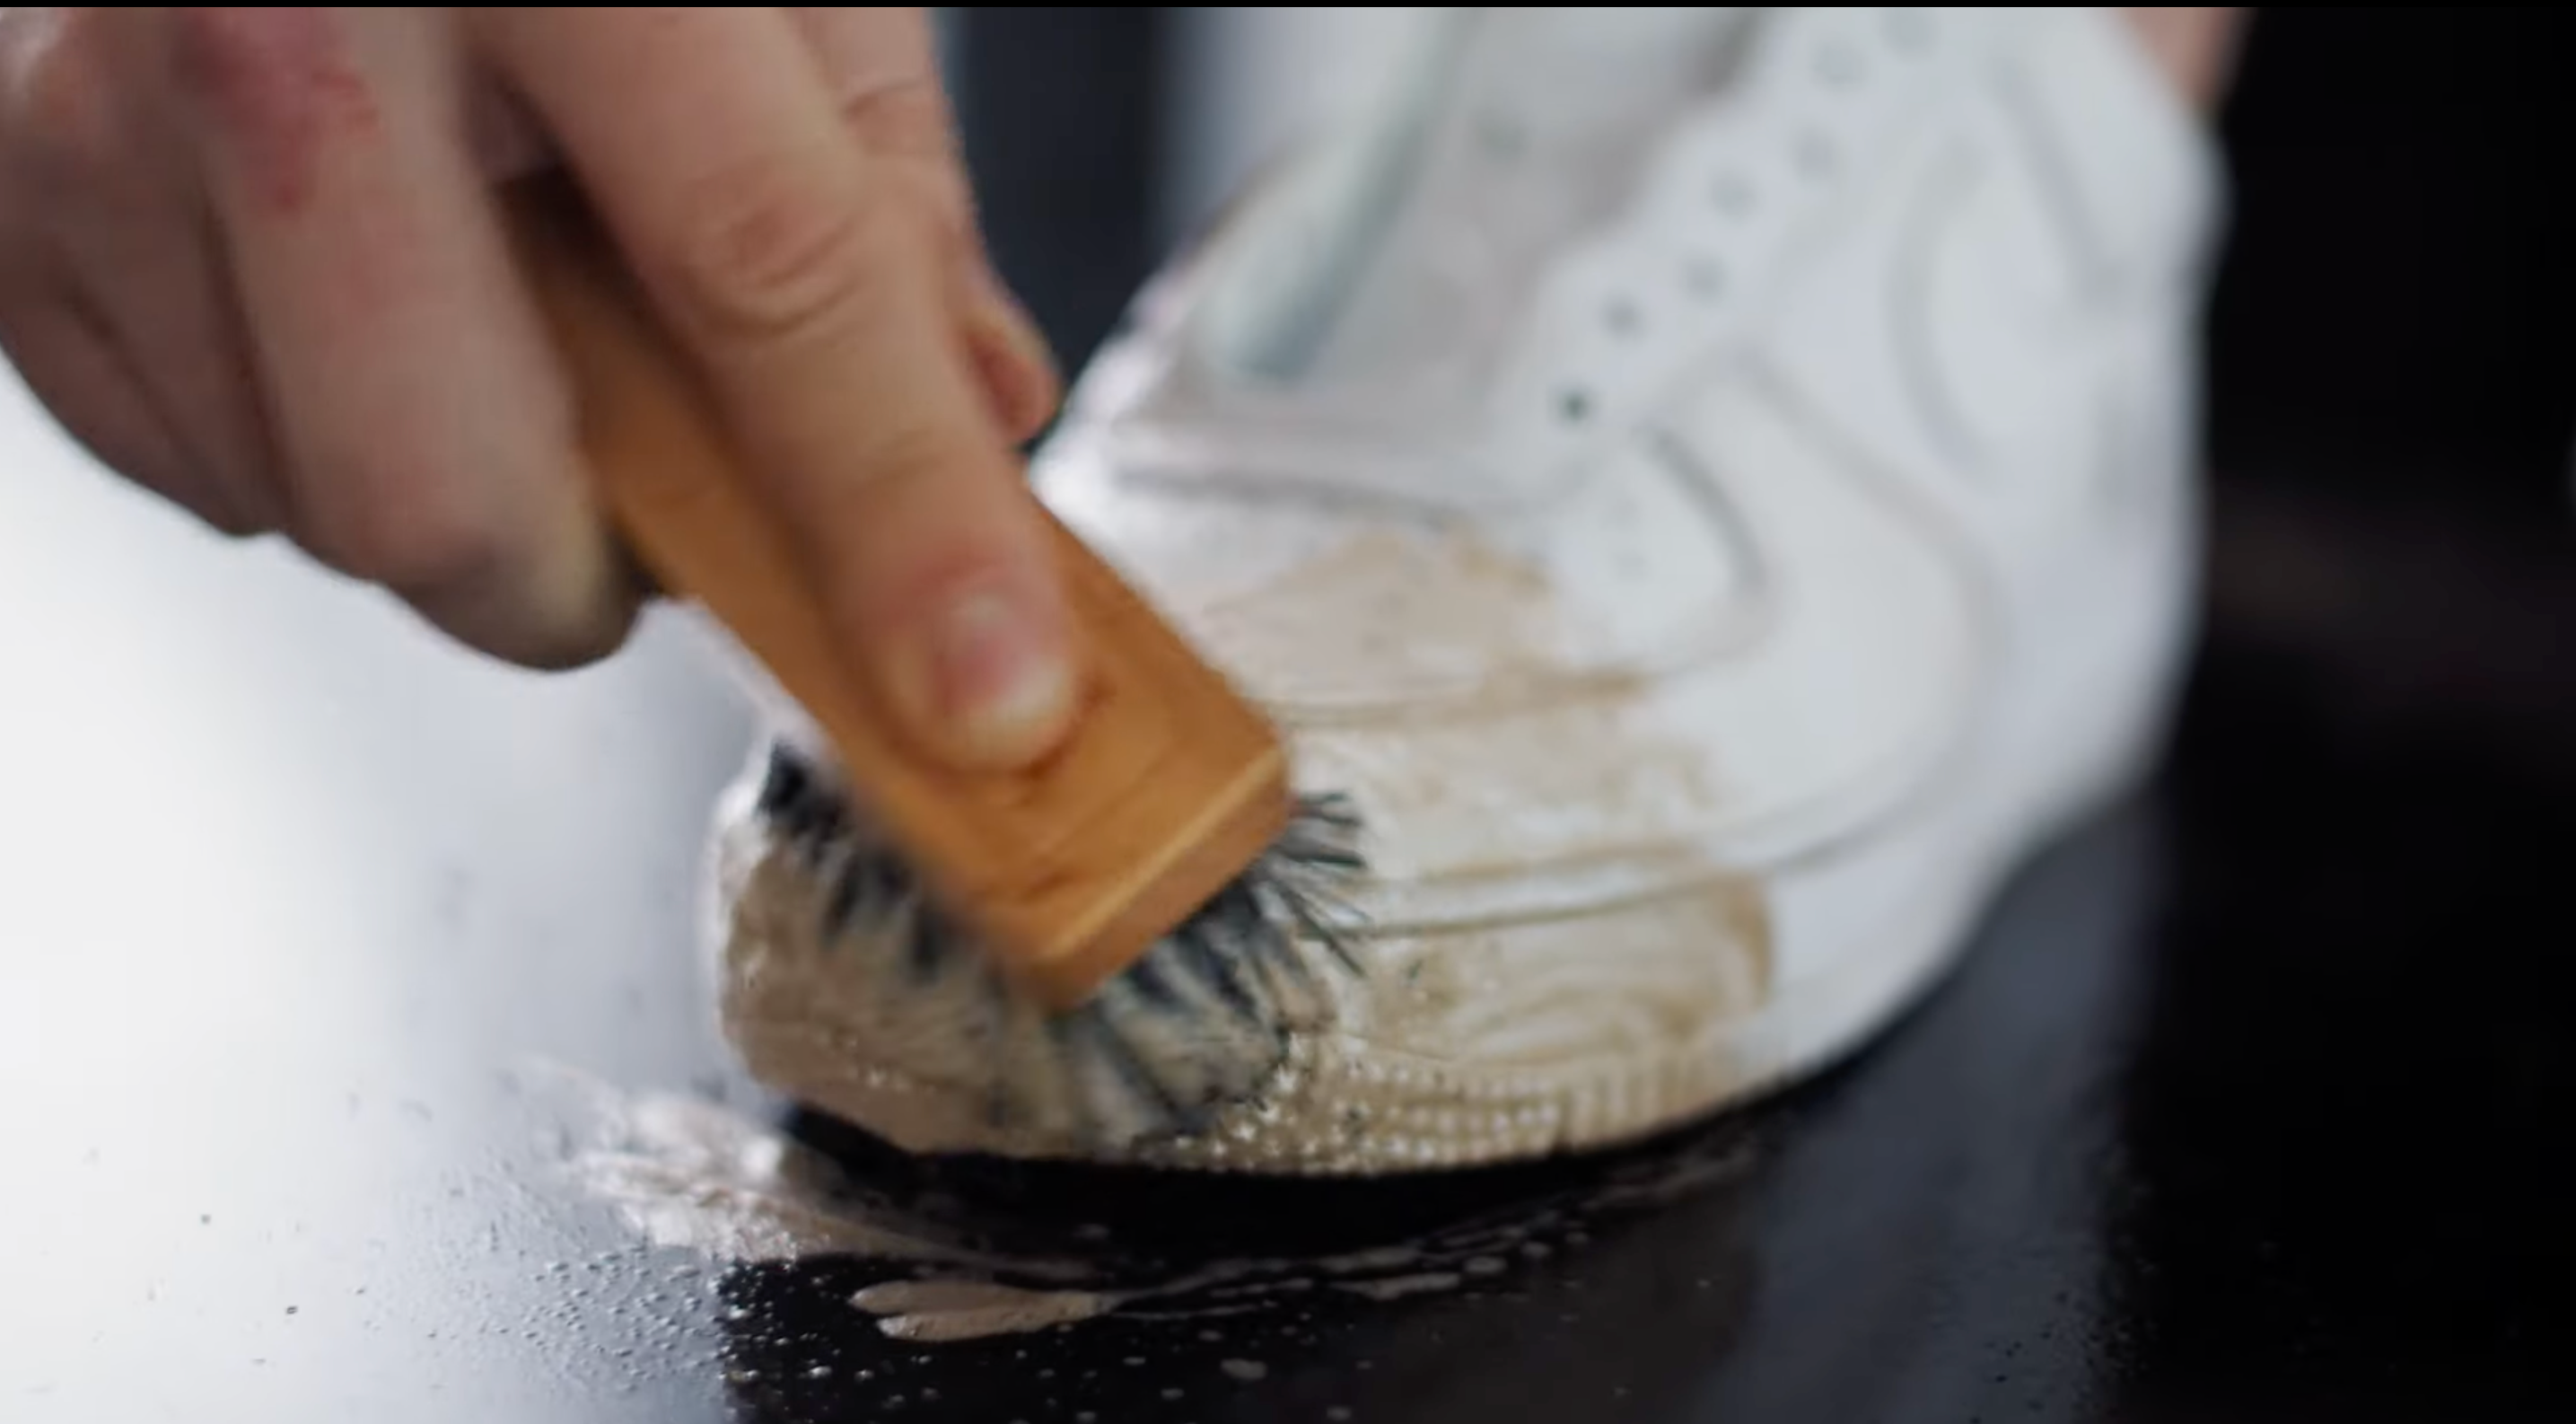
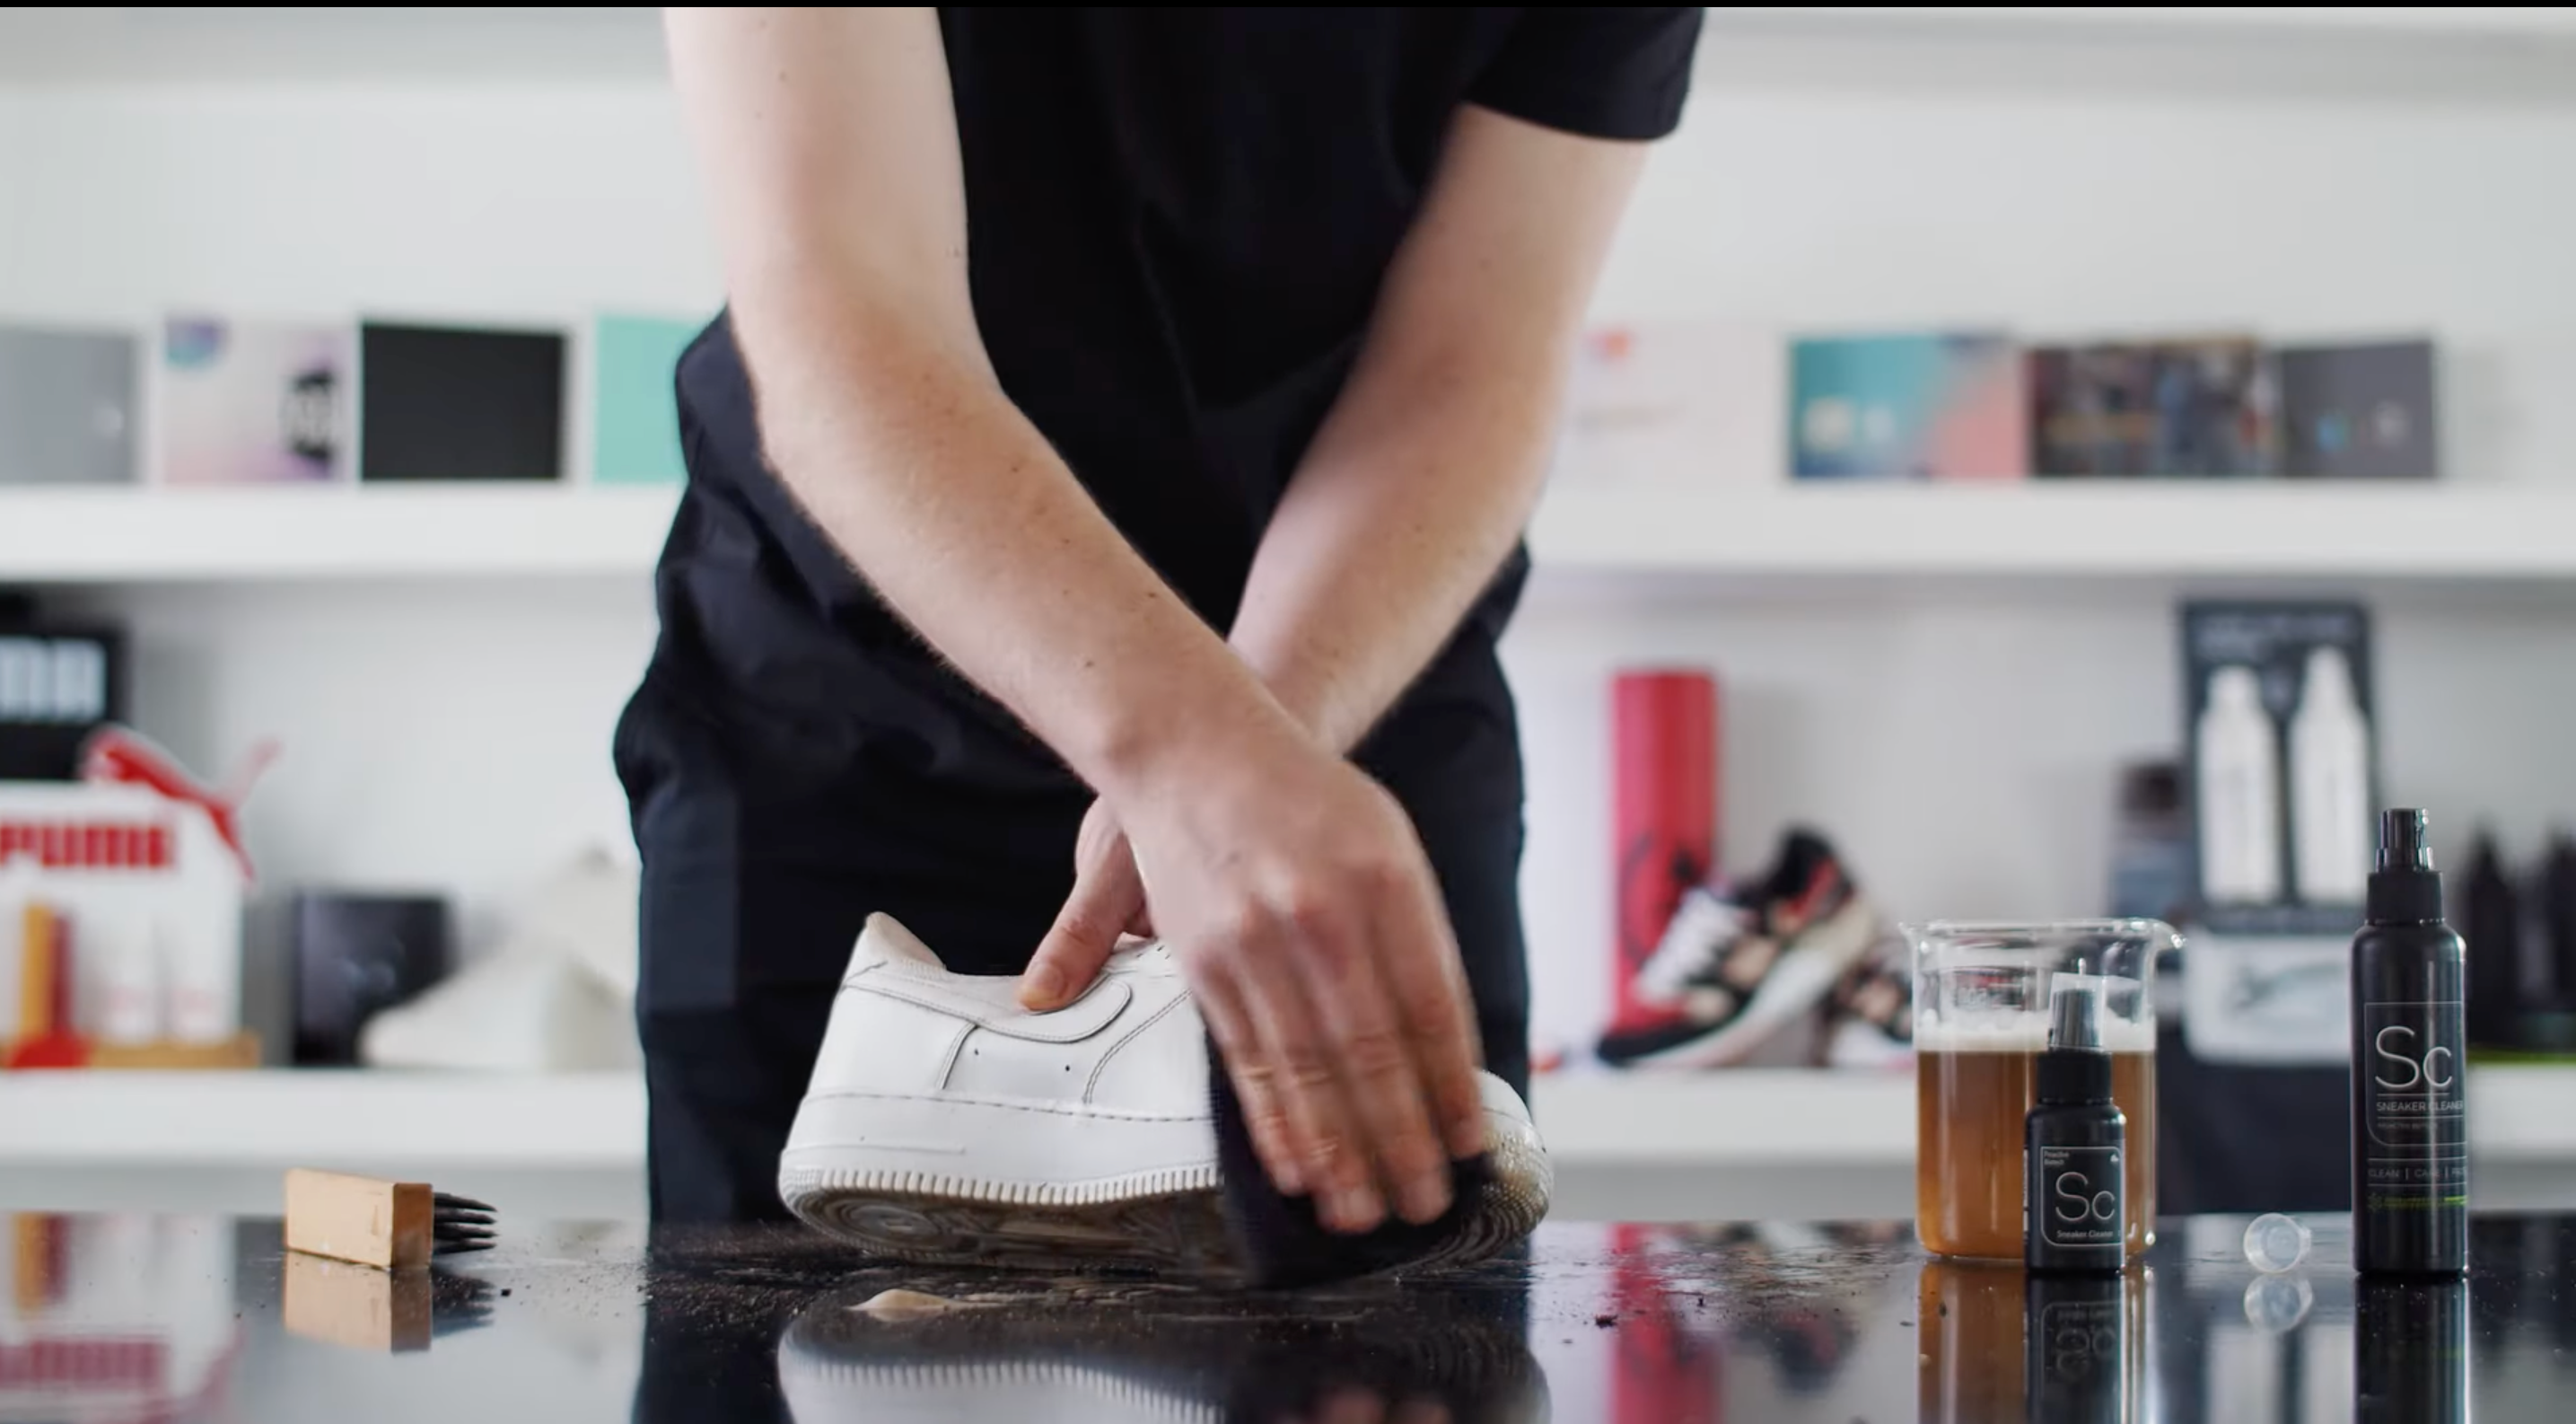
Now that all of the excess dirt has been removed, generously spray your sneakers with Sneaker Cleaner, spraying at least 20 sprays per shoe.Let the cleaning solution sit and begin to work its magic as you fill a container with water. To ensure you don’t harm the leather, gently scrub the upper of your sneaker in small circular movements. Once you have cleaned the upper, make your way down to the midsoles of your sneaker, and finally to the under soles of your shoe. Once you have cleaned your sneakers, use a Micro-Fiber towel to partially dry them off, and set them aside to dry.
Step 4:
On to cleaning your laces! Generously spray your laces with Sneaker Cleaner, rub the laces together between your hands and dip them into some water. Once your laces are well saturated, ring them out and leave them to dry overnight.
Once your laces and shoes are dry, relace your sneakers in preparation for the application of Odor protector Sneaker Protector.
Step 5:
If your inner soles can be removed, remove them and generously spray them, as well as the inside of your sneakers with Odor Protector to keep your kicks feeling newer for longer! Odor Protector will fight off any unwanted odors!
Lastly, generously spray the outside of your sneakers with our Sneaker Protector to give your sneakers an invisible barrier against dirt, stains and harmful UV rays. This will protect your kicks and keep them looking fresher for longer, as well as making future cleans easier. Be sure to reapply our Sneaker Protector after every clean.


[ Follow ]
